At the end of the previous blog I started philosophizing about the nature of a first-aid kit. This leads me to think about what it is we’re treating.
Discomfort but bearable
Debilitating but survivable
Life-threatening and urgent
We all want our excursions to be enjoyable, otherwise what’s the point? In some cases, though, weight reduction is so important that discomfort is taken in stride.
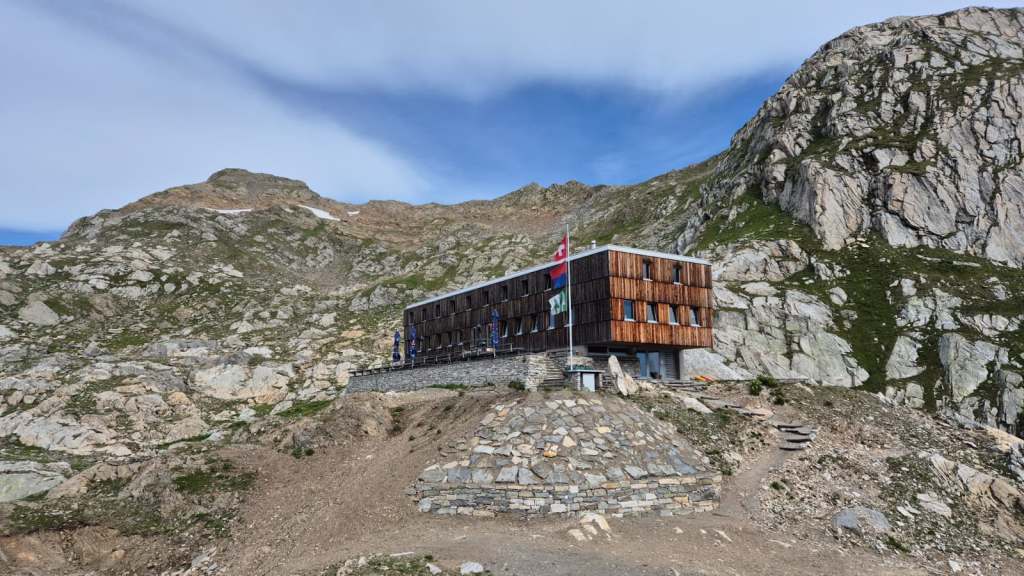
Hut-to-hut walking is the most comfortable way to enjoy the mountains, ensured of a solid roof at the end of the day and having to carry only a light pack. Unless you end up in an uncomfortable situation by getting lost, or held up due to an accident, and have to spend the night outside. Is an emergency blanket enough then? Accidents happen more frequently when it’s raining and/or getting dark – so is a minimal viable rainproof shelter needed? As you don’t need to carry a tent, sleeping kit or cooking gear, a bit more weight in return for comfort is not an issue. A tarp is not enough, though, as the wind blows the warmth away and horizontal rain will make everything underneath it wet. We need a new tent-tarp shelter! For emergency situations while day hiking!
Bivouacking far away from a solid roof requires more gear. But it also means that you could set the tent up anywhere and be sheltered. The incredible reduction in the weight of backpacking gear over the last few decades means that the weight of the first-aid kit is not a huge issue, and a few extra pills could make the difference between enjoying the sunset vs. just surviving.
Mountaineering requires that a lot more heavy gear needs to be carried, so the weight-comfort trade-off shifts more to the absolute minimum side. As long as the discomfort doesn’t lead to making bad decisions.
Does the weather play a role? If the forecast is for 4 days of pure sunshine, do we need to bring rainpants? Of course the temperature range is a factor for the clothing you bring. Does it have an impact on the first-aid kit contents?
This is a multidimensional situation:
Weather
Altitude
Trail difficulty
Temperature
Hours of sunshine
Ugh, this requires too much thinking. Or maybe I’m just overthinking it. I better eat something so my brain works again. Publishing and then continuing with this train of thought. Stay tuned!
What are actually the major causes of death and need for evacuation?
It’s time to be organized about first aid. There is no “one kit fits all”. It depends on the length of time it may be needed, the distance to pharmacies that are open, ease of making it to a hospital with/without calling the Rega, the type of risk inherent in the activity and the number of people. This is a first try at being systematic and to create something that will make it easier next time.
A first-aid kit needs to be reviewed every time before you set out, preferably a couple of days before the stress of last-minute final packing sets in. It also gives time to buy missing items and to let your subconscious review your decisions. This is a good overview page: mountainmedicine .
Why is it so difficult? I guess because planning for unhappy events and balancing impact&probability against weight&size takes a lot of brain power. It gets overwhelming.
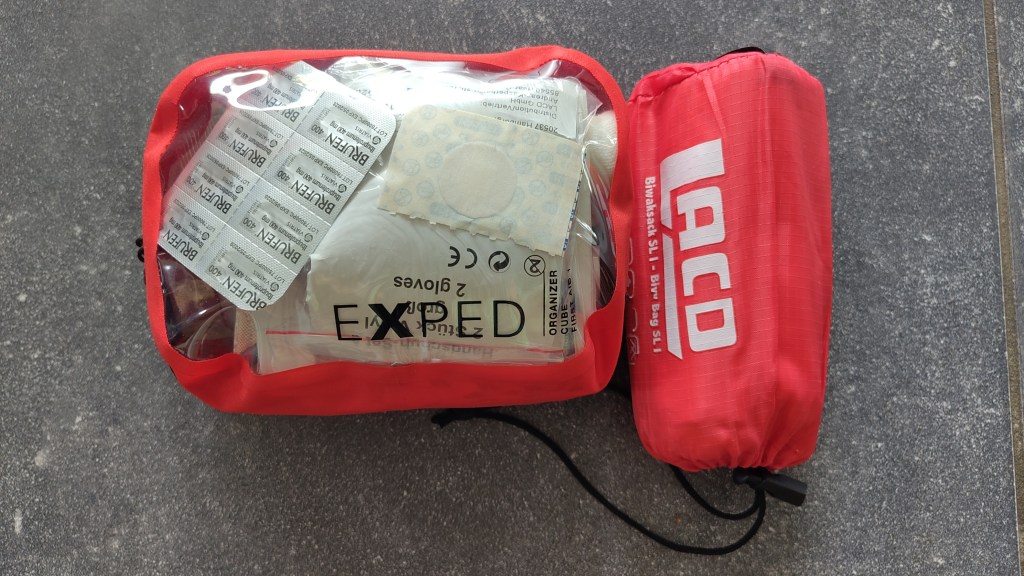
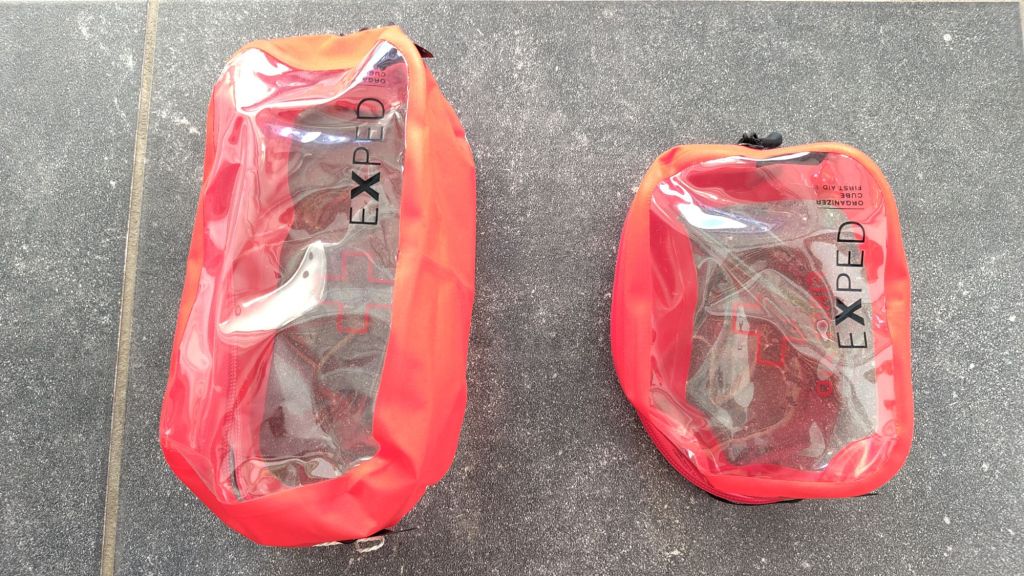
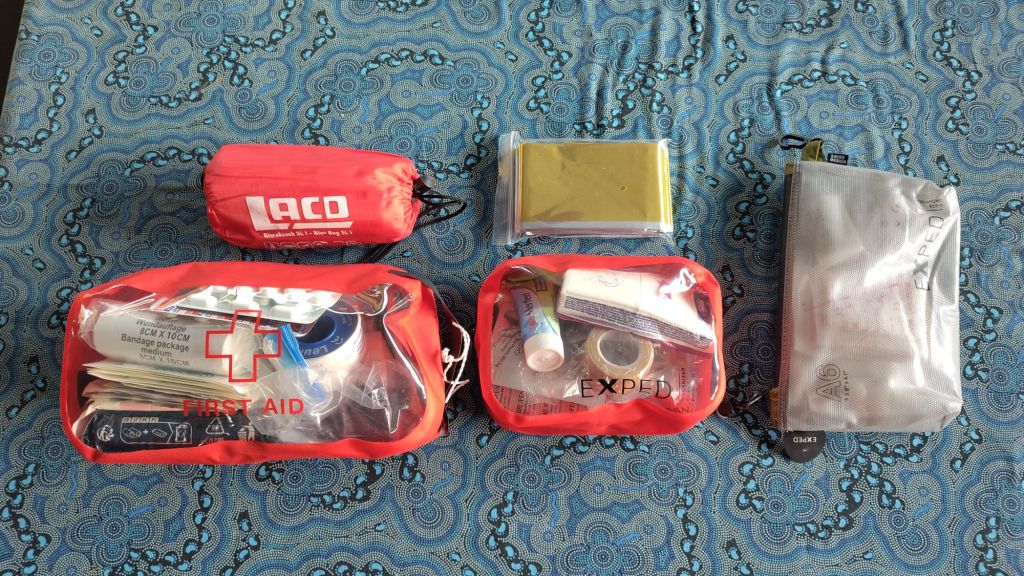
There are very nice first-aid containers to be had:
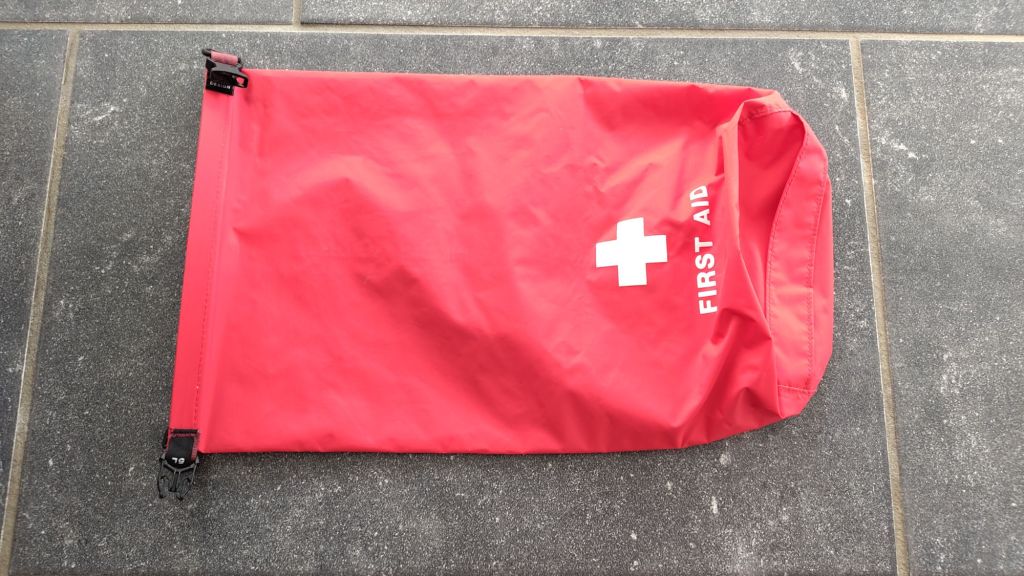
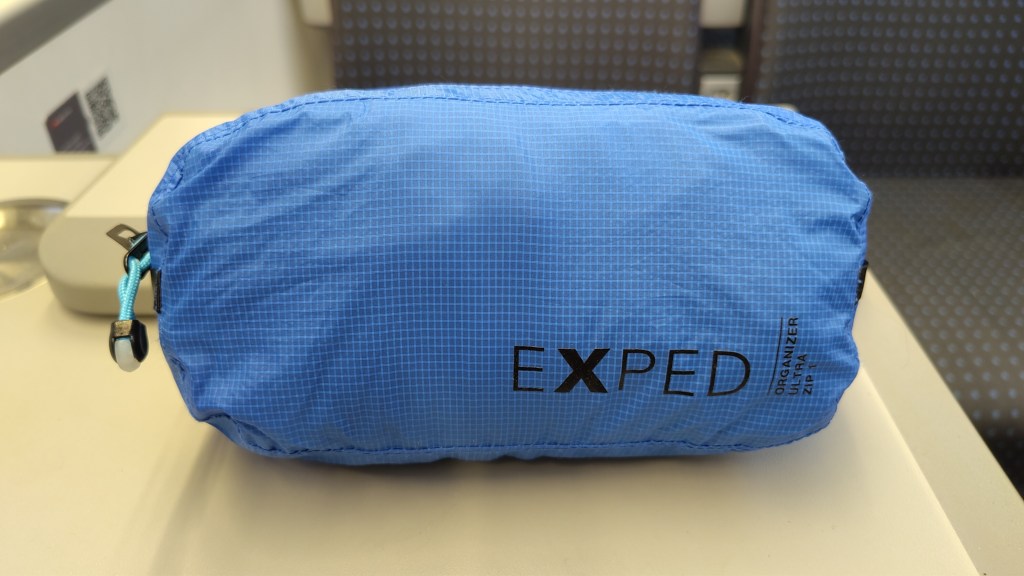
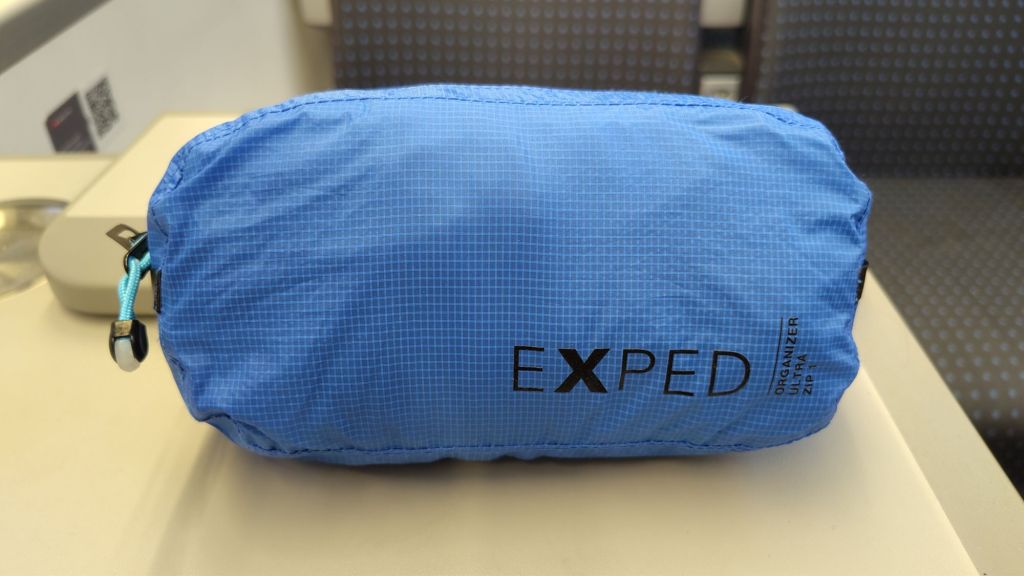
Exped First Aid bags. We used the top one for a long time; now we’ll try out the bottom ones
They don’t come with a list because of liability issues. It is also important to indicate the use and dosage of the medicine. What if we used icons to describe the issue that is being treated and made little pockets for the medicine to treat it? Let’s give it a try.
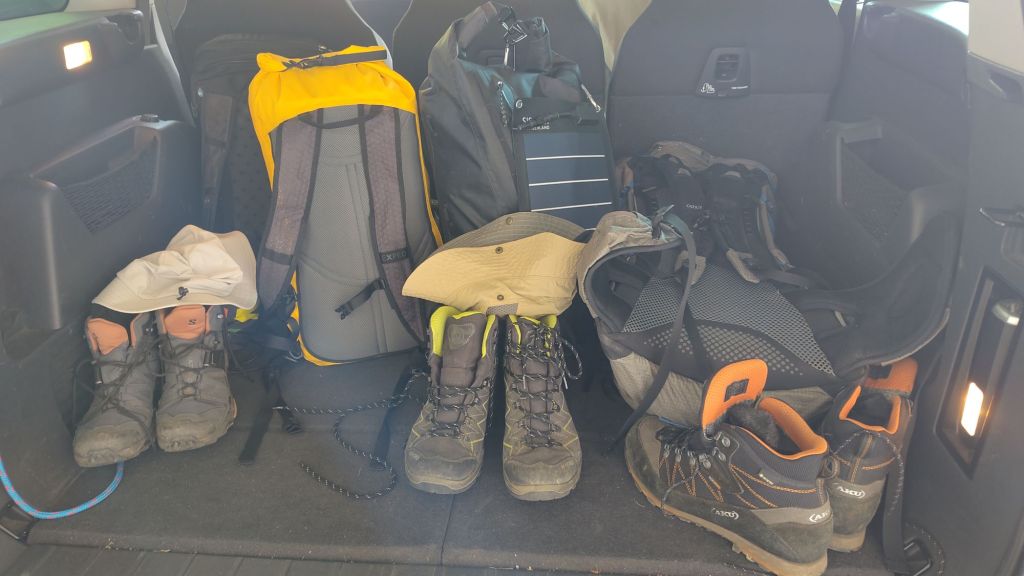
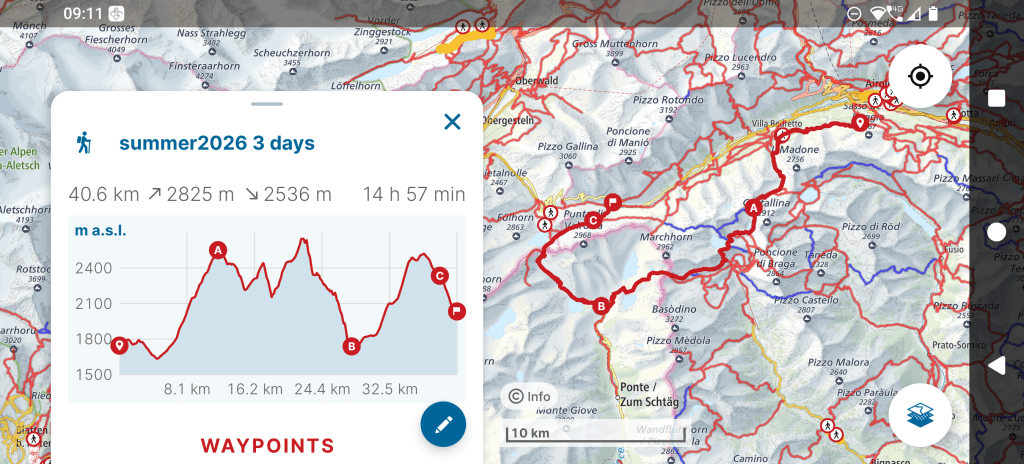
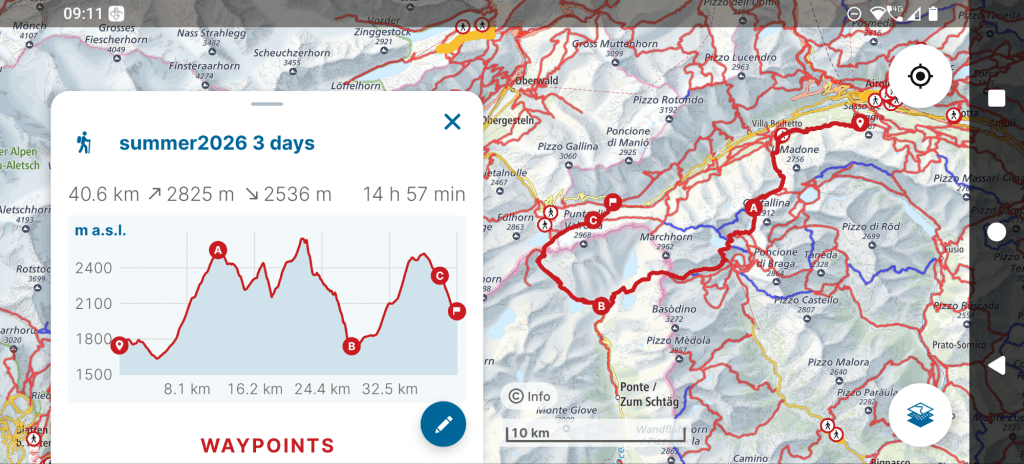
A first First Aid Kit for four people hiking hut to hut between 1800 and 2400m for 3 nights. There will probably be some medical support at the huts, in contrast to when we camp at this altitude. Parts will be steep with loose rocks.
First Aid Kit:
Pain management:
Joint inflammation, toothache: Ibuprofen
General pain, fever: Paracetamol
My headaches: Aspirin
Contusion: Diclofenac Voltaren
Medication
Allergies: antihistamine, nose spray
Sleeping problems: melatonin
Digestive troubles: immodium
Bladder infection: Monuril 3
Yeast infection: Candida antifungal cream
Nausea: Motilium or Itinerol
Flesh, Tendons and Bone Wounds
Itch: Oma cream – Nestosyl
Blisters: Compeed – how many?
Wound: Disinfectant cream/fluid
Stop minor cut: Bandaids large and small
Stop minor bleeding: Wound dressing, Elastoplast tape/medical tape
Stop medium blood loss: coagulant bandage
Stop major blood loss: tourniquet, Israeli bandage
Treat burns:
Stabilize twisted knee or ankle: compression bandage
Hardware
Cutting bandages: Scissors
Removing ticks: Tweezers
Seeing in the dark: Flashlight with full batteries
Signalling for help: Whistle
Survival bag?
Knife: it’s a cute, very sharp ceramic one
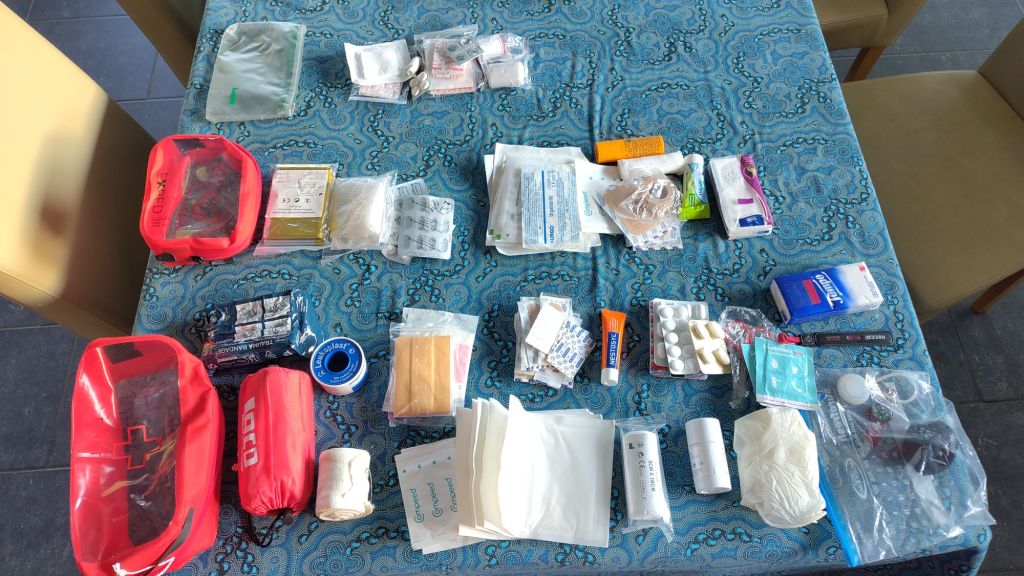
I put together three kits: small, medium and large:
Let’s see if it fits. A couple of items (antihistamine!) are still missing – I’ll get them tomorrow.
This is the reverse approach: have container, fill it to the max. (So much for being systematic.)
They weigh 500, 200 and 50 grams, without the emergency bivvy/blanket. This would do, keeping the contents waterproof. But it’s all jumbled together. Tomorrow I’ll think about how to keep it organized with bespoke dyneema baggies.
Early morning philosophizing: are emergency bivvys/blankets part of the first aid kit, or part of the “shelter” kit? What about nail clippers? Part of the “personal hygiene” kit? What if you’re on a daytrip and break a nail? And sunscreen? That’s normal procedure. It should be applied repeatedly during the day and thus be within easy reach. So not a “fix something to reduce discomfort” thing. Whistles? That’s an emergency thing. Good thing I bought a couple. If only I could find them.
I can feel it happening again: the kit is more or less prepared. Finding or buying the last couple of things will drown in the last-minute packing and that will be the thing we need.
We’ll be walking for 4 days on steep, uneven terrain. The chance of blisters is high, and two each won’t be enough. Better bring more of those too.
In order to use our hut sleepingbag sheets, we first need to walk 1000m up to get to the first hut.
What will we need? The temperature will range between 30° celsius on the way to and from the starting point, 15° at 2400m during the day and 5° at night. It probably won’t rain but we should be prepared for a thunderstorm at altitude.
Walking during the day:
Wearing:
Hiking boots
Hiking socks
Hiking pants and shorts
Long and short-sleeved hiking shirts
Underwear
Sun hat
Buff
Sunglasses
Sunscreen
Backpack:
Drink
Food
First Aid Kit
Electronics
Hut Things
Rain Protection
Solar panel to recharge batteries
Contents of Backpack:
Waterproof bags for the following objects:
Hut Things:
Normal/reading glasses
Socks
Underwear
Shorts
Tank top
Long pants (or wear pyjama pants)
Long and short-sleeved hiking shirts (or wear tank and pyjama top)
Fluffy down jacket
Warm hat?
Gloves?
Bathing suit for the hot tub!
Towel
Slippers
Fun and Electronics
Phones
Charging cables
Battery
Earphones
Poker cards
Compass
Watch
Heartrate band
Sleeping:
Toothbrush, toothpaste, floss
Comb, deodorant, soap
Personal medicine
Washcloth/face towel
Pyjamas (that can be worn to dinner)
Ear plugs
Sleepingbag sheet
Pillowcase (to fill with fluffy down jacket)
Rain protection:
Rain coat
Rain pants
Waterproof socks? (only if rain is expected)
Drink and Food:
Electrolyte tablets, maltodextrine
Water bottles
GORP/nuts and berries
Sandwiches/crackers and cheese
Cash/cards to pay dinner in the hut
First Aid Kit:
Pain management:
Aspirin against headaches
Ibuprofen against inflammation
Paracetamol against general pain, fever
Allergies: antihistamine, nose spray
Sleeping problems: melatonin
Stomach troubles: immodium
Bladder infection: Monuril 3
Blisters: second skin/Compeed
Ticks: tweezers
Twisted ankle: compression bandage
Scraping/cutting skin:
Disinfectant
Oma cream – Nestosyl
Bandaids large and small
To wear on the way there:
Sandals, light clothes
To leave in the car:
– in case we get soaked by a thunderstorm: comfy change of clothes and shoes
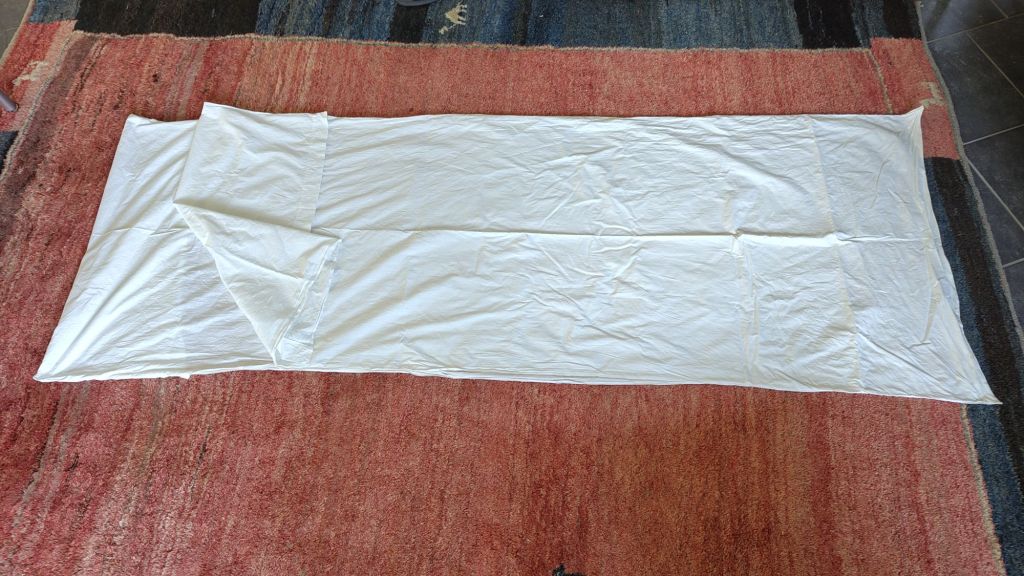
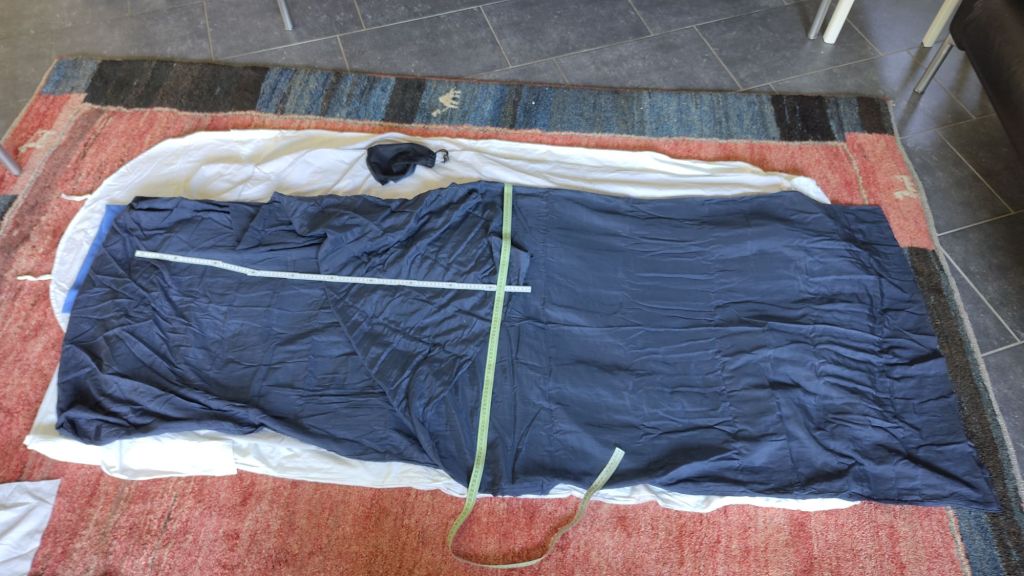
Next week we’re doing a multi-day hut-to-hut hike with the whole family and we each need to bring a hut sleeping bag: “Huttenschlafsack”. We have one blue silk/cotton (250g) and two white cotton ones (450g) and need a fourth but time is short, so I’ll just make one out of an old fitted sheet.
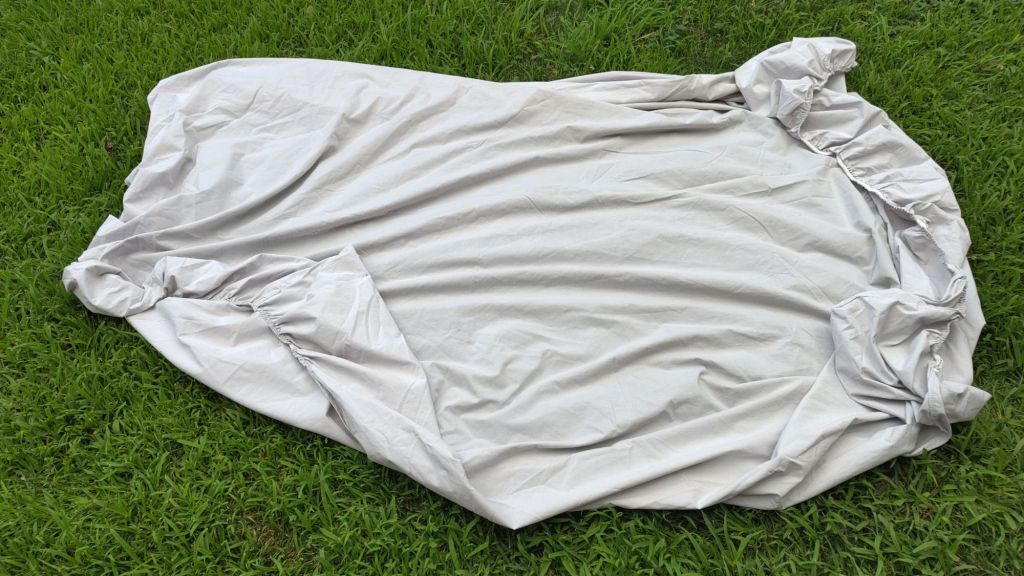
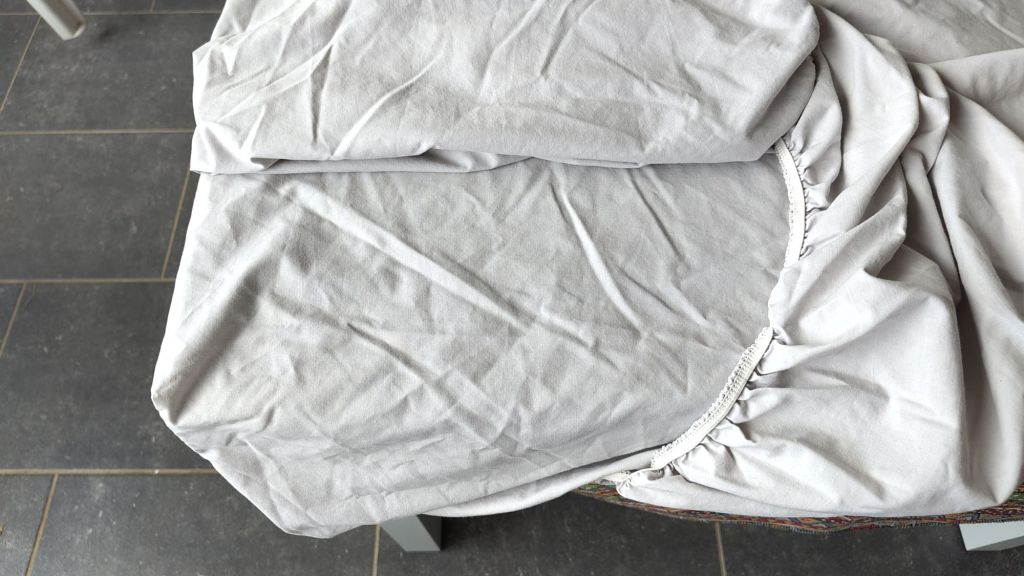
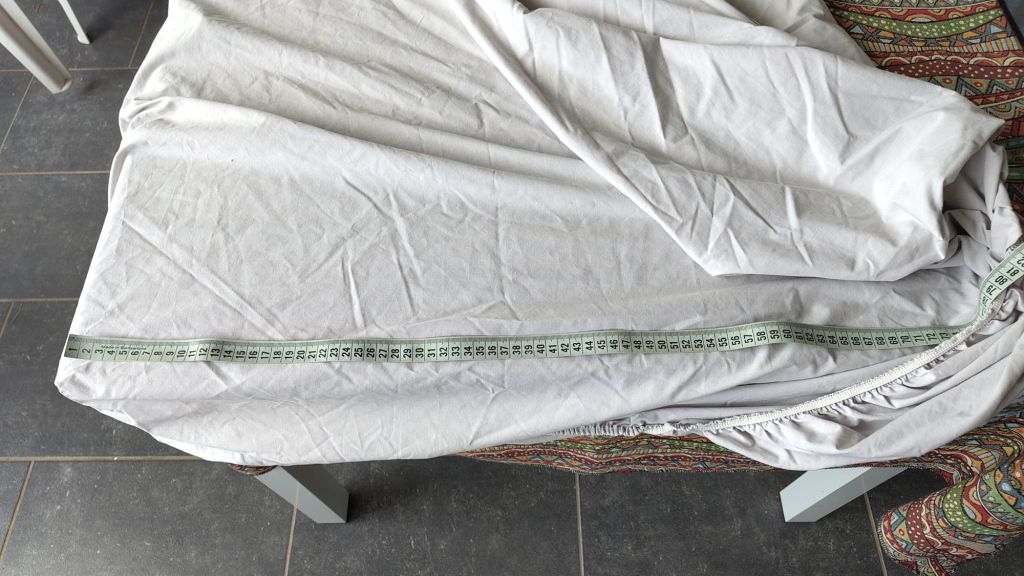
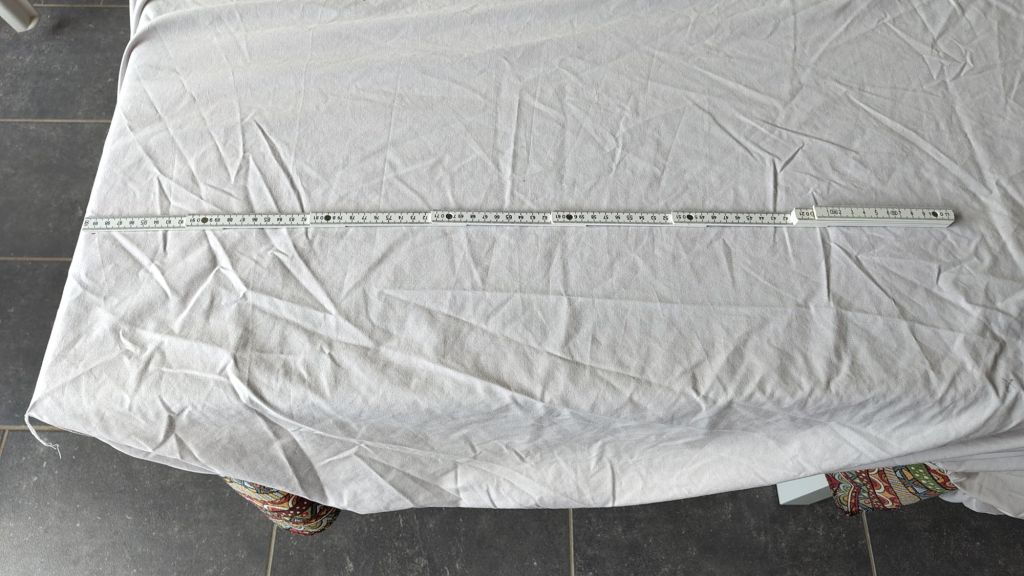
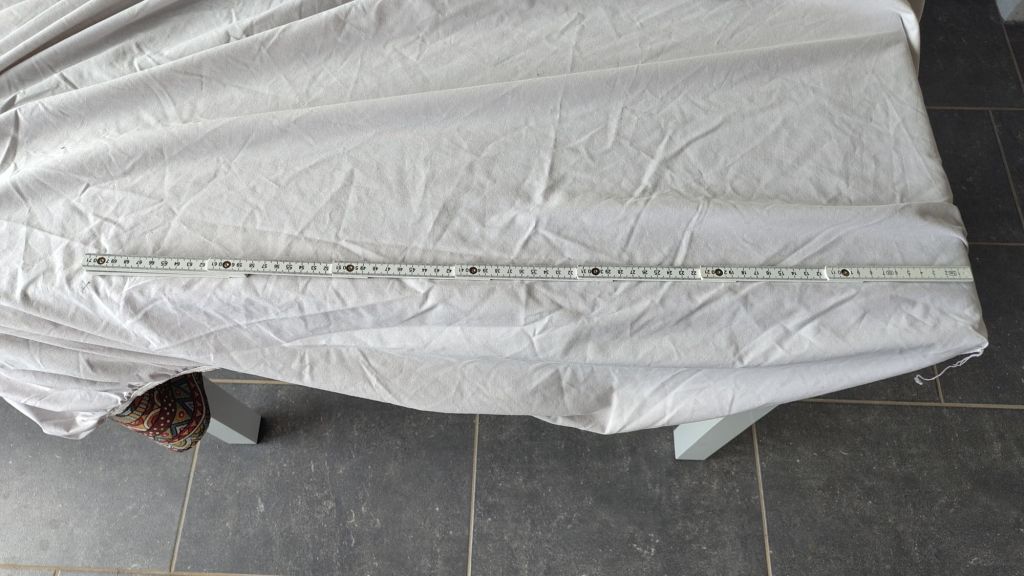
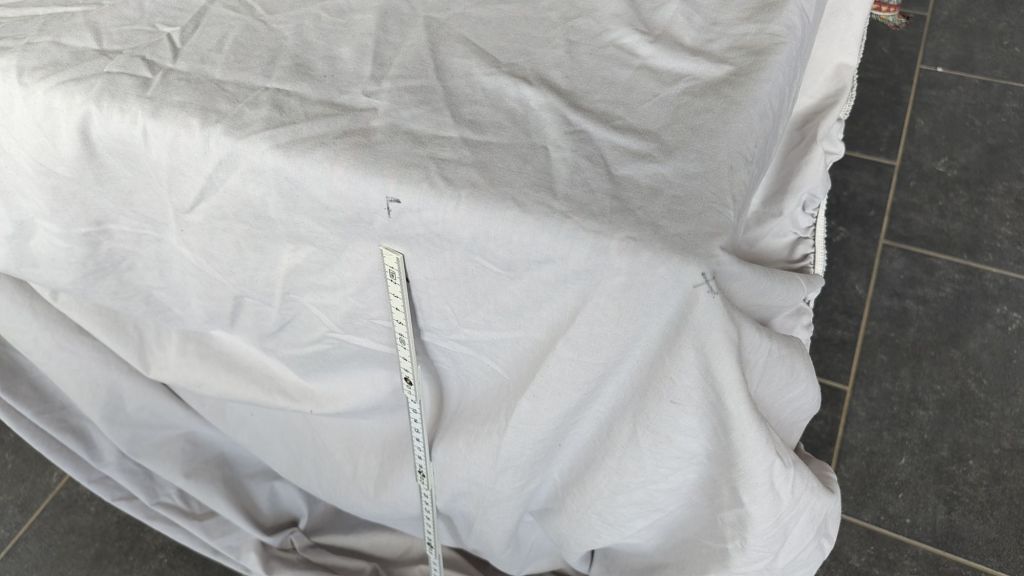
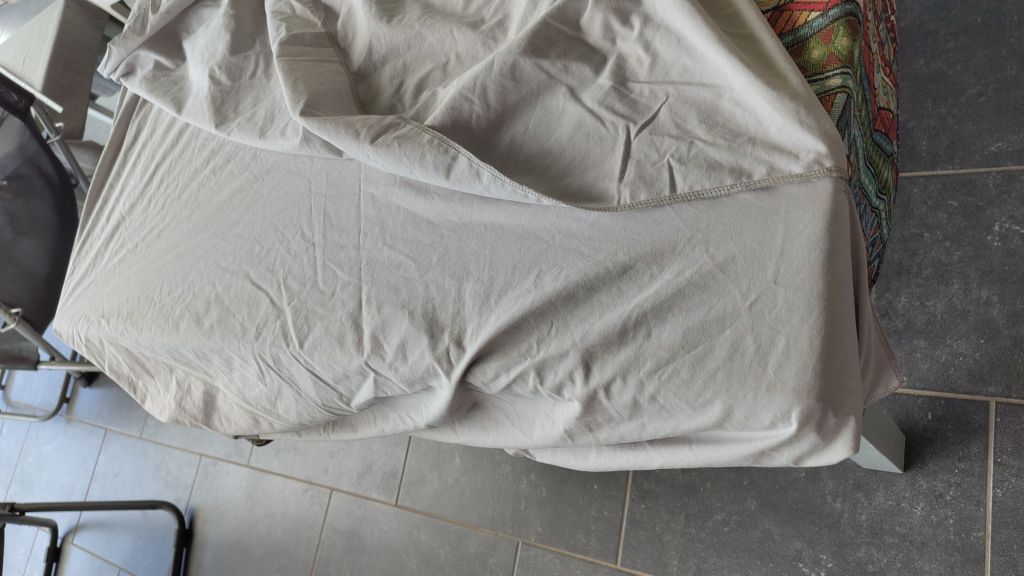
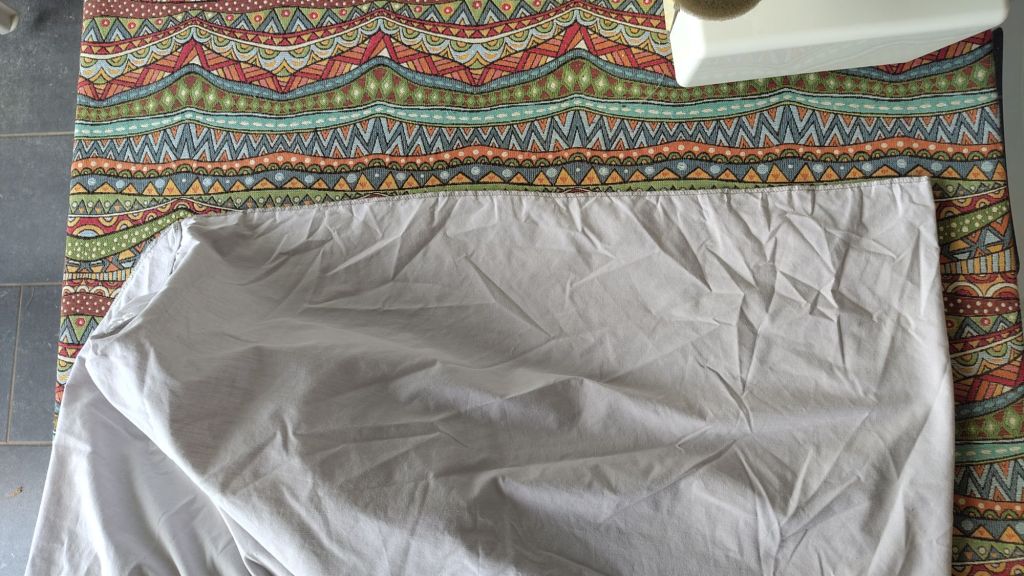
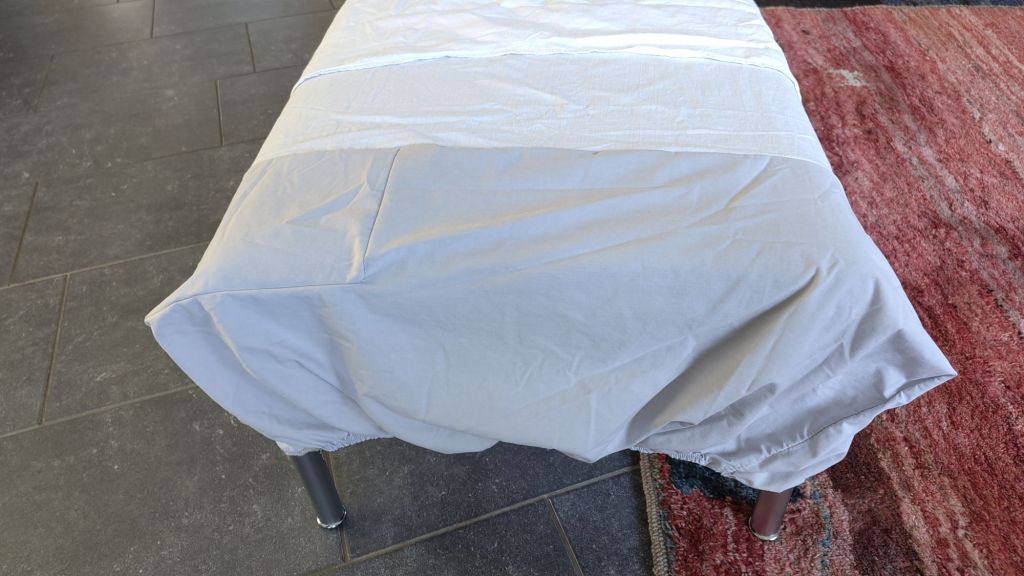
The fitted sheet, queen-sized 160*200
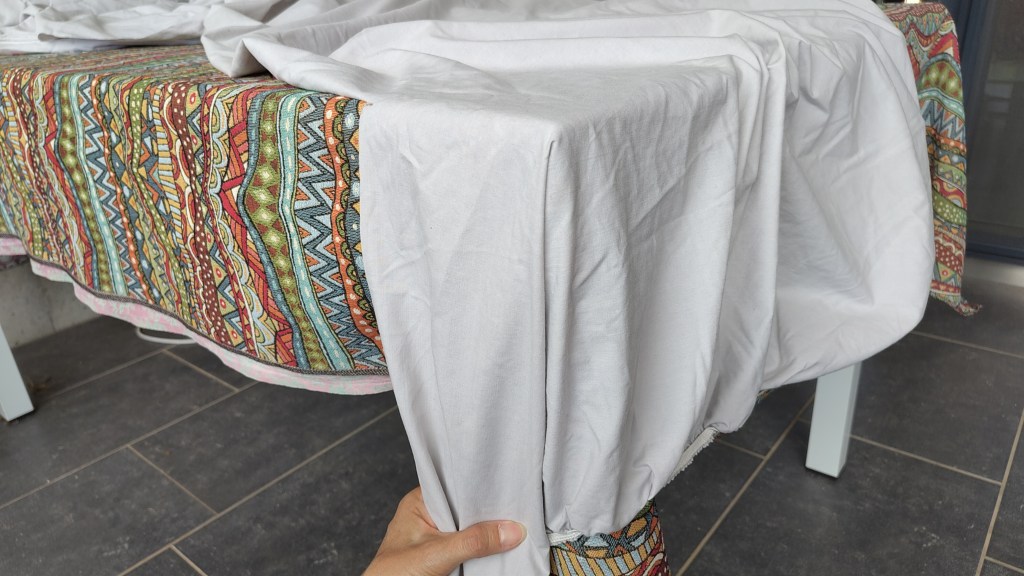
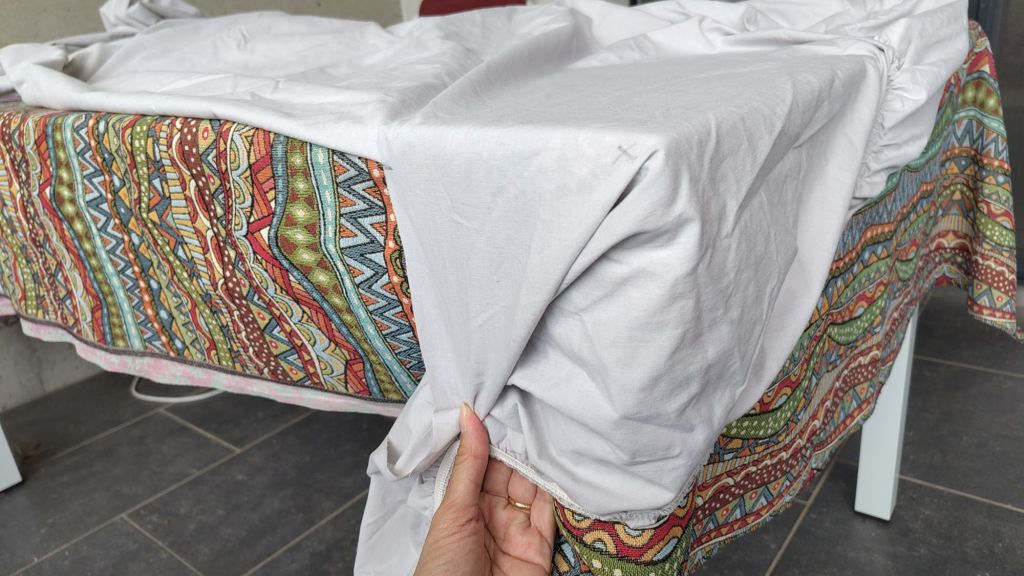
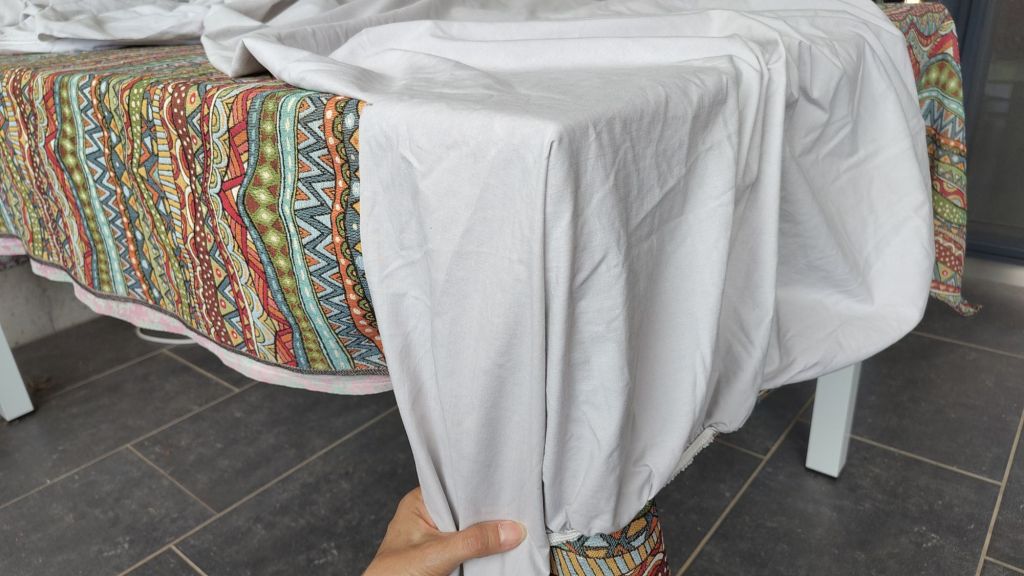
What’s important is that the top end of the mattress is firmly covered, so your head doesn’t touch the intensely used mattress. I can re-use one of the corners of the fitted sheet for the top part and I’ll have to invent a second one.
The feet and the body should have enough space inside the bag. The top sheet needs to be at least 100 cm wide to cover the body.
How to join the top sheet and the bag bottom …
We start with the bottom end:
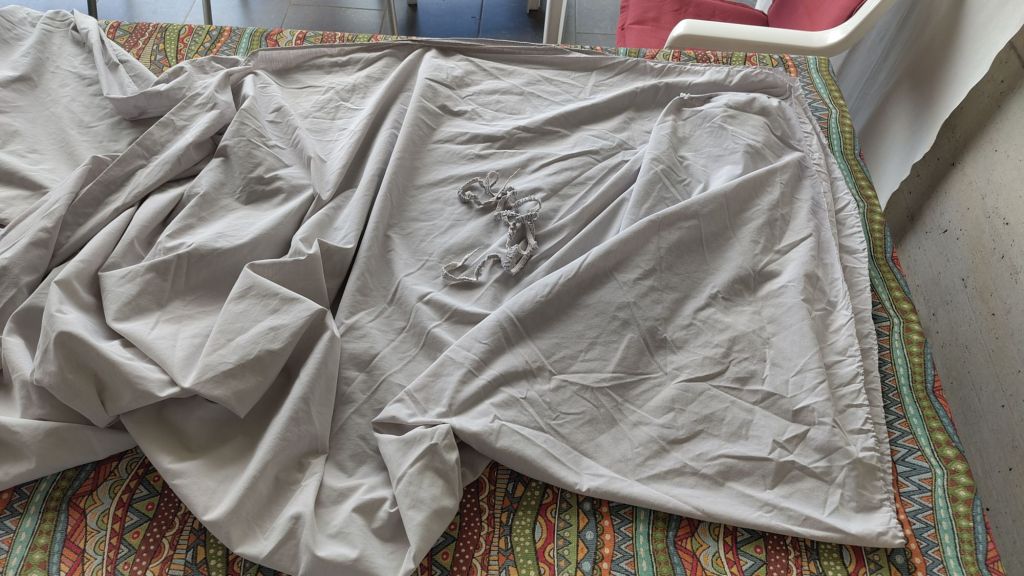
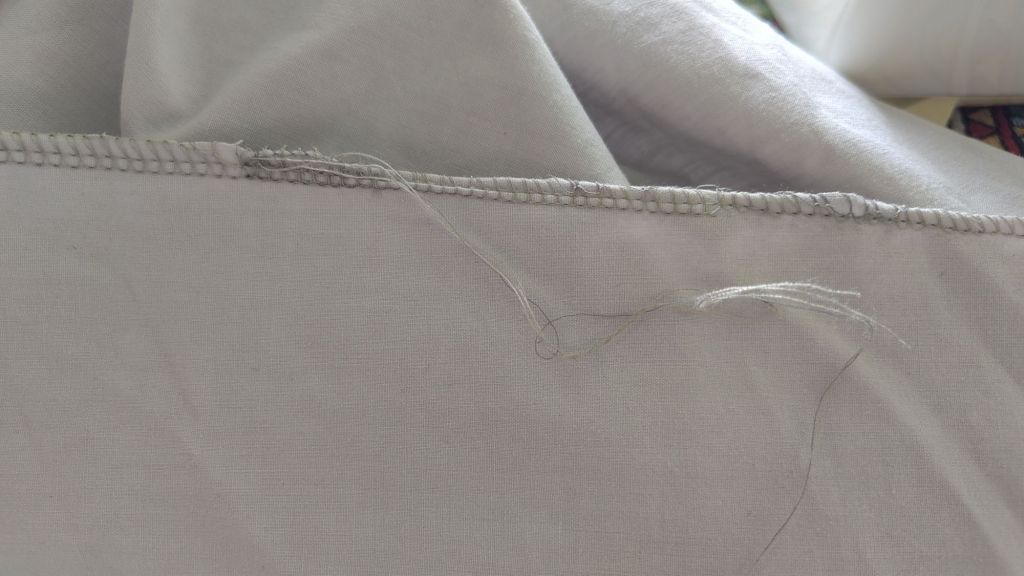
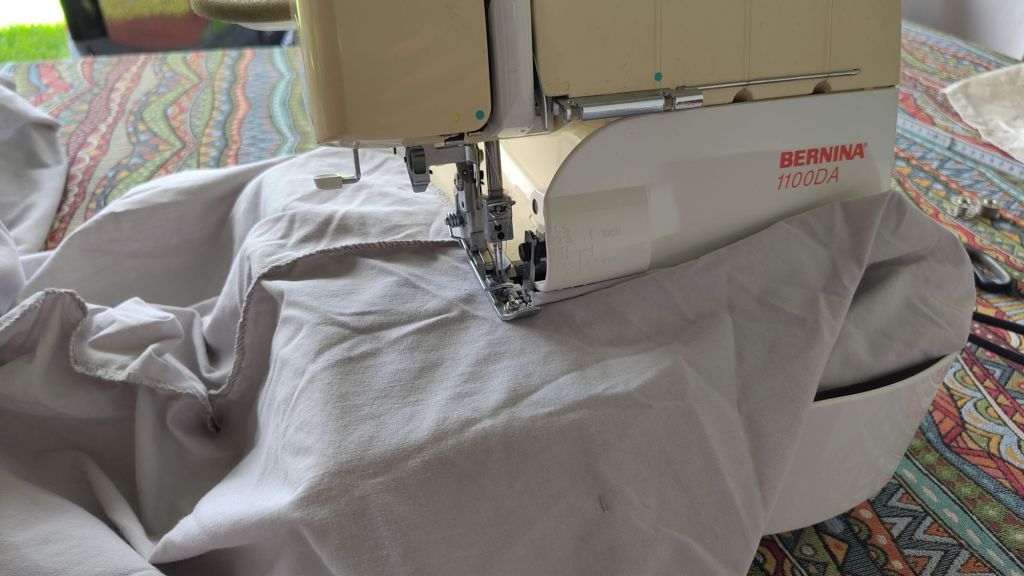
Cutting off the elastic to make the serging easier. It’s tempting to sew it closed right away along the bottom and halfway up the side, but my experience with pillow cases tells me it’s easier to sew the other parts while the bottom is still open.
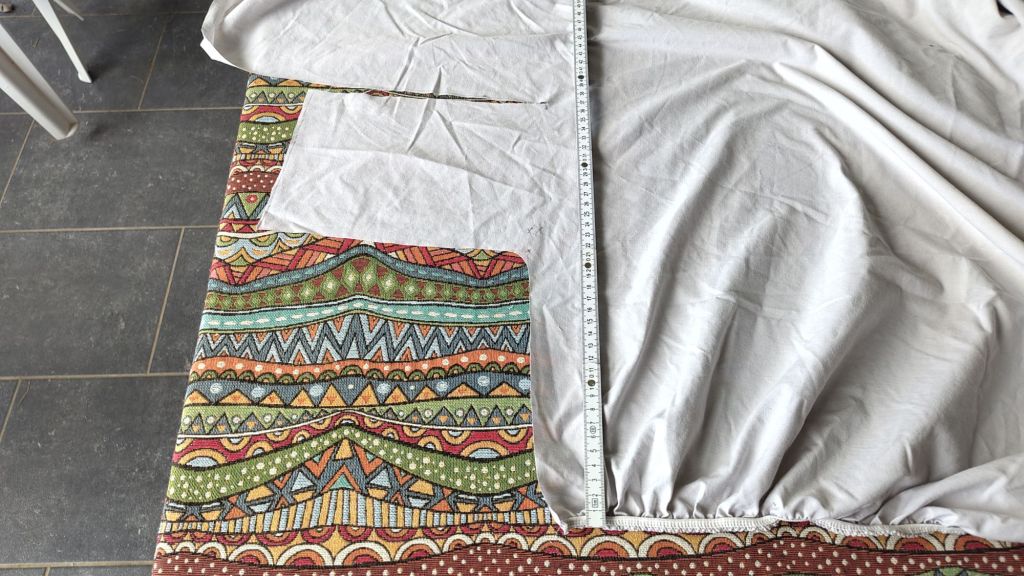
It was decided that the top sheet of this cotton sleeping bag should come to within 15 cm from the top end of the bed.
And it was decided to make the bottom part 70 cm wide so it would fit on mattresses from 60-80 cms.
With these two decisions the system is well-defined. The remaining degrees of freedom are very small.
Cutting line for the top sheet, 15 cm from the top edge of the mattress.
X marks the spot of the other corner of the bottom sheet, 70 cm from the other one.
If I cut the top sheet to size until the corner of the bottom sheet, then I can use the cut off part to make a nice corner that fits around the mattress.
How to finish off the corner where the top and the bottom sheet meet? I guess I’ll just serge around it in an 180° turn. It’s “only for three nights”.
Ad hoc, trying to make the most of the elastic part. Not really good sewing technique.
A proper corner. No elastic is needed for the 15 cm down the side.
The corner has been cut out.
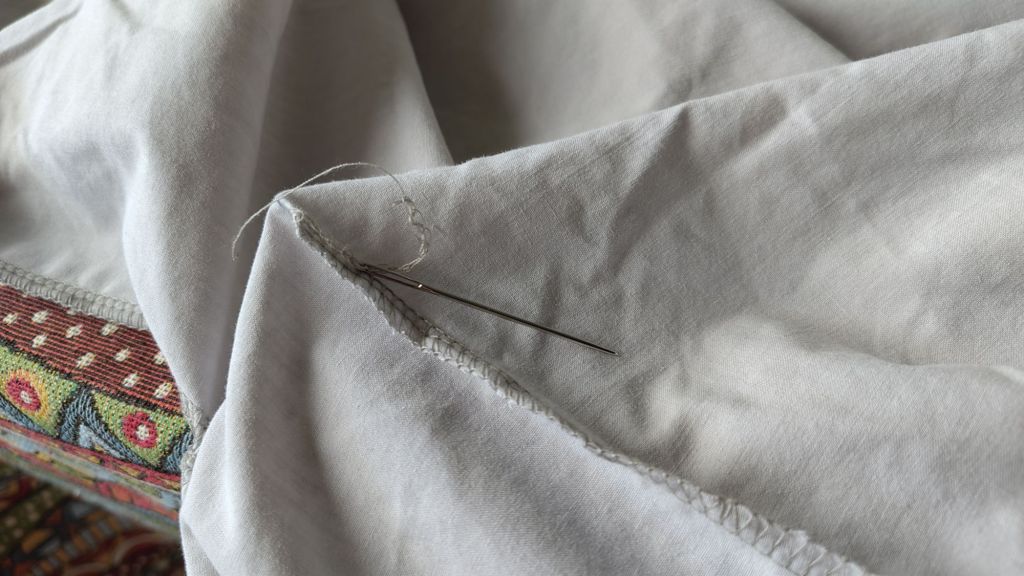
I’ll start with sewing the corner seam and then serge the edge of the bottom sheet, making that 180° turn and continuing across the top sheet and down the side. At some point I’ll insert the other edge of the bottom sheet so the bottom makes a nice foot bag.
Publishing this now. Stay tuned for the post-sewing part! Will it be what I want it to be?
Intermediate check when the thread ran out. Looks good!
New spool of thread, creating the usual problems. Doesn’t look good.
Managed to sew it all with odds and ends of grey thread. The foot part is not symmetric, as expected.
So I’m sewing off the corner to make a foot box.
Tucking in the ends of the threads because this sheet can be used inside-out if you want to have the opening on the other side.
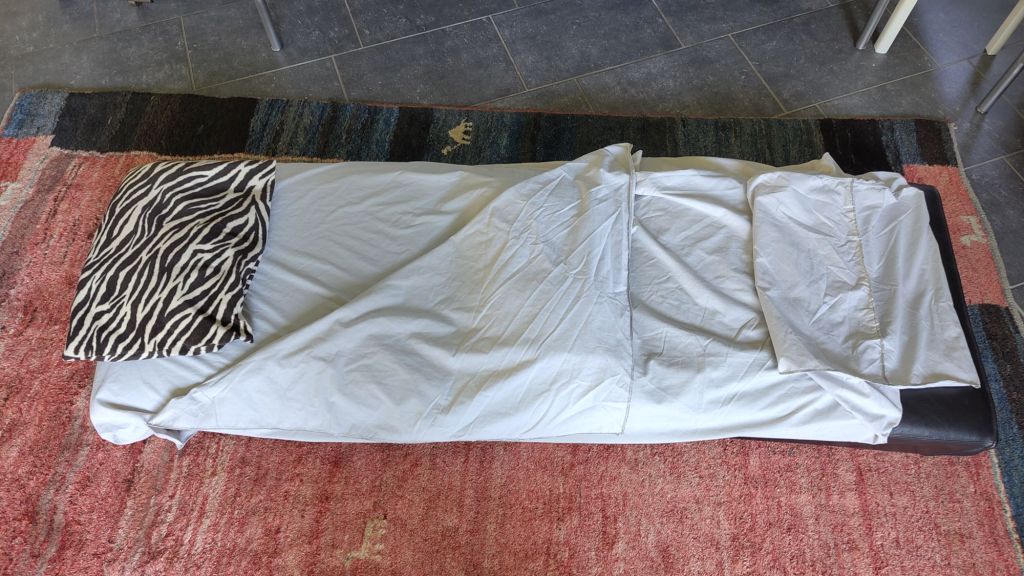
The finished hut sleeping bag!
With a spacious foot box at the end. It’s 185 long, 90 wide. Made of 50% cotton, 50% polyester and weighing 500g. Not the lightest but certainly the cheapest, and the most comfortable one!
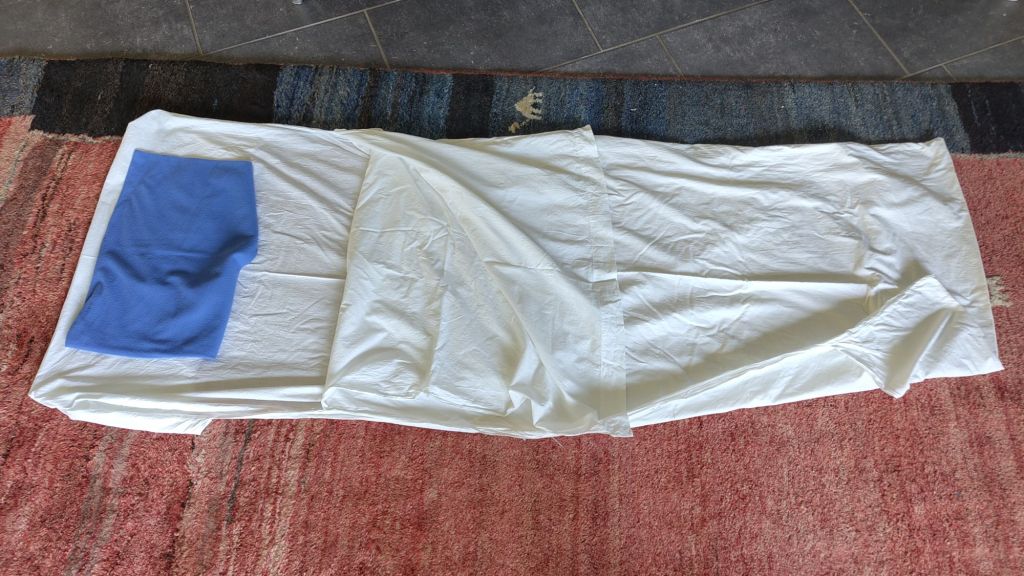
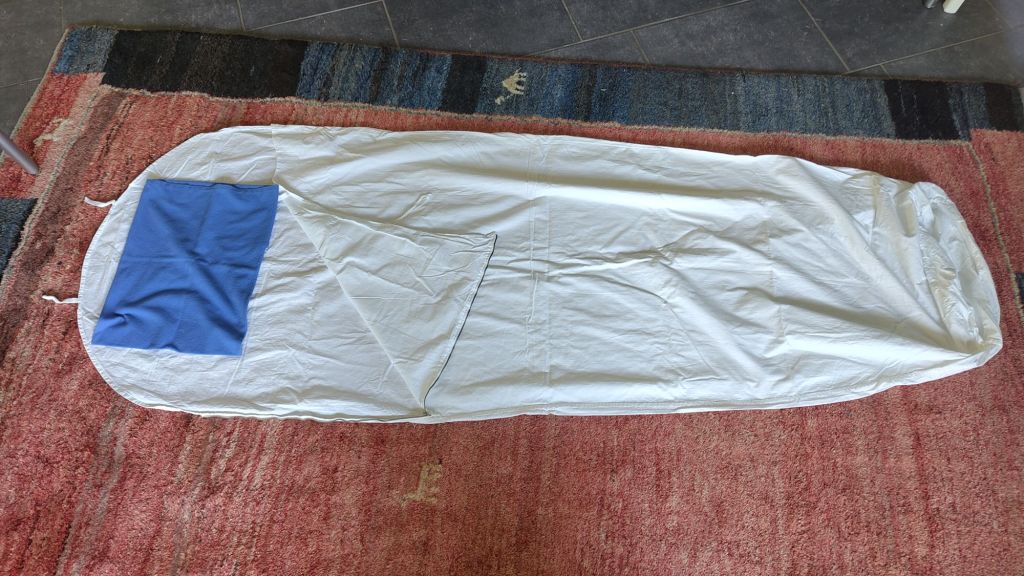
What about the other sleep sheets?
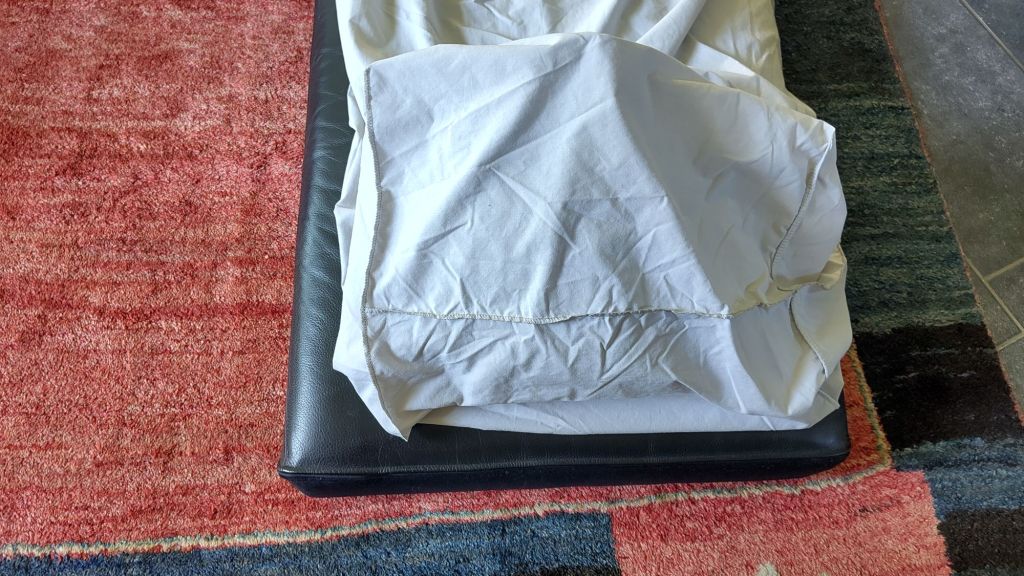
This one (185 long, 73 wide) has a pocket at the top and a pocket at the bottom. You need to bring a separate pillowcase. This works. The foot pocket could be removed as I doubt it would stay put. The material could make the top part a bit wider.
In the end I just ripped out the two little side seams and made it 15 cm longer!
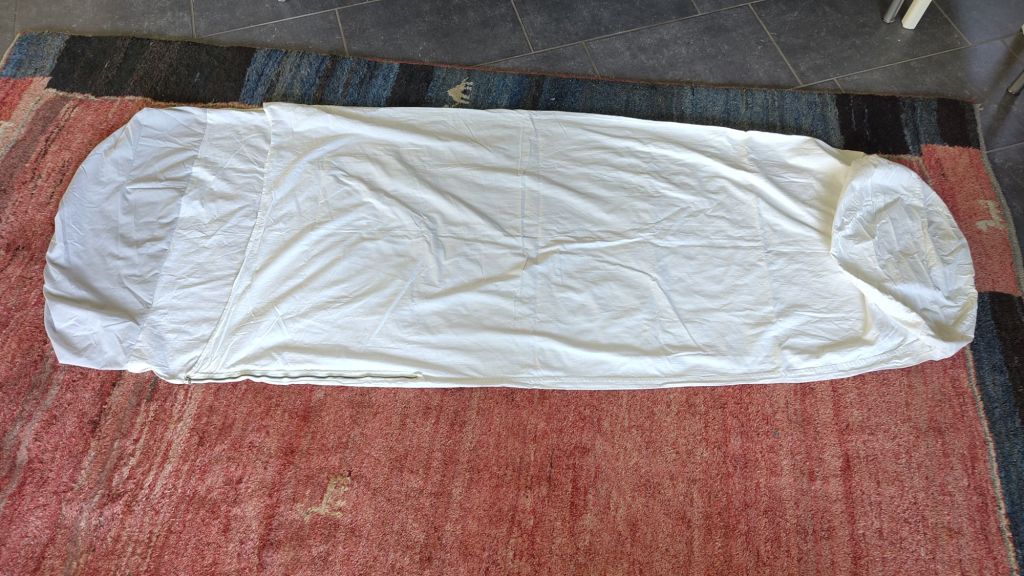
This one (175 long, 80 wide) has a zipper and a foot box but the top part is never going to stay in place. I have some leftover material that I cut off the fitted sheet. Maybe that can be used to create a pocket at the top which can go around the head of the matress.
The top part has been extended and will now wrap properly around the head of the matress.
It’s now 185 long.
The blue one is 200 cm long and 90 wide. Just one pocket at the top, with extra material around the shoulder part. Being a silk/cotton mix, it is the lightest, and by far the most expensive, of the lot.
What a relief to finally have a whole set of proper sleeping sheet bags for hut-to-hut hiking!
This ultralight water resistant organizer baggy has accompanied me on all my trips for the last half a year, the last time on a 17-hour train journey from Copenhagen to Zurich.
It contains my just in case it’s very cold safety kit, complementing my physical health and technical bike safety kits.
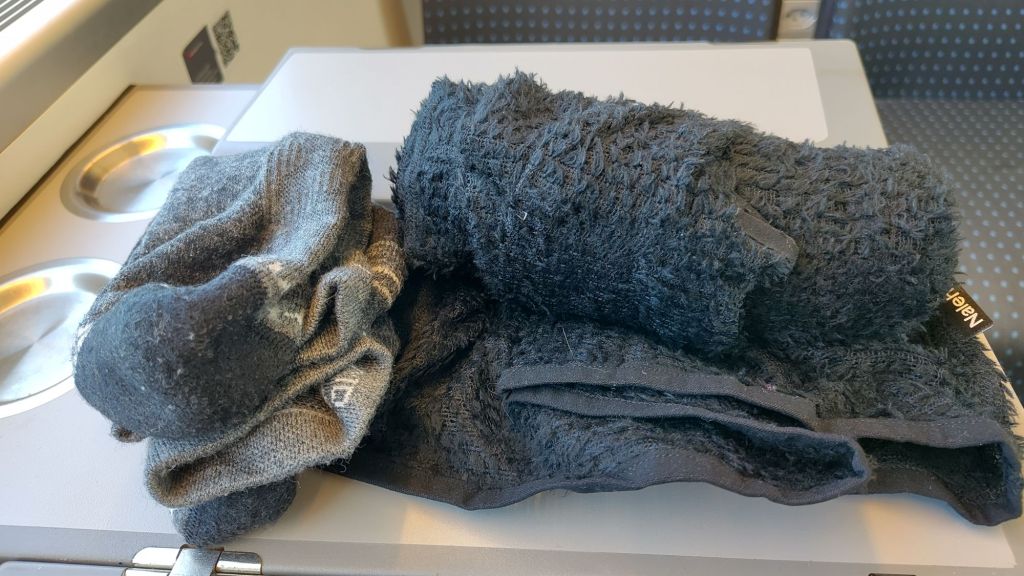
Today’s temperature safety kit
Merino socks and the alpha sweater I bought at ISPO2025. I usually have a beanie in there too, but didn’t think I’d be that desperate on today’s three hour journey.
Even though there’s a heat wave rolling over Europe, you never know how cold it is going to be, especially in the couchette section of the train. On the way up to Hamburg a freezing draft had come down on my head so the beanie was a headache saver.
This organizer has no hard parts that can scratch, so you can just slide it in anywhere. The zipper is small and slices nicely. If a water bottle or other liquid leaks in the backpack then it will keep the contents dry, due to its waterproof zipper. I could just jam the socks, beanie and sweater down the side of my pack, but then it wouldn’t be easily reachable and the alpha sweater has big loops that catch easily on hard parts. I like having it all in one easily recognizable baggy.
At one point towards the end of the train ride I had some yoghurty garbage I needed to take with me, so I did temporarily move the contents down the side of the main compartment and put the sticky garbage in the organizer. At the hostel I rinsed the baggy out and it dried quickly.
What I really like about this organizer is that it seems to contain much more that its 1 liter size and 16 grams of weight indicates. The shape has almost optimized the material vs volume equation as it is almost round. This is especially true for the next size up 5 liter organizer, which weighs only 20 grams.
Lovely Lunchbag
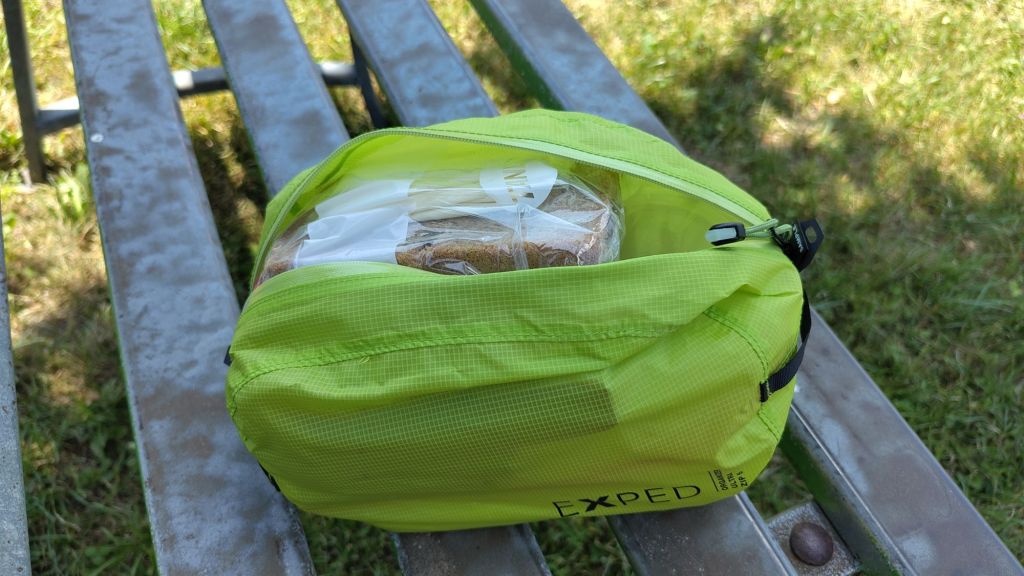
While cycling I keep all my lunch food and snacks in this organizer.
It fits perfectly in the handlebar bag, creating a second layer of insulation, keeping the bike bag clean, and allowing me to quickly bring all my food to the lunch spot. It’s amazing how much fits inside, and if I end up shoving this bag with a squished nectarine inside another bag, I can be sure that it will stop a big sticky mess.
The material is robust, showing no signs or wear, it feels nice to touch, and had easily recognizable colors. These organizers have an optimal size to weight ratio, have sealed seams and handy loops to hang them up.
Although I originally didn’t need two more baggies, I have grown to love and appreciate these additions to my organizing system and they travel with me all the time now.
Thank you, Exped, for another ingenious, well thought out piece of traveling equipment!
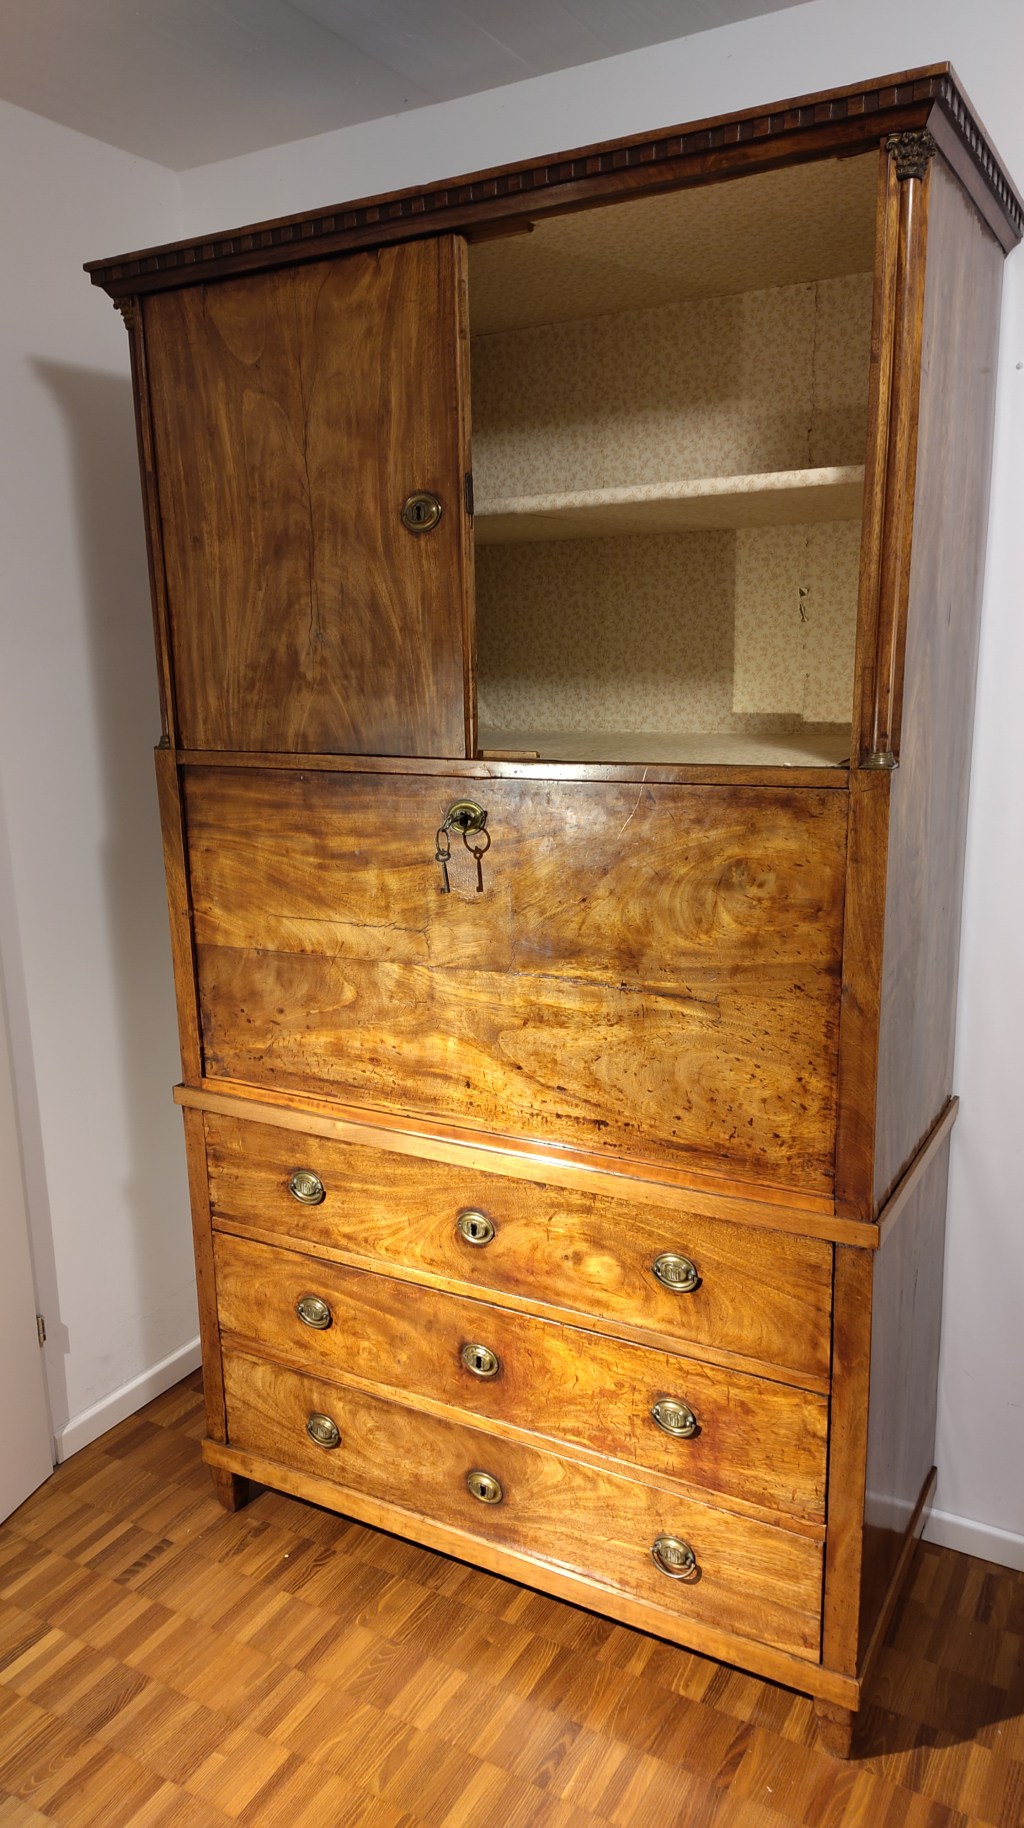
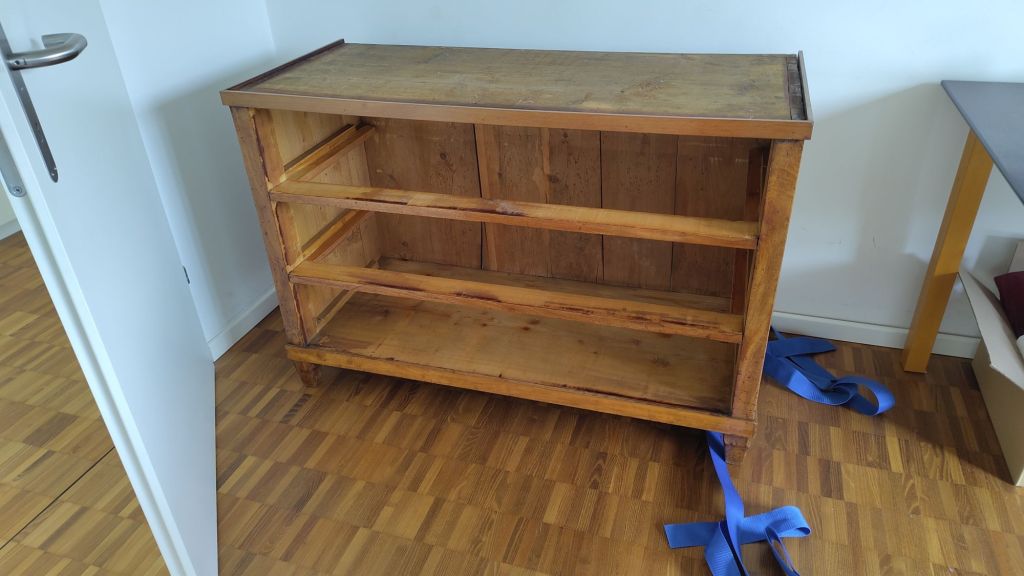
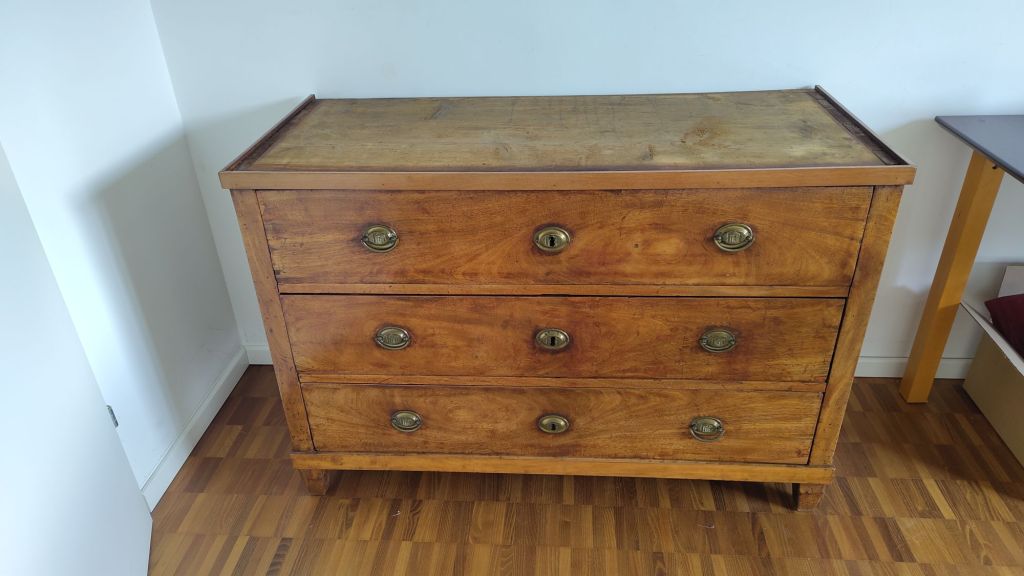
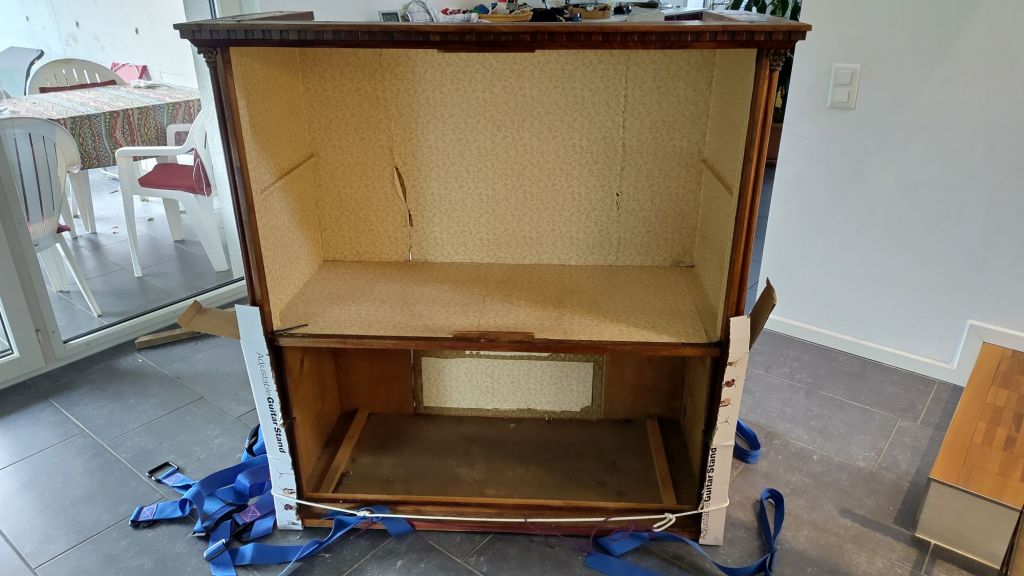
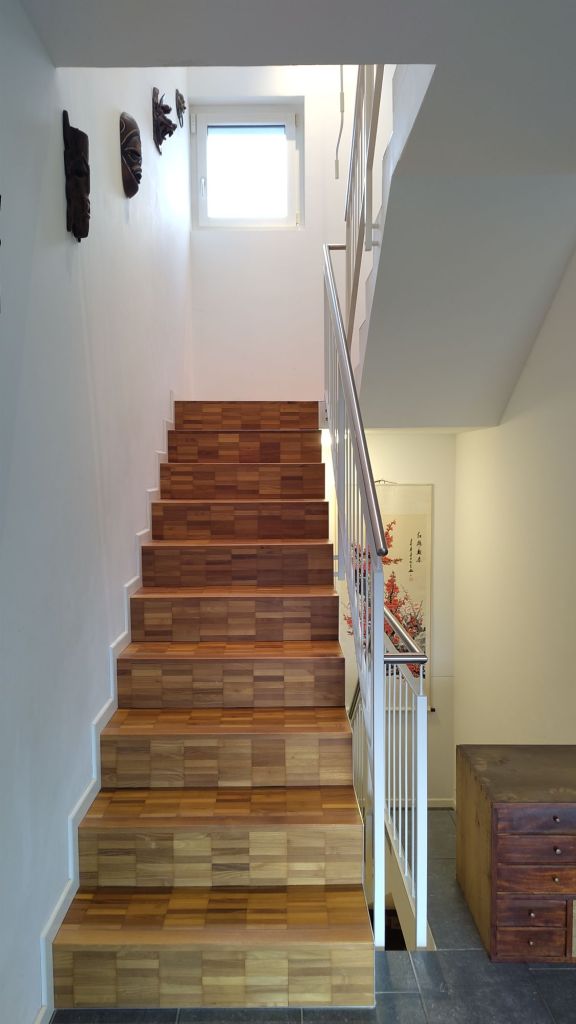
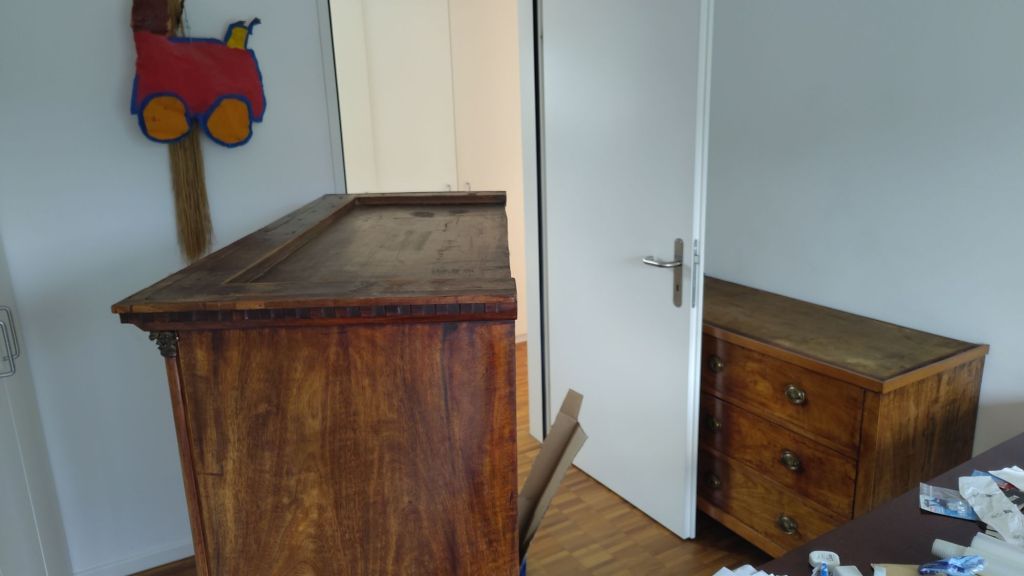
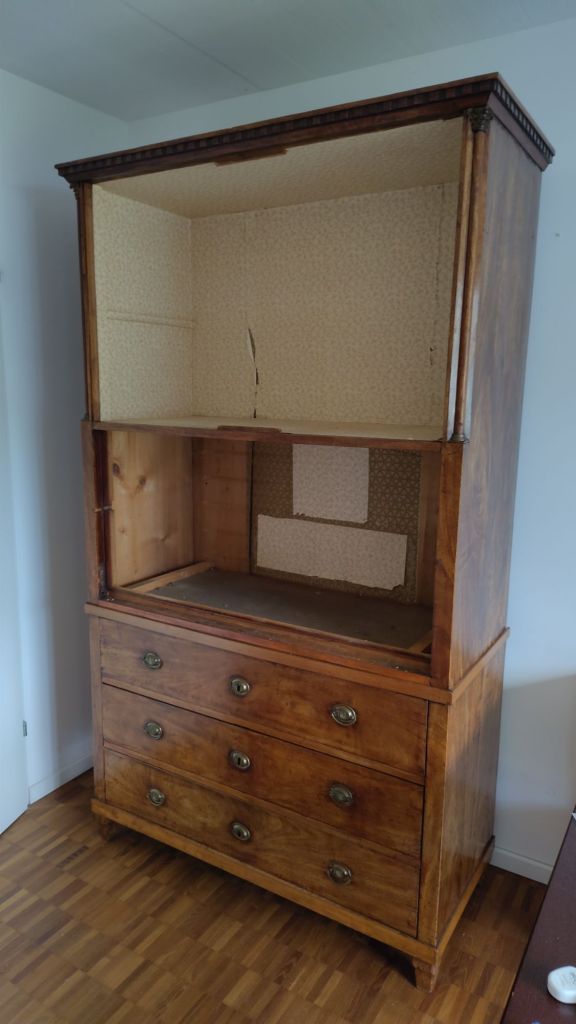
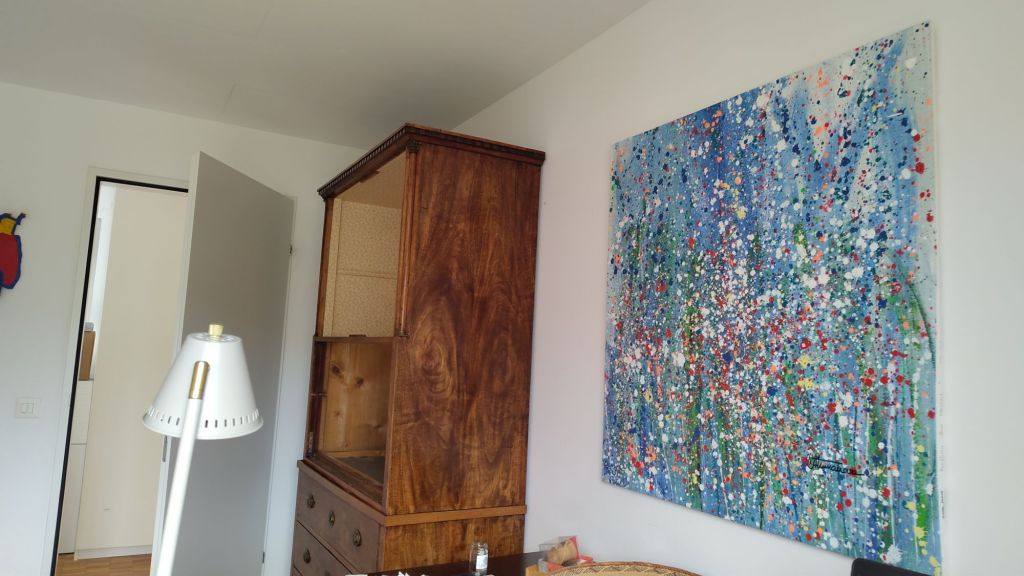
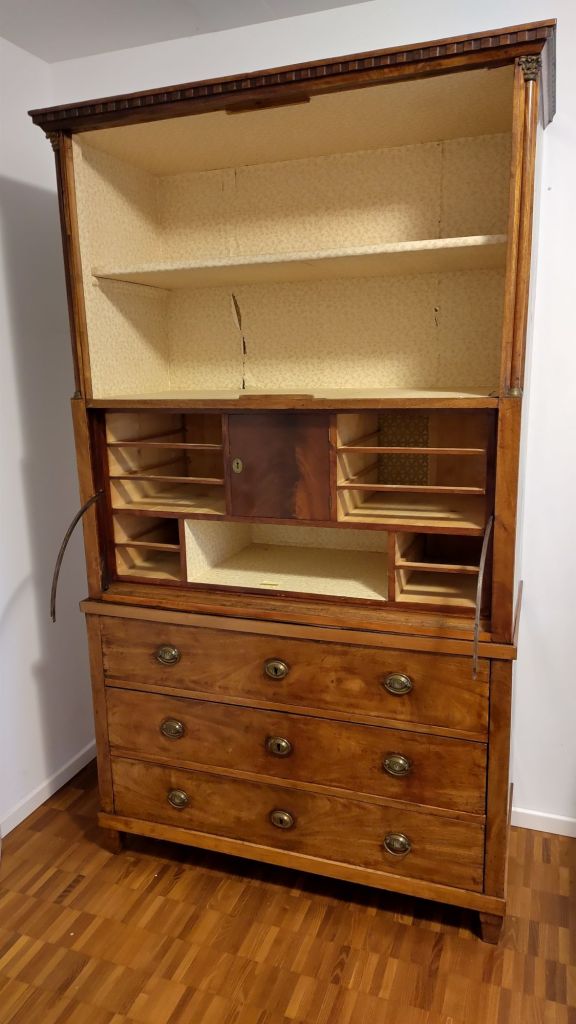
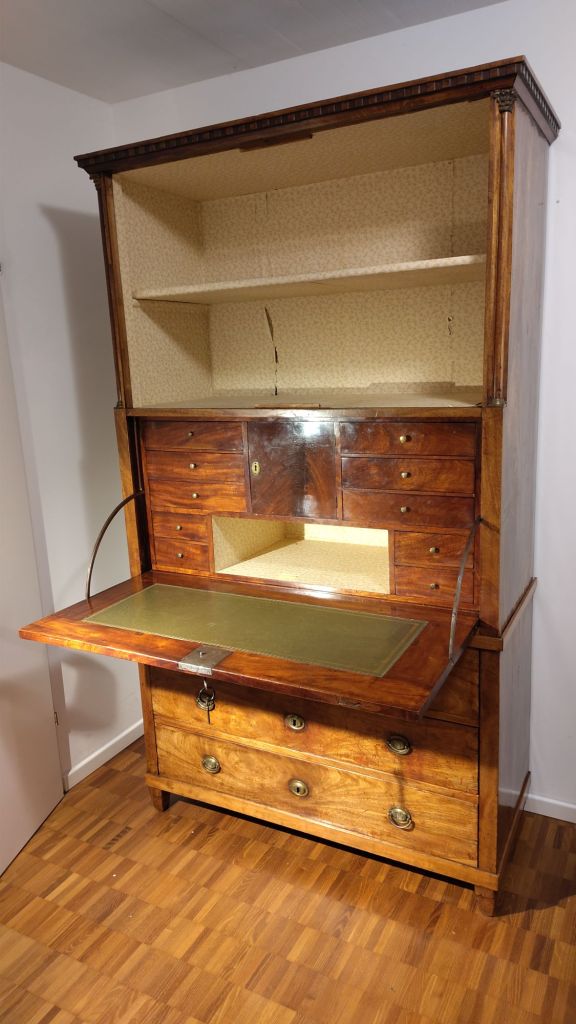
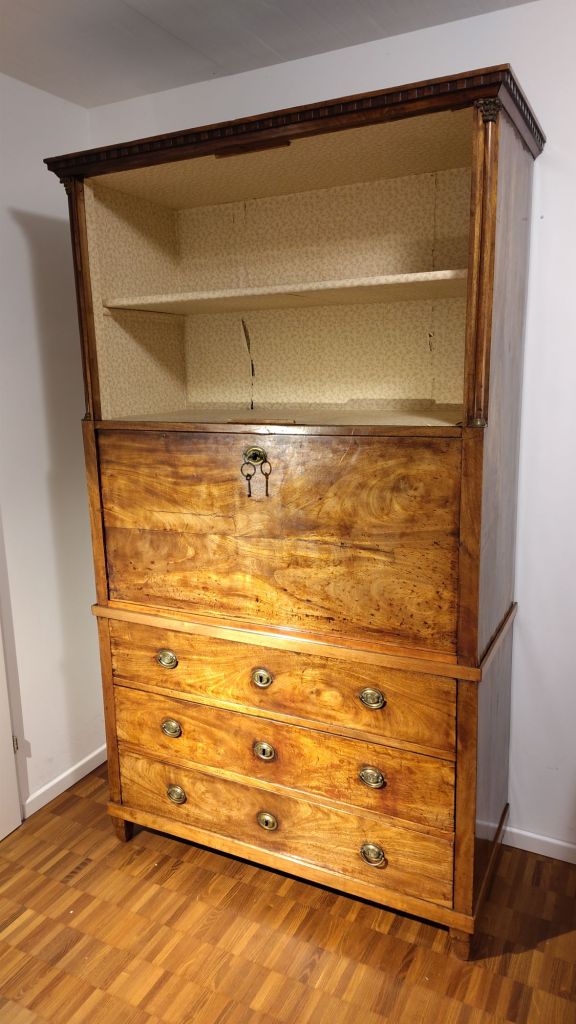
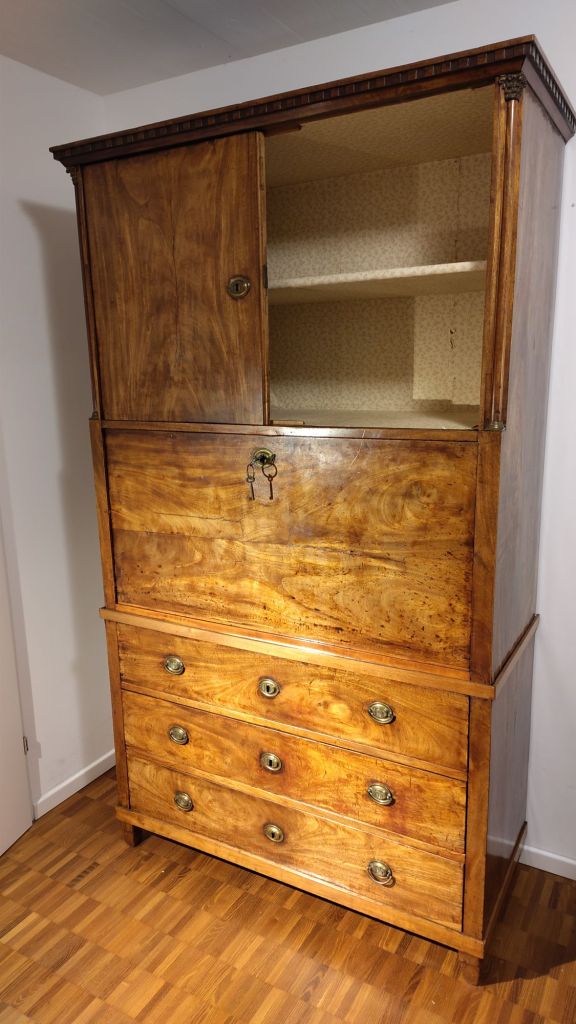
The empty bottom of my aunt’s cupboard, not too heavyLooks nice immediatelyWe took the doors off the top structure. It’s rather high so we used movers’ straps and a “cradle” of rope to stop the straps from sliding off the end.We reduced the weight and stabilized it as much as possible to bring it up the stairsManaged!Even putting it on top of the set of drawers!Looks great alreadyPutting in the rather heavy internal drawer structureThe drawers and the writing surface. It’s a well-built piece of furnitureBeautiful woodThe other door needs to be repaired first
Happy to have made it up the first big hill, along a good train-level grade in the shade
Lunch at the cemetery overlooking the valley
Seeing a deer cross the road in the provincial park
Long cool rides in the shady forest
Arriving at the Lago di Varese
A cold beer upon arrival at the campsite
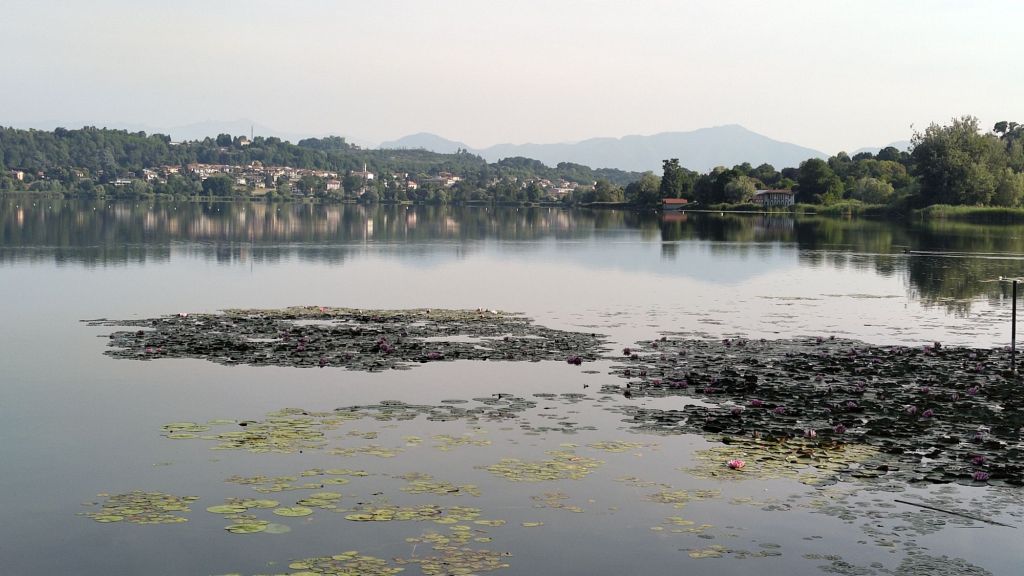
Recovering at the Lago Comabbio (Unfortunately no swimming due to the algae)
Shower and dinner at the campsite
Waking up beside the lake
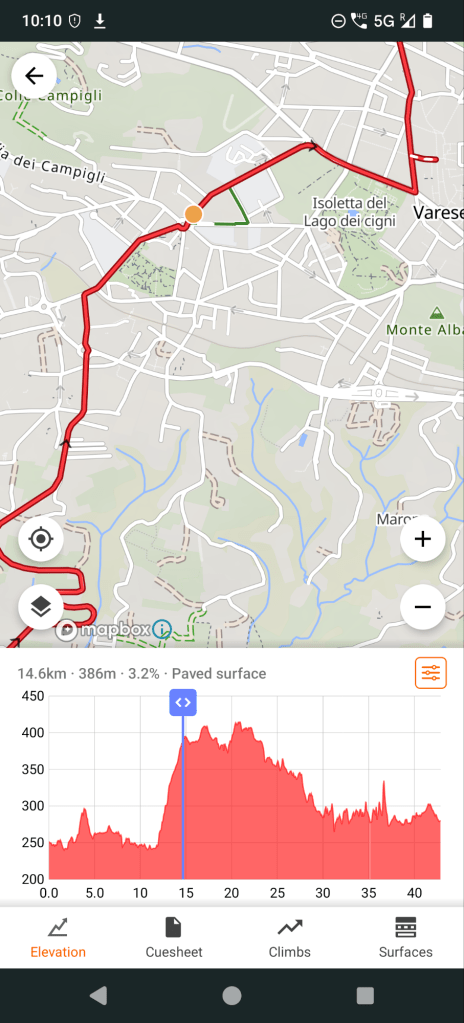
Happy to have made it up the second big hill (from hell, steep and scary)
Delicious cappuccino and croissant from a nice woman who offered me the use of the bathroom “because I was a cyclist”
The views on the way down
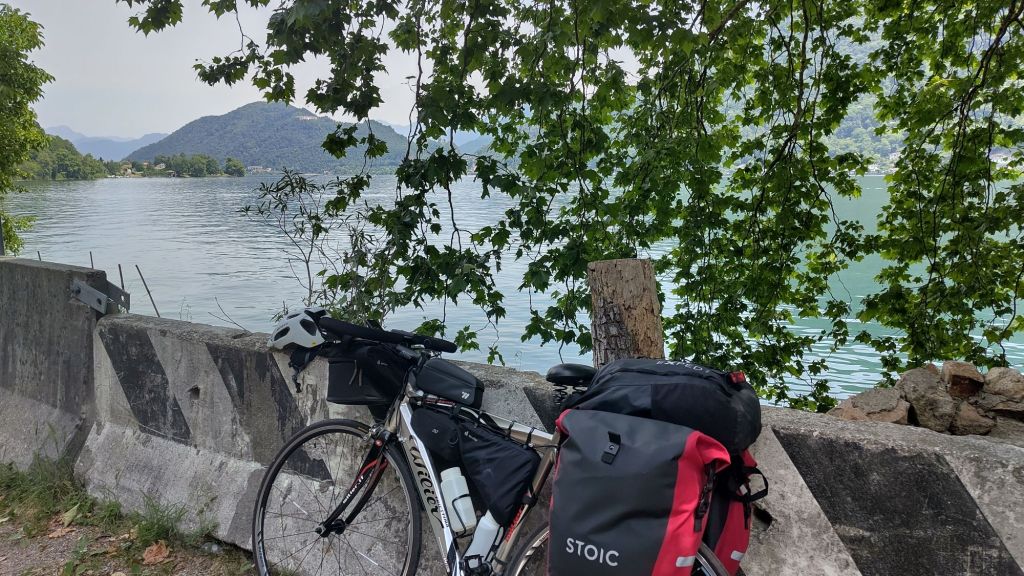
Riding along the lake of Lugano
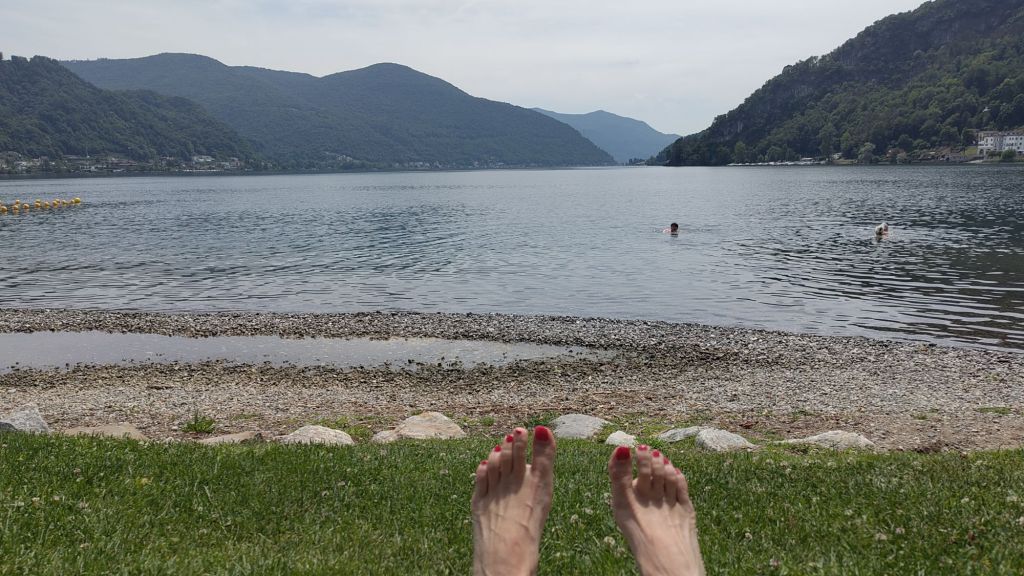
Jumping in the lake at the end of the trip
What went well?
Acid seat post bike rack: I had fastened the screws holding it to the seatpost really tightly and the rack didn’t budge. Nice and solid.
White longsleeved wool shirt: it let the breeze through while keeping the sun off my arms. And didn’t smell bad at the end of the day. It even looks nice, though a bit see-through. But many people in Italy were wearing see-through tops on this hot day.
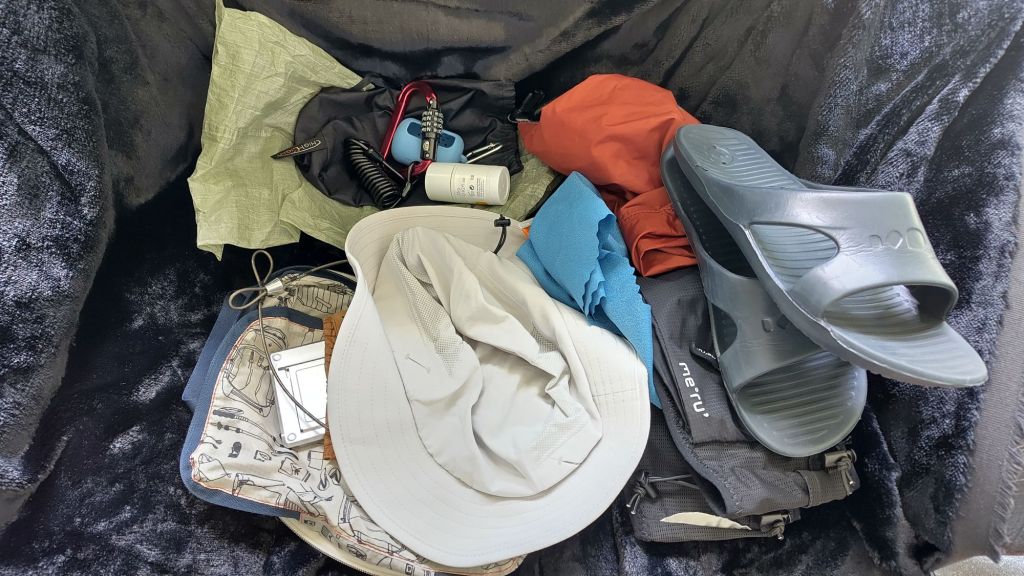
Flipflops: work for taking showers and wearing to the restaurant. The slides are not really elegant enough to wear with my LBD and the sandals are heavy and not great for the shower. Flipflops are fine as long as I don’t need to walk long distances. (But I’ve got my bike for that.)
LBD: my gorgeous little black dress from Arc’teryx works as a bikini cover-up, post-shower wear, and out for dinner. And it doesn’t weigh a thing!
Medium-sized super thin towel: big enough to lie on, even luxurious when put on top of the evazote pad
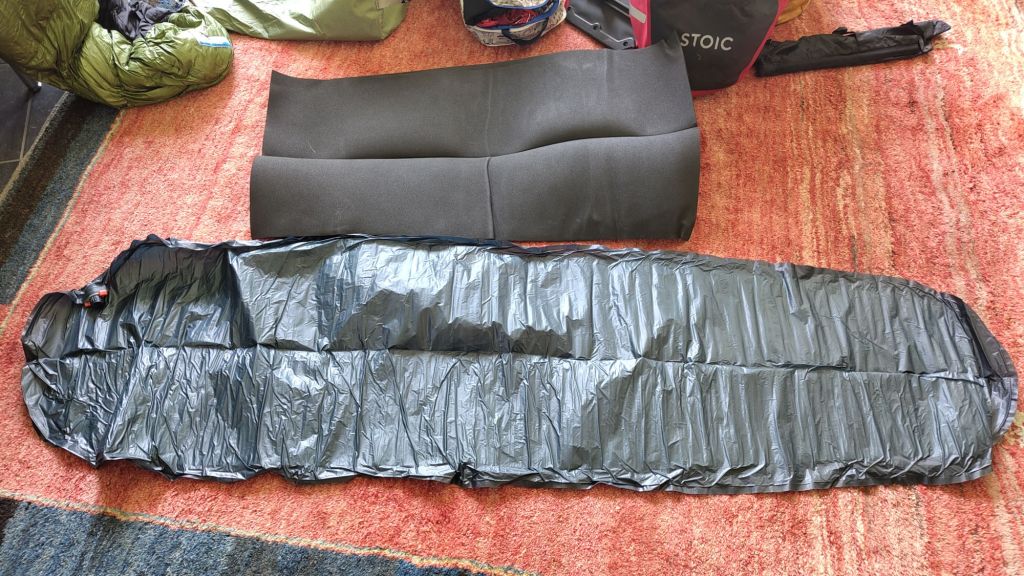
4 mm evazote pad and 250g thermarest neoair sleeping mat work well together
As my bike trips are generally at low altitude in warm weather, a super light sleeping mat is good enough. Just in case it pops, I also have an evazote pad. This pad is also great for relaxing in comfort on hard ground by the lake and keeping your wet towel from picking up dirt. Staying clean and presentable during a multi-day trip is not so easy. Since road cycling is by definition in populated areas this is a thing, especially if you take the train home at the end.
Food&drinks: good to have a range of things to eat and drink. Water, maltodextrine, magnesium. Oats with milk powder plus dried or cut fruit is perfect to eat in bed. Hardboiled eggs are great too. So is a carrot or some cherry tomatoes. But not in ziplocks – I should make my own dyneema baggies!
Matches my jacket and nice fabric too!
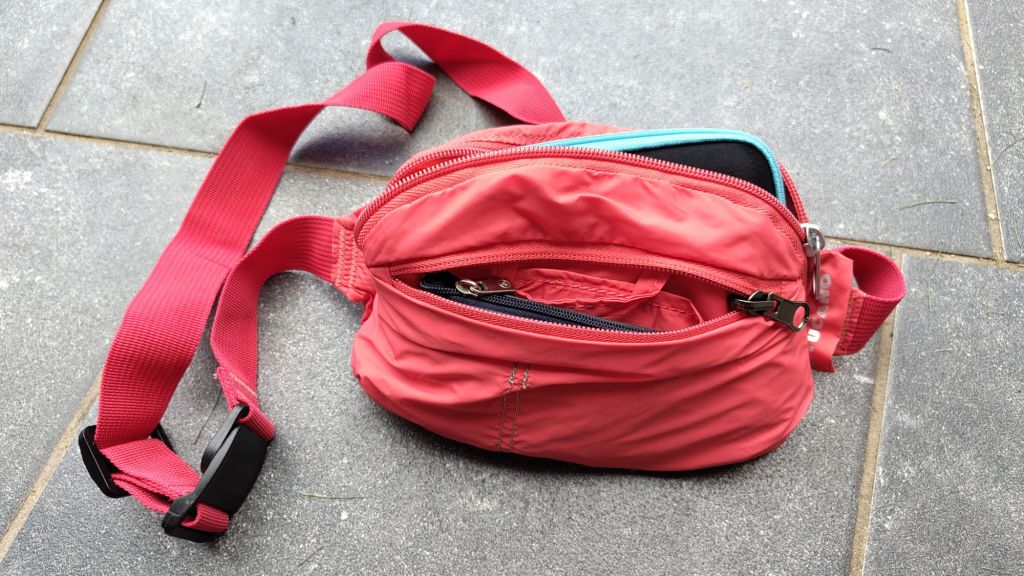
My Tucano hip belt looks stylish when worn as a cross-body bag. It’s just the right size for my wallet, alternate glasses, Coros Dura navigator, and phone. My Mandarina Duck bag got stolen on a bike trip last year, with all my valuables in it!, so my bag needs to be worn the moment I step off the bike. Needs more practice.
Speaking of which, the Coros Dura navigator kept me on track the whole way. The couple of times where I accidentally didn’t follow it were disorienting. Especially when I took the wrong turn on the roundabout and ended up on a fast road in an unlit tunnel! Or when I got momentarily lost in a maze of small streets.
The first aid kit was useful for stopping the blood from getting on my stuff after badly engaging in the dangerous activity of cutting a nectarine into small pieces with a very sharp ceramic knife. (Lightweight too! But will it pass security?)
What should I keep on doing?
Riding
Reducing weight to a minimum.
What could be improved?
The new bike seat was uncomfortable. The old one felt so good when I mounted it again. I need to raise the seat back up. Would the old saddle be good enough for a week-long trip?
My gears didn’t change smoothly. Need to adjust them.
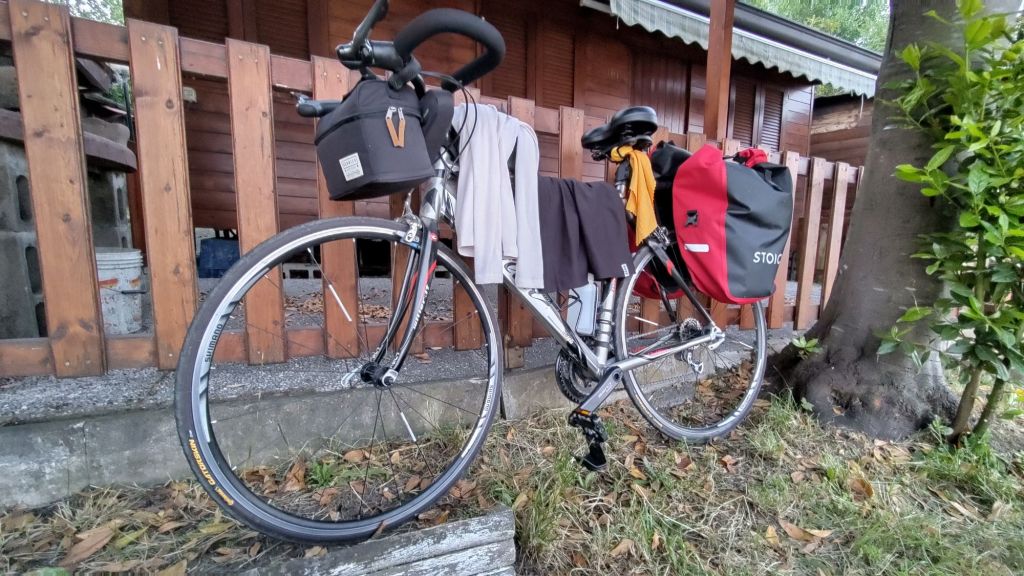
I had just started out on my ride the day before yesterday when a Swiss-German guy remarked, headshakingly, “Uf en ne Rennvelo?” This didn’t really make me feel good. The guy I bought the bike from certainly weighed more than me plus my 12 kg of baggage. Maybe wider tires would be more comfortable on the gravel parts but there wasn’t much of it and I have anti-puncture tires now. Yes, wider tires might be a smoother ride if I ride more on gravel in the woods … but is that worth buying a whole new bike? The ultimate questions: how much does it weigh and how efficiently does it get you there?
Proof of puffing
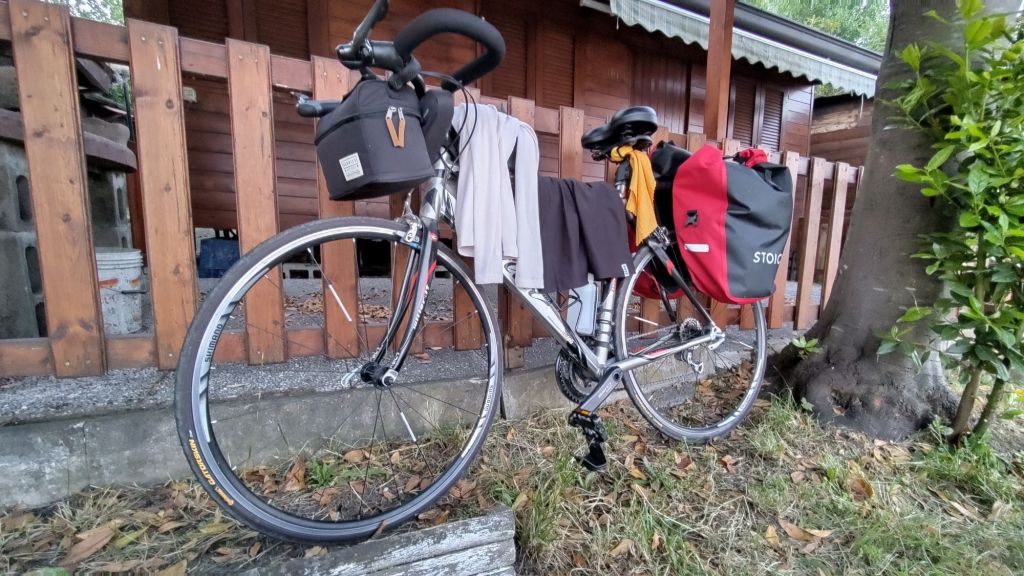
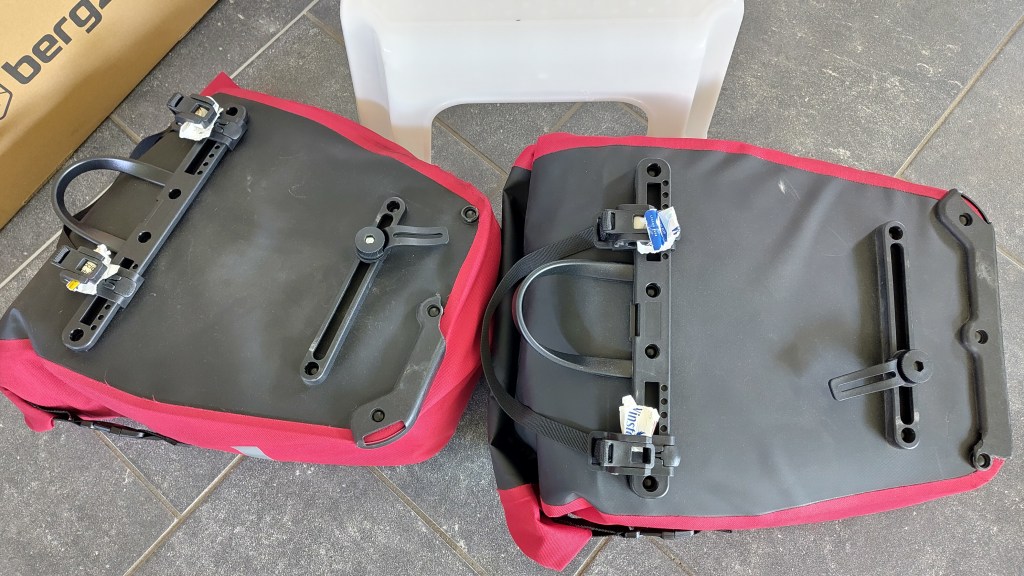
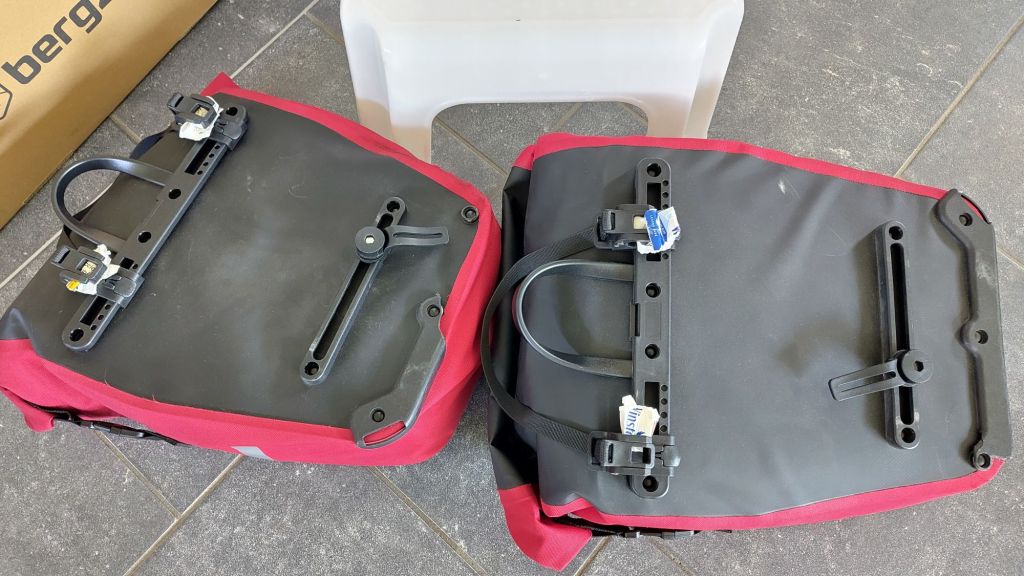
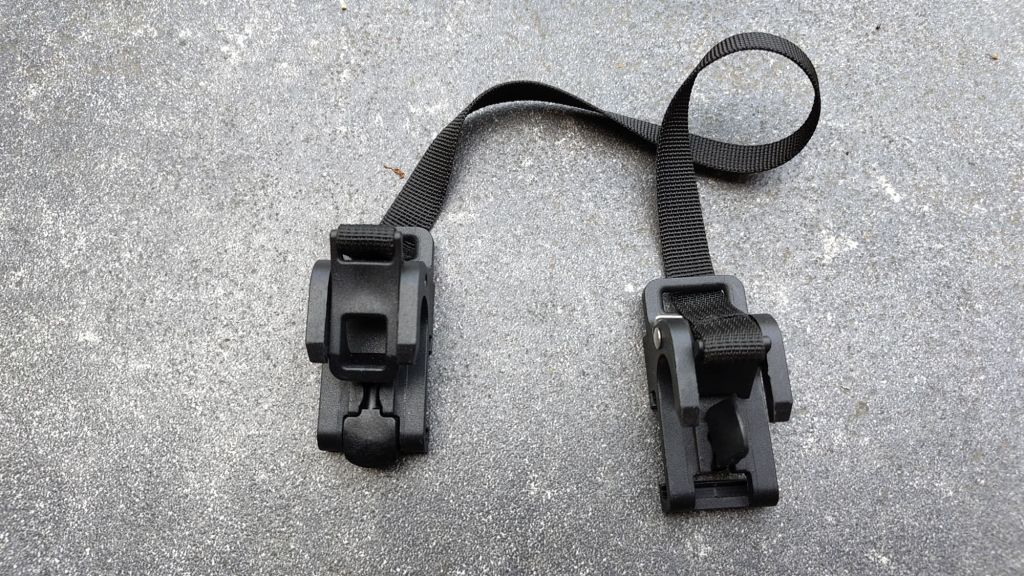
The clasps of the panniers rattled and I feared that one of them would come loose and break, just like on the last trip so I padded it out with a discarded cigarette box. I should have looked for that padding material at home. (I still can’t find it so maybe I’ll just order some.) This was actually quite a source of stress during the whole ride, fearing to hit a pothole at speed with the pannier flying off and/or bringing the bike to an uncontrolled stop, while on a fast narrow road with no shoulder.
I could bring the non-broken clasp from the pair I replaced.
It’s not so easy to ensure that the pannier with a broken clasp stays in place using a piece of string, and the consequences of a pannier in the spokes are annoying, if not downright dangerous. So bringing a replacement clasp is worth the space in the bike first aid kit.
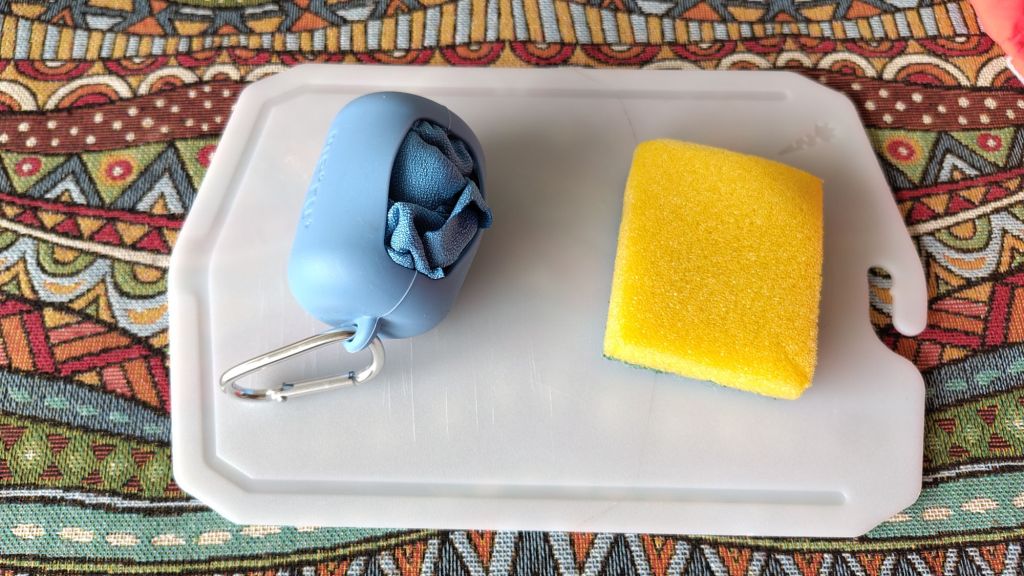
Bring cutting board, plus scrubby and towel
The ceramic knife is extremely sharp. I cut myself while slicing the nectarine for breakfast. Do bring a cutting board next time instead of winging it in the air. Also useful for safely cutting salami, which I craved at the end of the day. A sponge and drying towel are also a good idea. Then why not an esbit stove, pot and a rehydrated meal … I wouldn’t have to sleep in a campsite at all! No beer and no shower though …
I stemmed the blood flow with a very old bandaid, which disintegrated very quickly. So review the first aid kits!
Another dangerous activity is riding on a fast narrow road through a dark tunnel. Fortunately I was quickly able to increase the power of my front light so I could see where I was going in the dark. My back light was probably underdimensioned so I should get astronger back light. SeeMe300 or the SeeMe400 with a built-in motion sensor, which automatically switches to maximum output when you hit the brake.
Maybe, maybe not to change
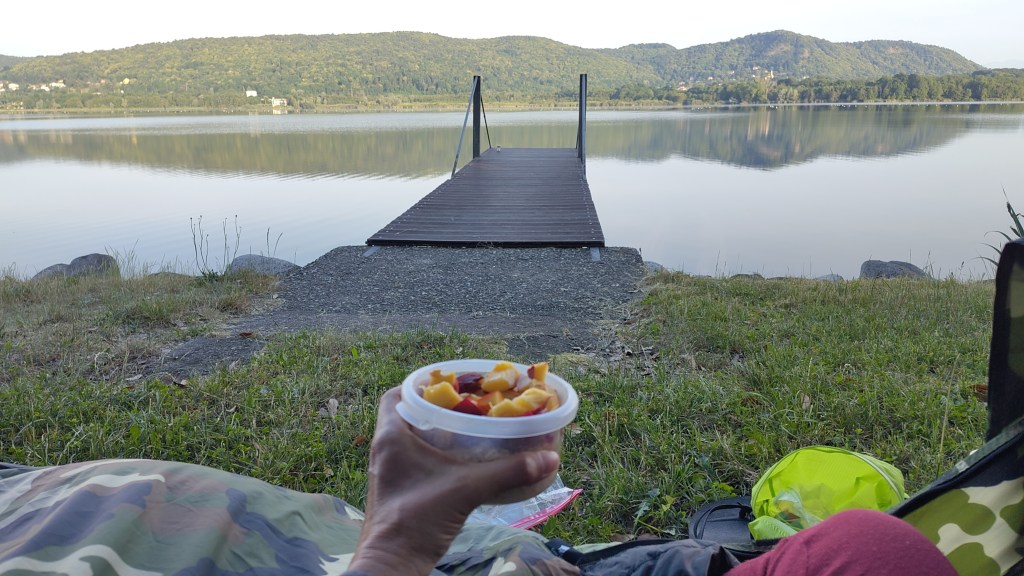
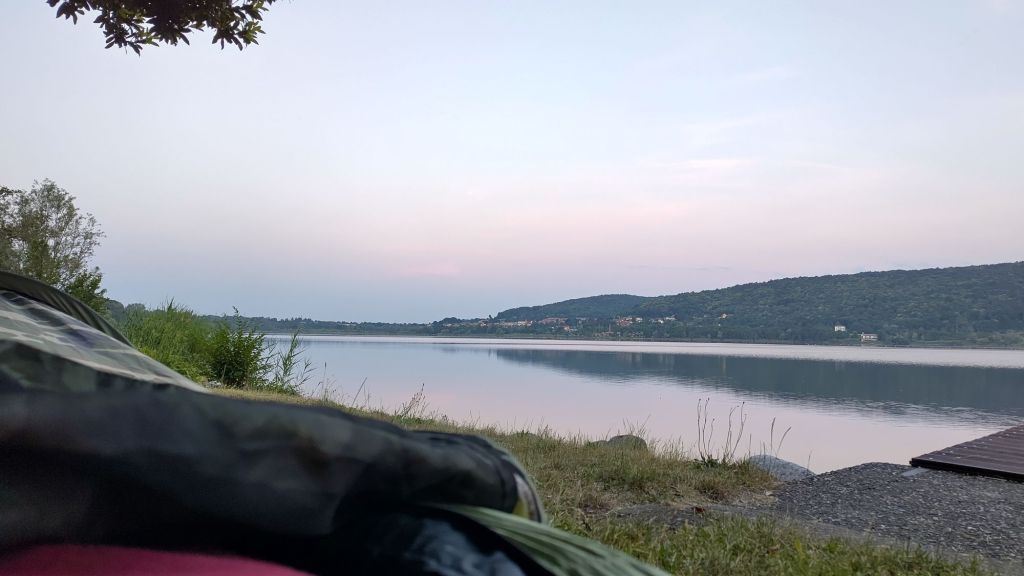
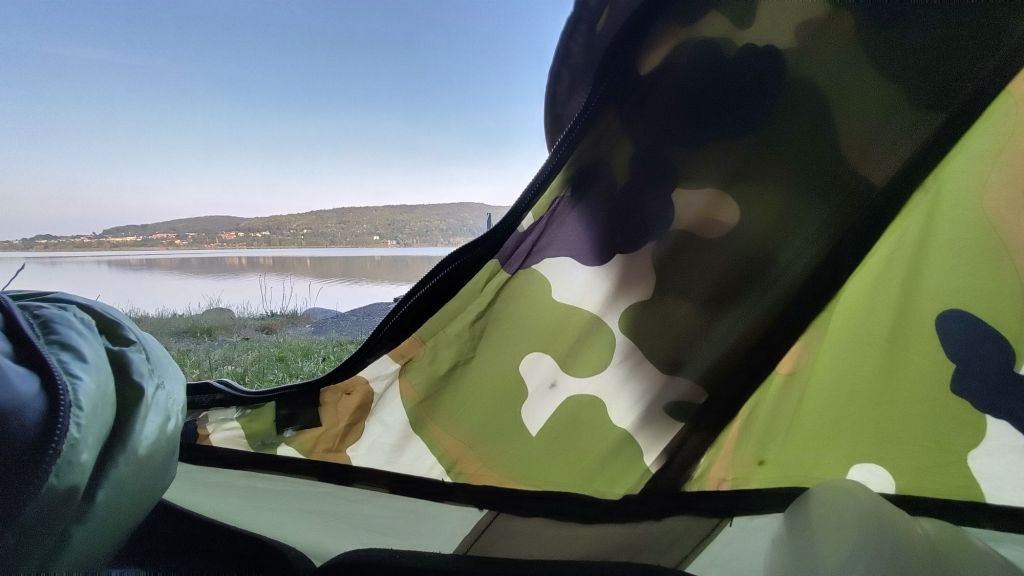
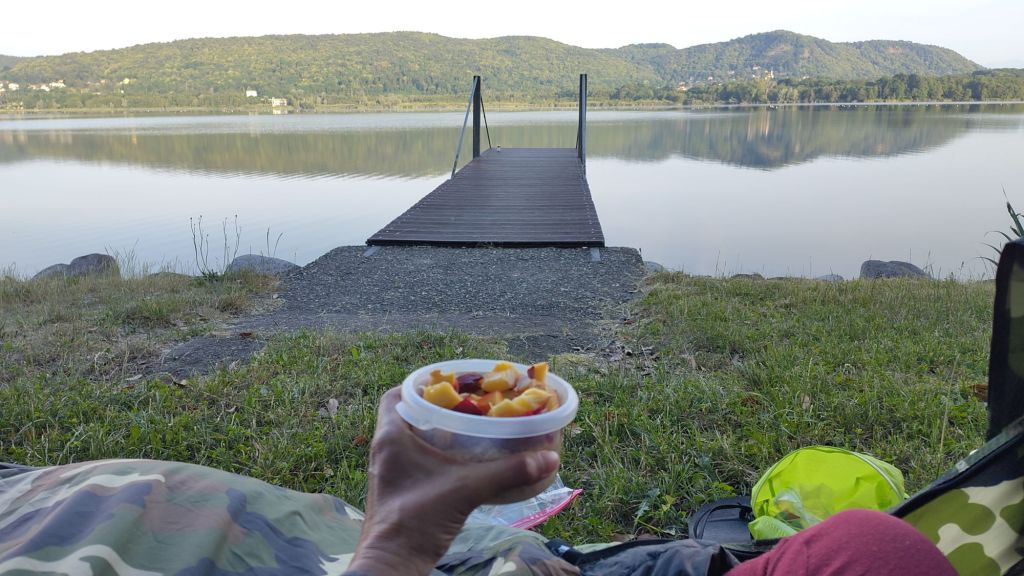
The camo bivvy bag was a kind of suffocating ziplock at some point during the night. So I opened the outer shell completely and even opened the mosquito netting to let some fresh air in. There was no condensation in the morning, and I do like to eat breakfast in bed with a view. It really only needs two pegs to set up. I could permanently attach them to the bivvy so I have one less set of items to keep track of. When it got darker I could set it up at the lakeside and no one noticed it. So I’m ambivalent. Great for low-profile stealth camping but not super comfortable, especially not in the rain.
Comfy seat: it was nice to lean back in it, as an alternative to just sitting on the evazote pad. A bit of luxury after a long day gives pleasure.
Stuff I didn’t take
I didn’t miss any of it. Except that I would bring the waterproof bag for my spare clothes so they’re double-bagged and certain to stay dry in case of a downpour. It takes more time to pack than you’d think. So I ended up not doing everything that I should have in order to leave early enough to ride up the hill when it was still coolish. So foolish.
Attaching the small backpack to the rack was fiddlier and more annoying than expected. The trailing straps frustratingly ended up in the spokes several times, causing me to once again to step off my bike to tuck them away. So I decided to use the closing clasp to attach it to the seat post. But this becomes a single point of failure with the risk of having your stuff scattered along the road. So this needs to be rethought. Maybe the straps need to be shortened, maybe the holes in the rack need to be enlarged, maybe just take a dry bag with no straps and use elastics? (Ugh, don’t like elastics.)
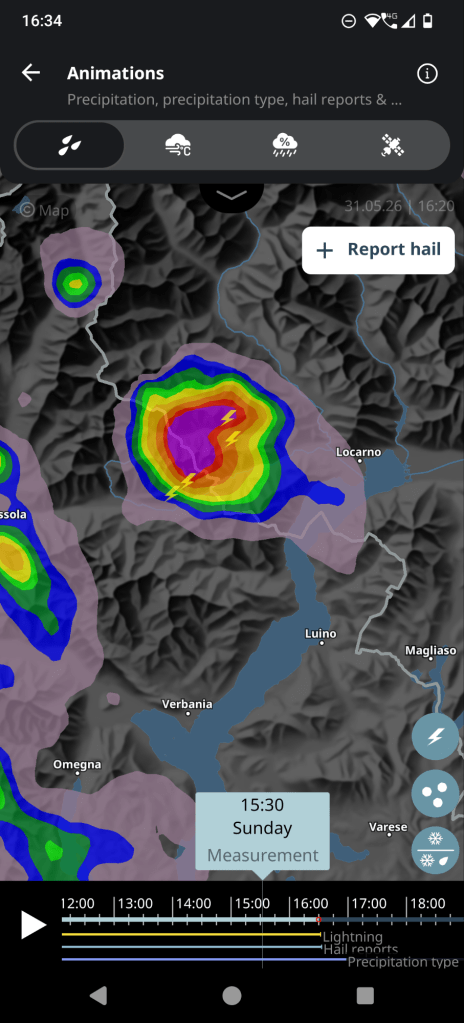
Things can go wrong quickly on a bike. A tire deflates, a bag falls off, a sudden thunderstorm comes up. What could I do better to reduce risk and increase fun, even in adverse weather conditions?
What if something like this shows up?
Look, Mom, no poles!
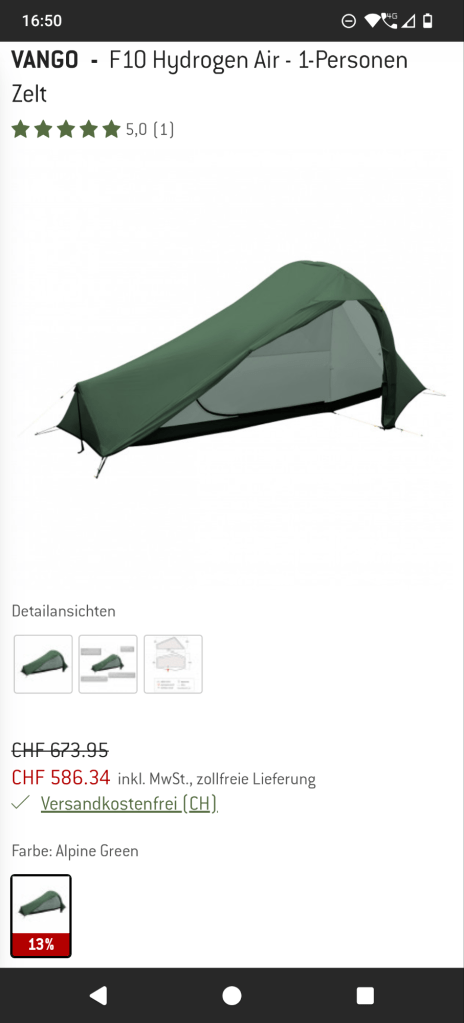
An inner tube is used instead!
Is it worth it? Save 500g and be able to sit up? Na, for that price I’ll wait out a thunderstorm in a horizontal position or in a restaurant or hotel.
Interesting point: if the air temperature goes down overnight, the AirBeam tube deflates, observed in an excellent review by Outdoor Guide.
What about a proper 1-person tent with poles?
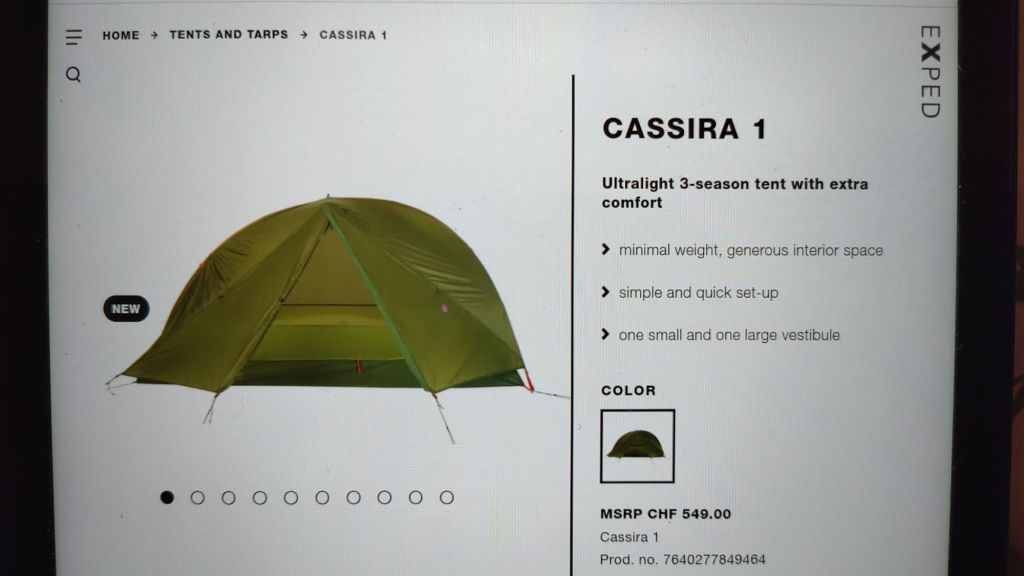
Like the Cassira 1 from Exped? 900 grams, bombproof, lots of space
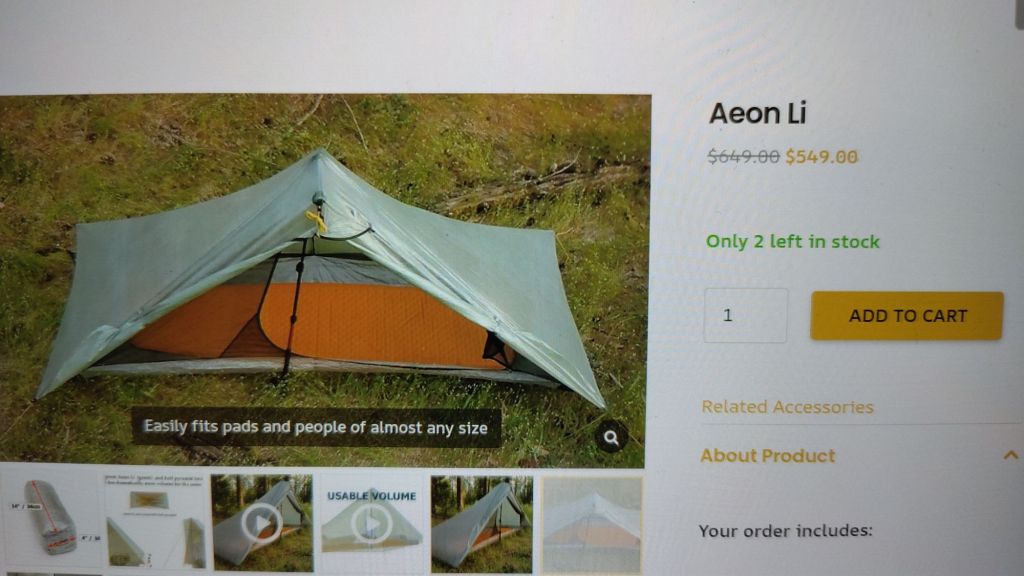
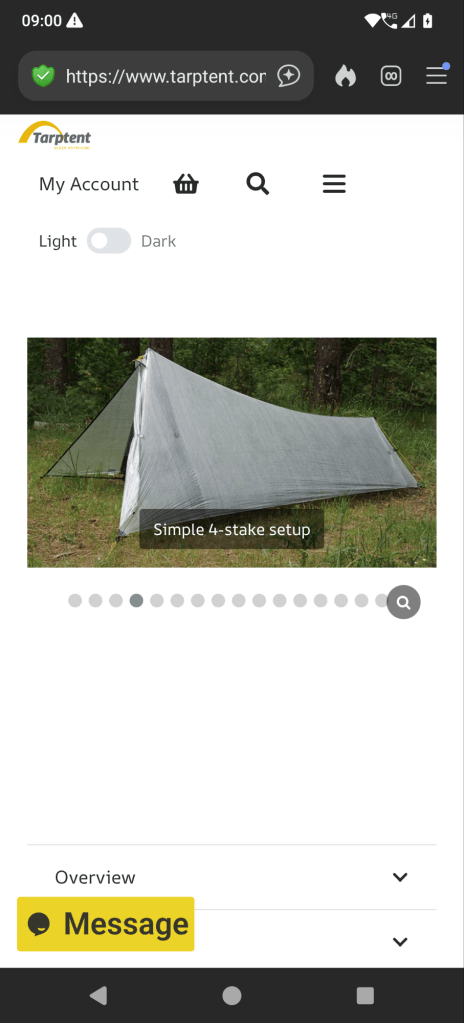
I do love me a dyneema tent! 571g, single-walled, ventilated plastic bag. Need a pole though, 99g for a carbon polypole. Maybe I still have some light pieces of carbon poles. Or a kick stand.
Or this one. Wasn’t I busy making one like this? Using a kayak paddle split into two?
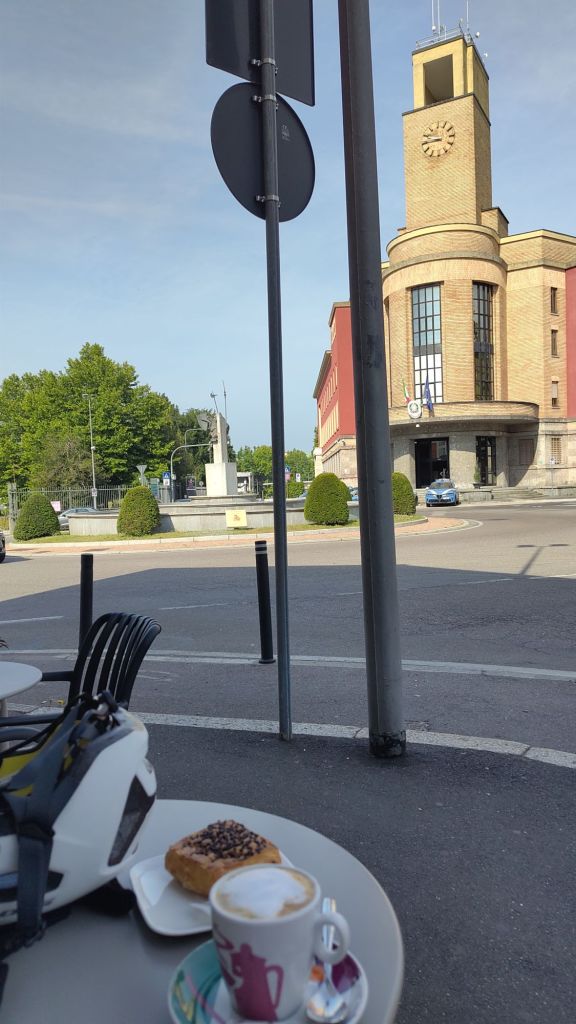
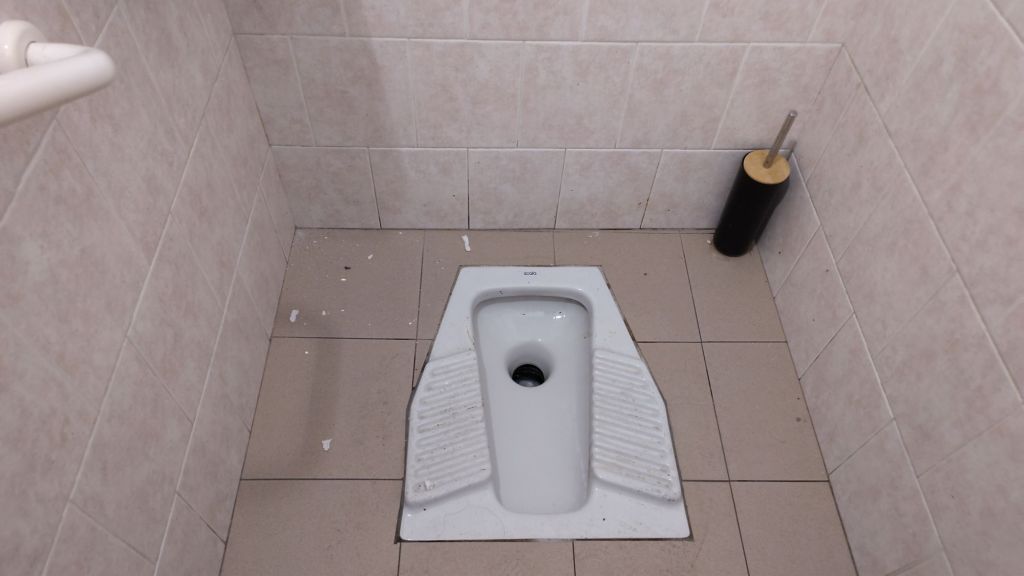
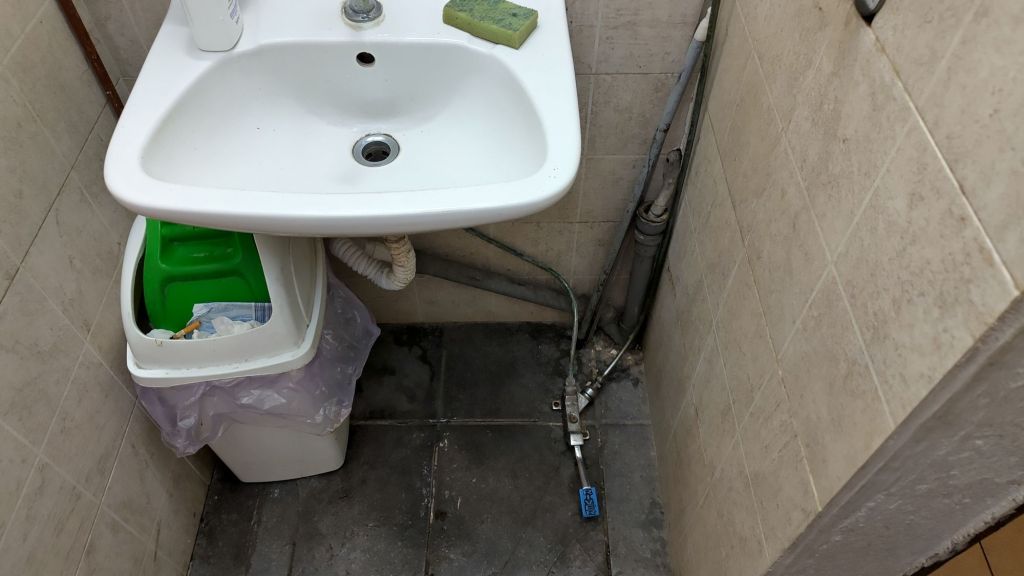
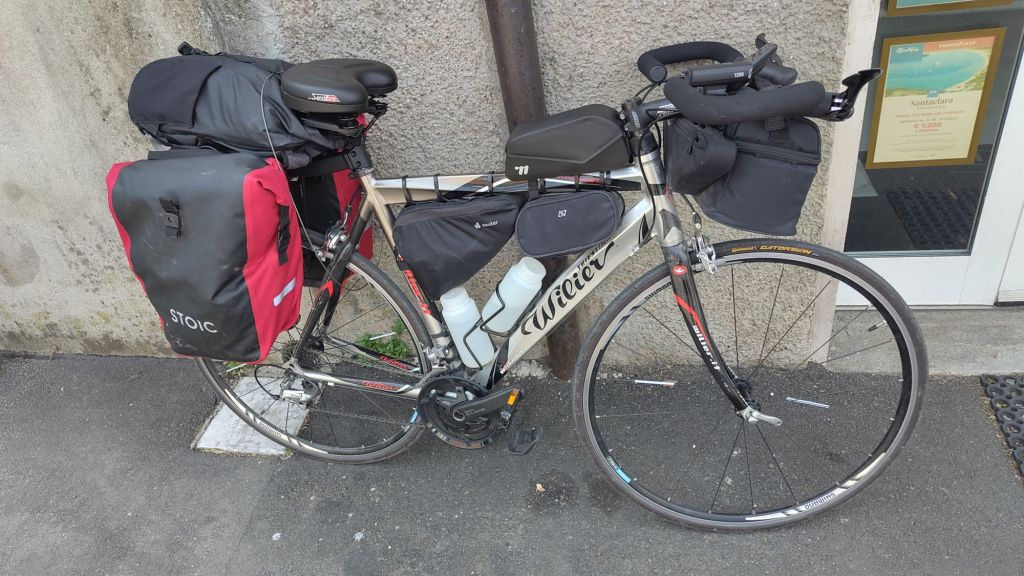
Another great view to wake up toBike draped with drying stuff. The light wool shirt dried nicely and doesn’t smellWatching the ants crawl over the bivvy bagYummy breakfast with a viewStarting out at 8. Again no one at the reception so I left 20€ at the restaurant and didn’t leave my personal details.High road to VareseA steep long hill with three exhausting switchbacks to climb. What am I doing?Made it to an inviting cafe to recover after 140m up over 4k.A well-deserved cappuccino and a 3-chocolate croissant at the Piazza Libertà, across from the Questura. Thanks to Donna Leon I can imagine what goes on in there.At the top of the hill from hellNo-touch toiletNo-touch sink. I wish these were everywhereMy patient “locked-up bike”A nice older man stopped to tell me about a faucet in a park around the corner when he saw my almost empty bottleLots of kids with parents playing in the park. I was grateful for the water as it was getting hotter and hotterGreat views of the eastern valleyScenery becoming familiarI changed my saddle as the new one wasn’t comfortableWonderful dip in the lake! That felt sooooo good! Fresh for the last mile home, five hours after starting out.