How would the air flow through the tent to minimize the condensation?
How would it be possible to keep the windows open without rain coming inside?
How can the tent be tensioned properly while allowing for different pole setups: bespoke single vertical pole, hiking pole of fixed 120cm length, arch?
Let’s look at some diagrams to illustrate these aspects.
Here’s the back view of the Aeon Li. I would make it symmetrical and put a window on one side and a bigger window/door on the other side.
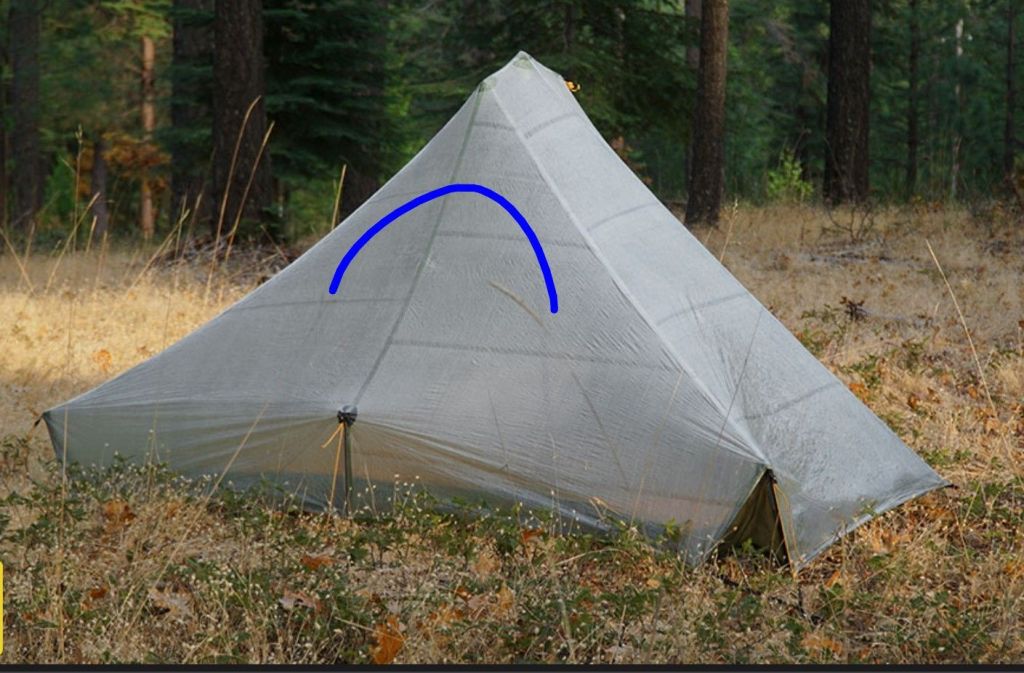
A window on one side with non-openable mosquito netting and a hood.
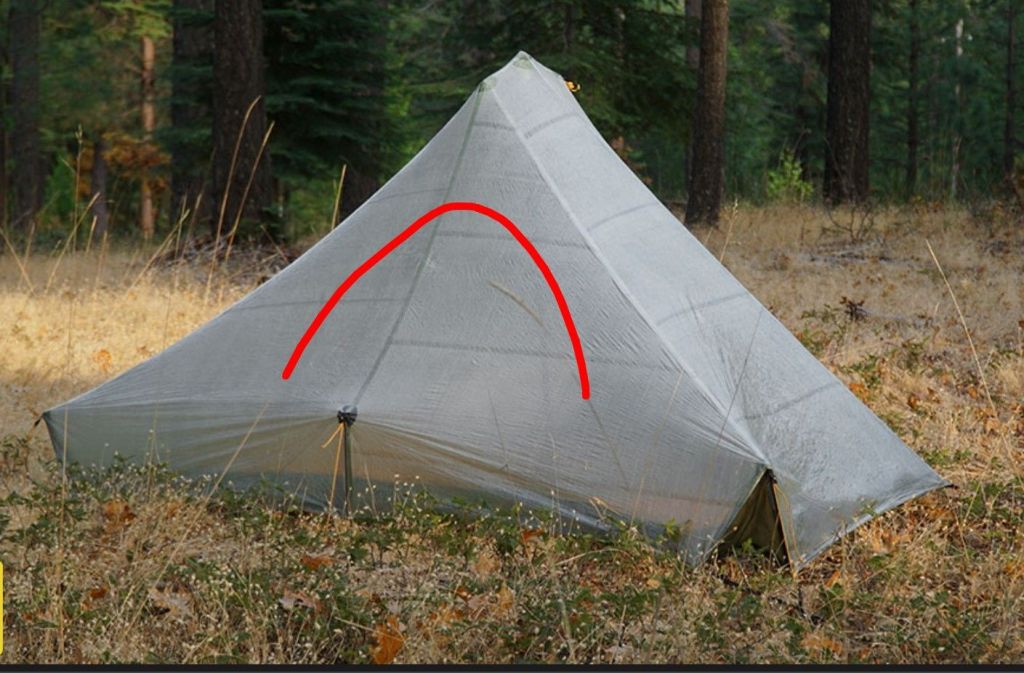
A door on the other side with openable mosquito netting and a hood. This allows for lots of airflow from one side to the other, plus nice views. There’s not a lot of airflow near the ground, and the condensation accumulates starting from the top. So sleeping “in the bathtub” with air flowing across the top of the tent through the “hooded cloister windows” seems like a good approach.
Here’s a diagram of the Aeon Li:
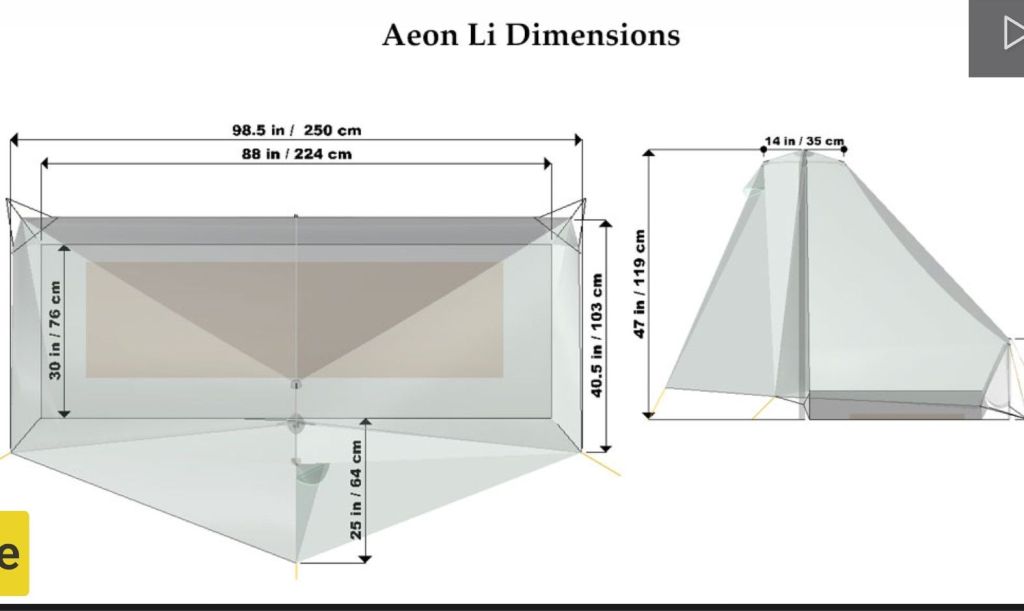
It is not symmetrical. I would double the right side of the rightmost diagram. This would give it a much bigger footprint though. Have to think about the dimensions.
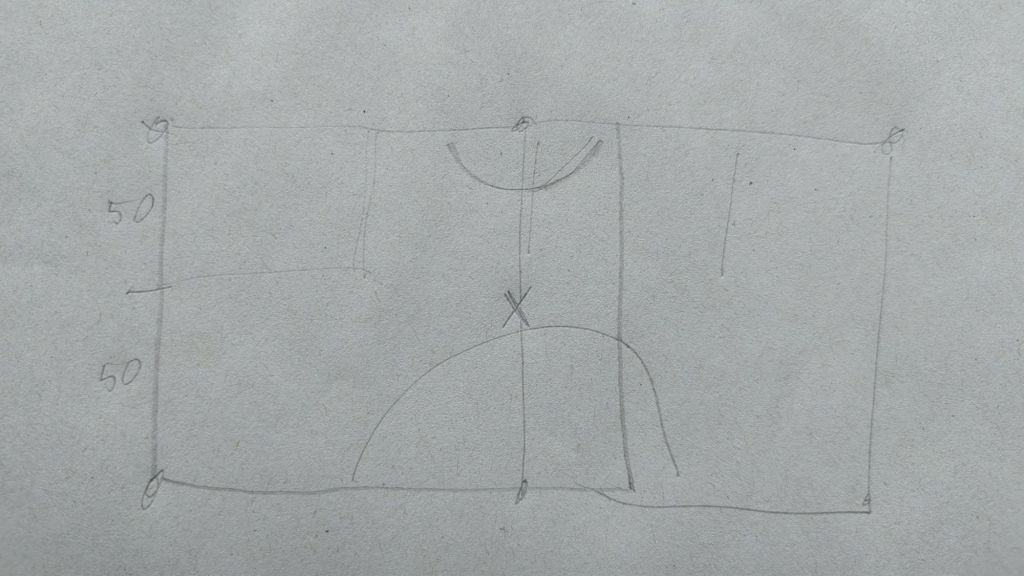
How big would the “bathtub” be? Let’s start out with 100cm wide, 200cm long and 20cm high. A typical Exped sleeping pad is 53 by 183cm.
The bathtub floor material would have to be 140cm wide and 240cm long. How much did I buy? I bought a piece that’s 138cm wide and 5m long … Enough for two tent floors! (In the refinement and recalculation phase we could make the floor 110 cm wide and the bathtub 14cm high.)
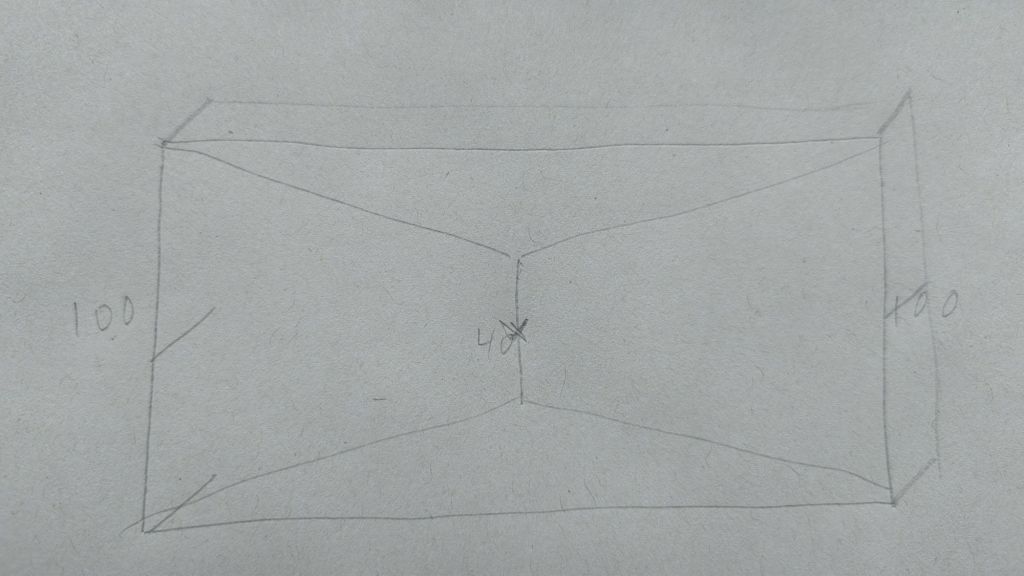
Instead of a pointy roof, use a straight ridge, so one long piece 100cm wide would narrow down to 40cm and widen again to 100cm. The “draped tarp” part of the tent. The ends would meet the bathtub bottom at a height of 20cm.
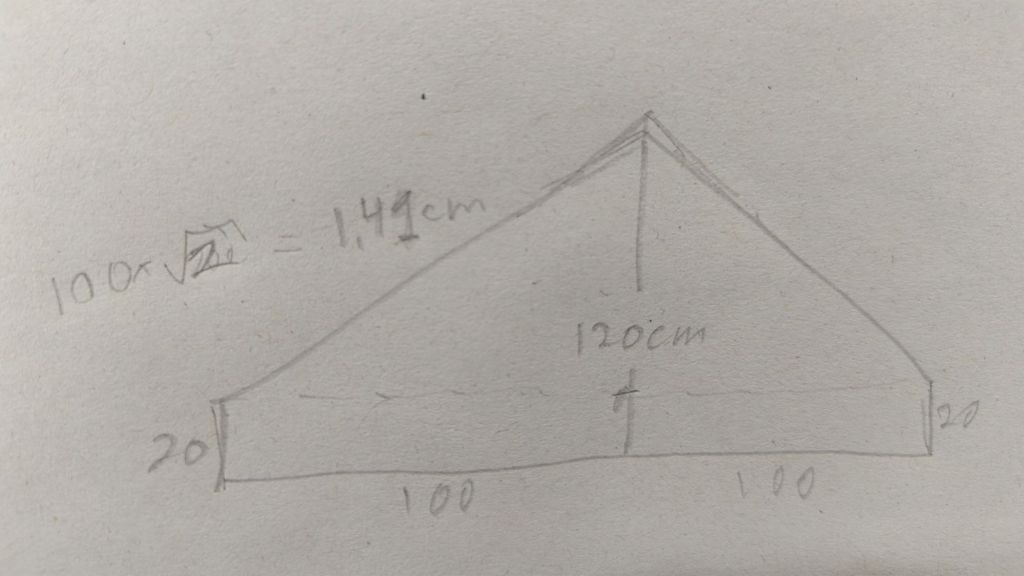
Cross-section of the side view, perpendicular to the ground. I would need 141*2=282cm of the fly material for the 100-40-100cm wide piece. I bought 7 meters! Still need material for the side pieces and the hoods.
I’ll use one of the gold 40.6cm tent-pole segments for the top strut, and cut the other three in half for the six bathtub holders, three on each of the 100cm sides so the head and feet have space, or three on each 200cm long side. I guess I won’t use that really cute tent connector piece, and the length of the wrapped-up tent will be at least 40.6cm. Shorter poles would be nice but tent stability and simplicity of assembly are more important.
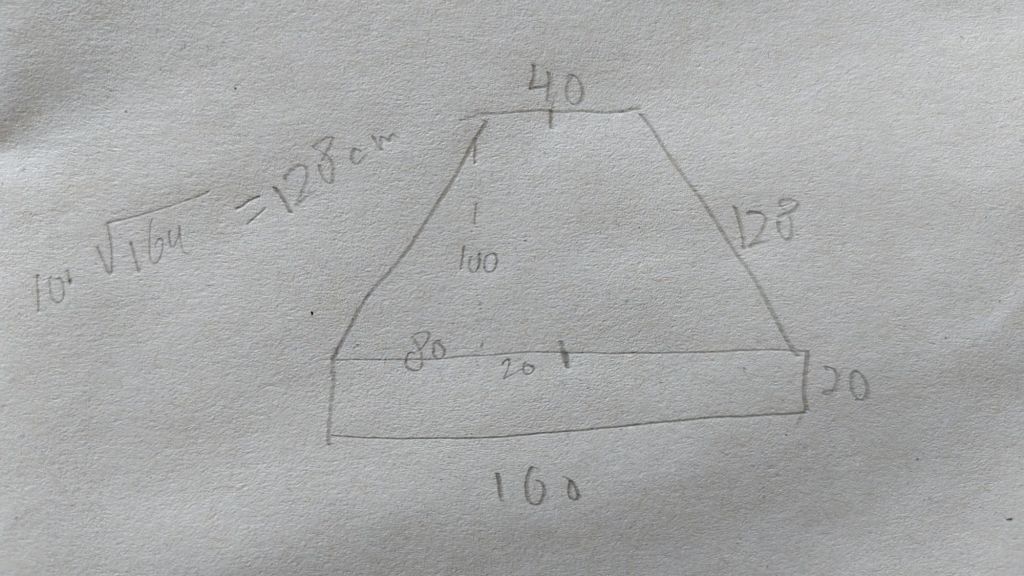
Cross-section of the end view, perpendicular to the ground. The distance from the end of the strut to the top of the bathtub is 128 cm.
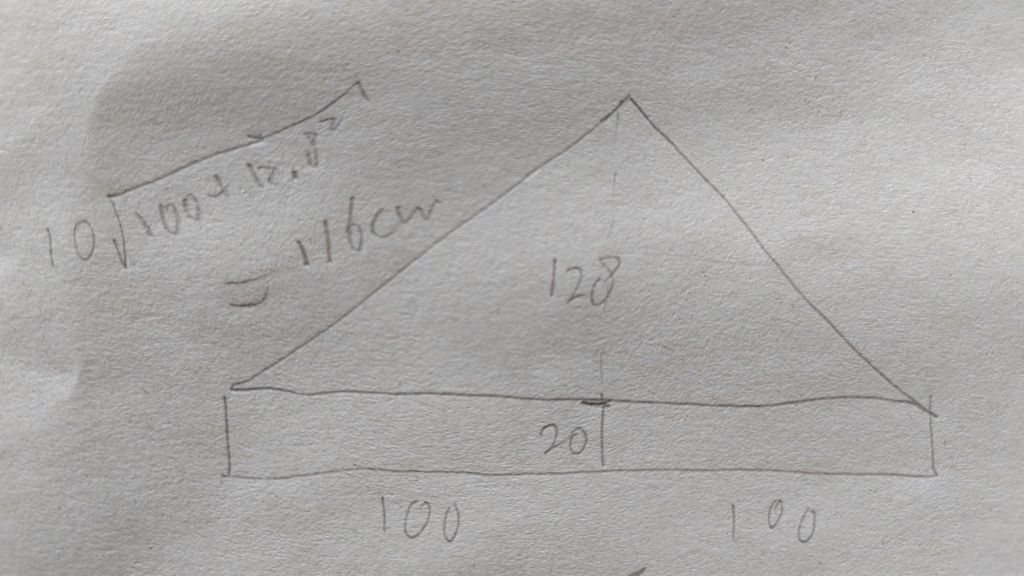
The triangular side panel would be the height from the end of the strut to the top of the bathtub, which is 128 cm, as calculated above.
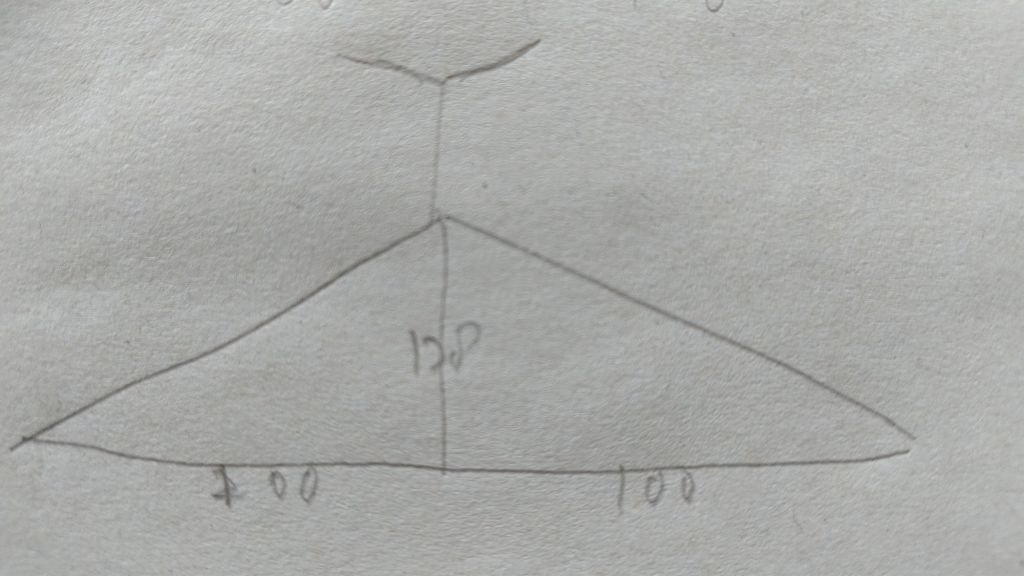
The side panels in which the window and the door will be inserted would be triangles with a 200cm base and 128cm height. The tape attaching the triangular side panels to the the “draped tarp” part of the tent would have to be 4*116= 464cm. Better check that I have it. I may tape both sides. This could get expensive.
The material is 138cm wide, wide enough, so I’d need 3 more meters of it. That brings me up to 282+300= 582cm (of the 700cm that’s in the mail – 118 left).
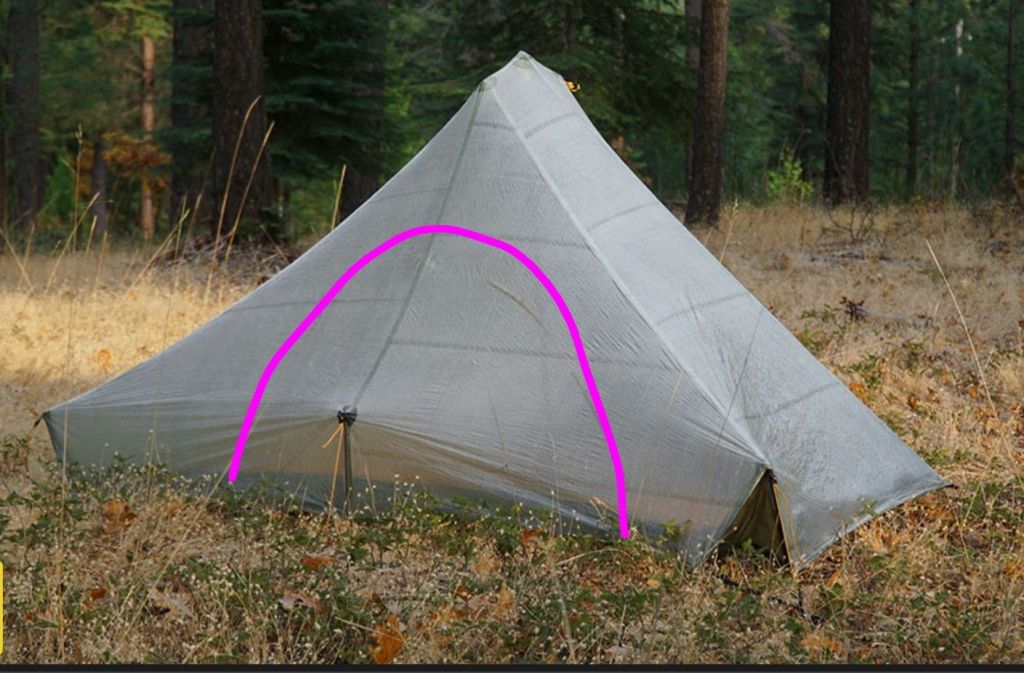
What if the door zippers would come all the way to the ground …? No supporting strut on the long 200cm side … Would that work? Or would the tent collapse?
If the struts in the corners would be pulled forward then there would be no tension along the 200cm side where the door is. So that could work. The door would flop on the floor and get dirty, but an unconscious person could be dragged inside out of the rain while waiting to be rescued.
You could also then sit with your butt inside the tent, under the hood, take your wet boots off, and place them carefully to the side, avoiding damage and dirtiness to the floor.
It would be really nice to have the zipper end at the top of the bathtub.
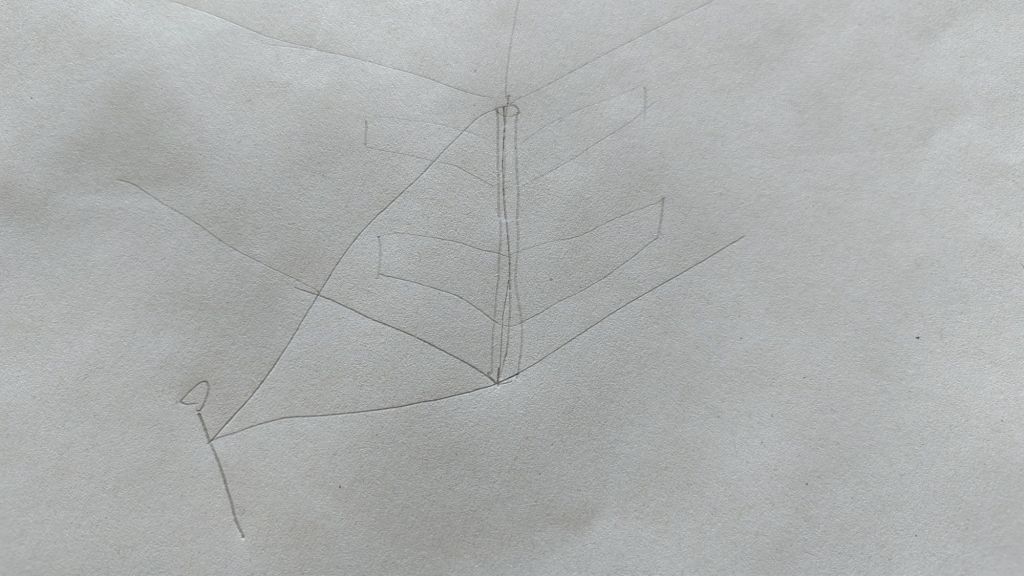
If the floor is directly attached to the sides, creating a huge bathtub, then how annoying is it to step inside with wet boots? Does that balance out the protection of the boots from gnawing animals? If the ground floor can be rolled back, then little animals can come in. I’d rather deal with a dirty floor and bring a welcome mat/towel. Keeping the tent floor clean is always an issue.
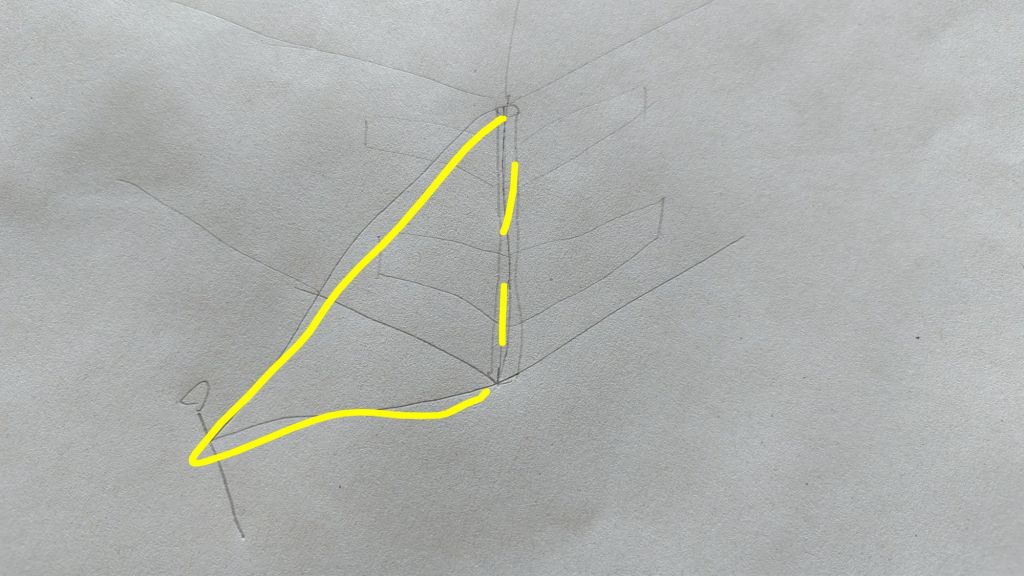
Put a (yellow) cord through the 20 cm pole segments and through the peg. Attach the pole segment to the tent with dyneema tape. It’s not meant to withstand hurricane-force winds at altitude so it doesn’t have to be super streamlined. The volume-weight ratio is more important.
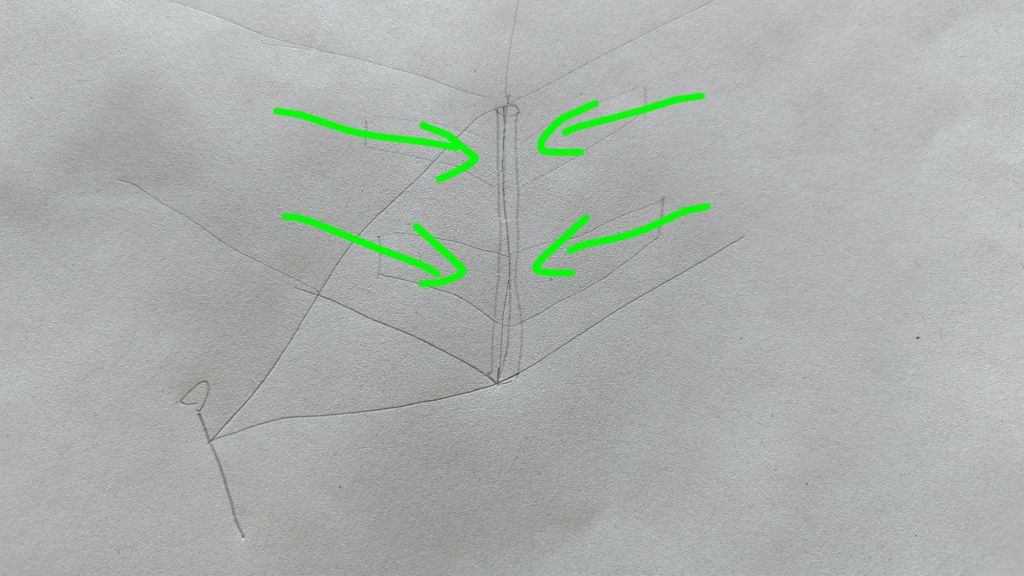
The waterproof integrity of the tent is maintained because no holes are made through the material. The hufold for creating the corner needs to be thought about. Can we avoid tension on that “seam”? Yes, because the horizontal dyneema tape segments don’t pull on the seam but on the sides of the bathtub. Could we just glue the corners closed?
The “pole arch” variation I was thinking of would go right down the middle of the window, so that won’t work.
How to attach the strut to the fly?

Sew loops at either end of a 50cm long piece of grosgrain ribbon. Put a 10cm loop over the middle and sew sides together so the vertical pole/ end of the hiking pole fits into the opening. Attach the grosgrain ribbon to the roof with dyneema tape to hold it in place. No sewing needed that would puncture the dyneema material. The tension of the tent downwards, and the vertical pole upwards would keep the horizontal strut in place.
What if I made the strut 80cm wide, so two sections? Would that be strong enough to hold up the roof? There’s not a lot of pressure needed on it, except for keeping the material taut to stop it from flapping in the wind. I could make it 60cm wide by using two 30cm pieces…
How much is it looking like it will weigh?
- 600*138=8.28 m² of 18g/m² fly material = 149g
- 240*138= 3.312 m² of 33g/m² floor material = 109g
- 4 gold tent pole segments weighing 19g each = 76g
- 3/4 of 4 black tent pole segments weighing 23g each = 69 g
- Total = 403g (= 149+109+76+69)
- It all adds up. There will be some guy lines, zippers, mosquito netting and grosgrain ribbon to add still.
- Will it stay under 500 grams?
 Cool and Interesting
Leave a comment