


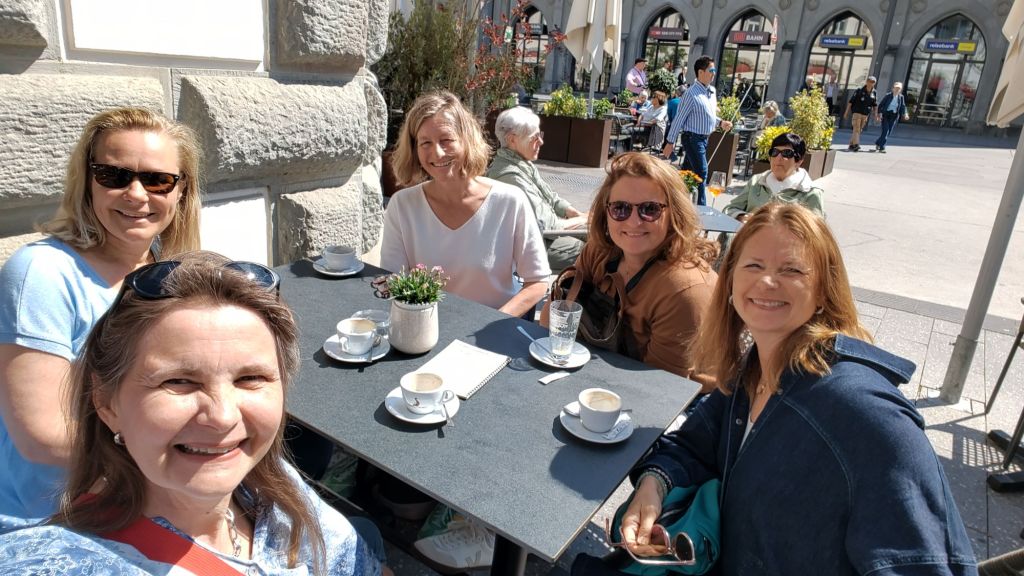
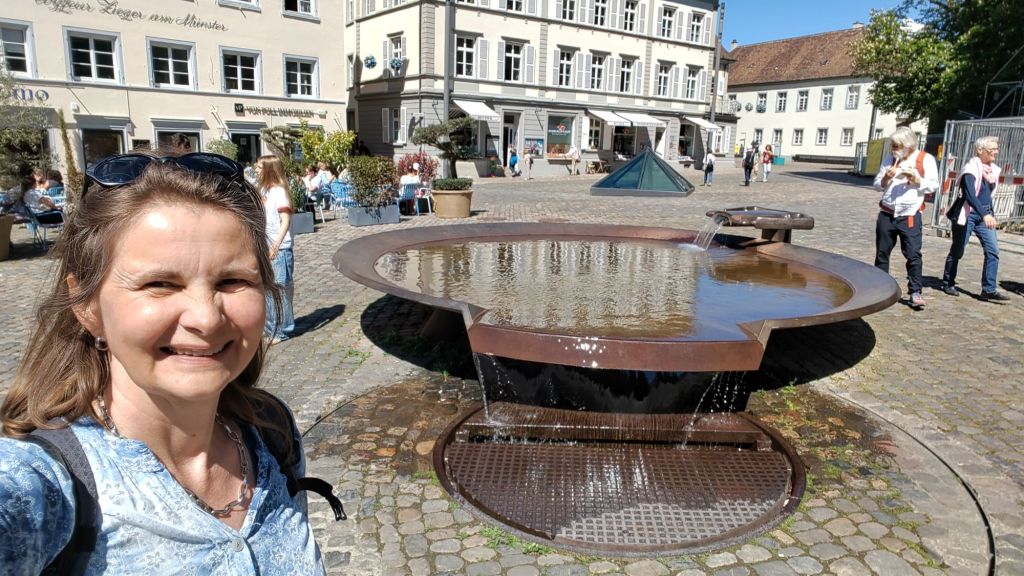
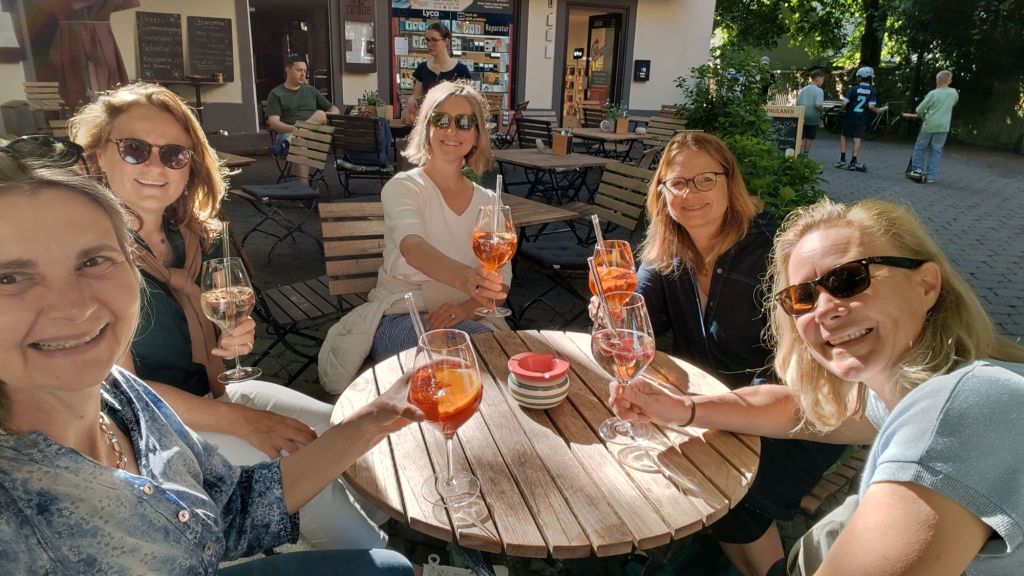
outdoor stuff and experiences


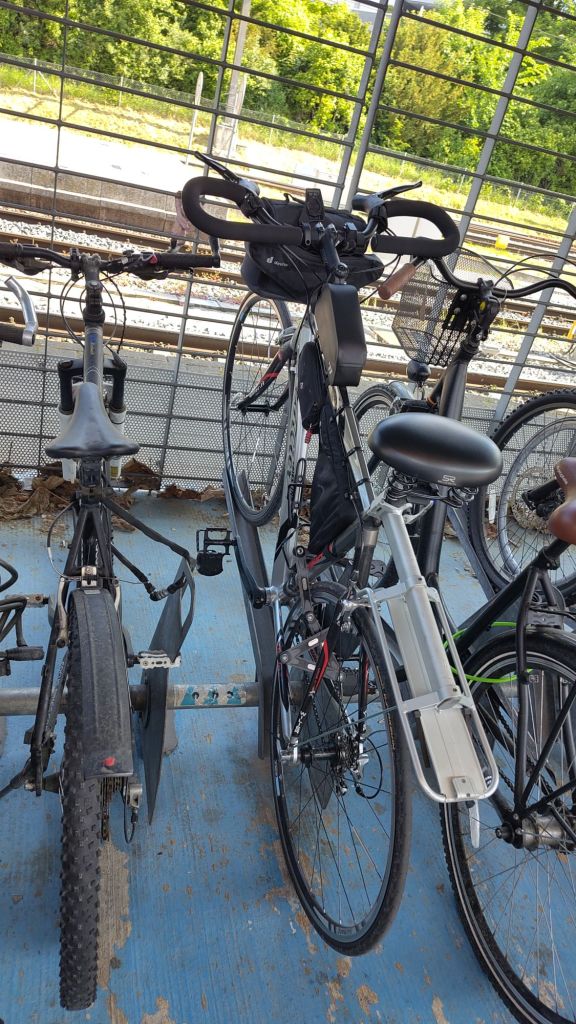


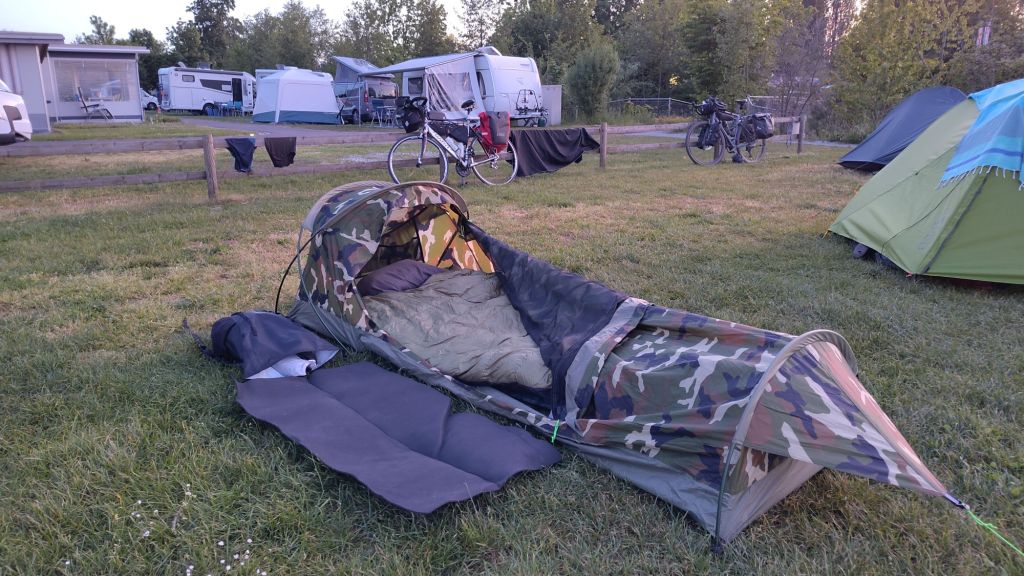

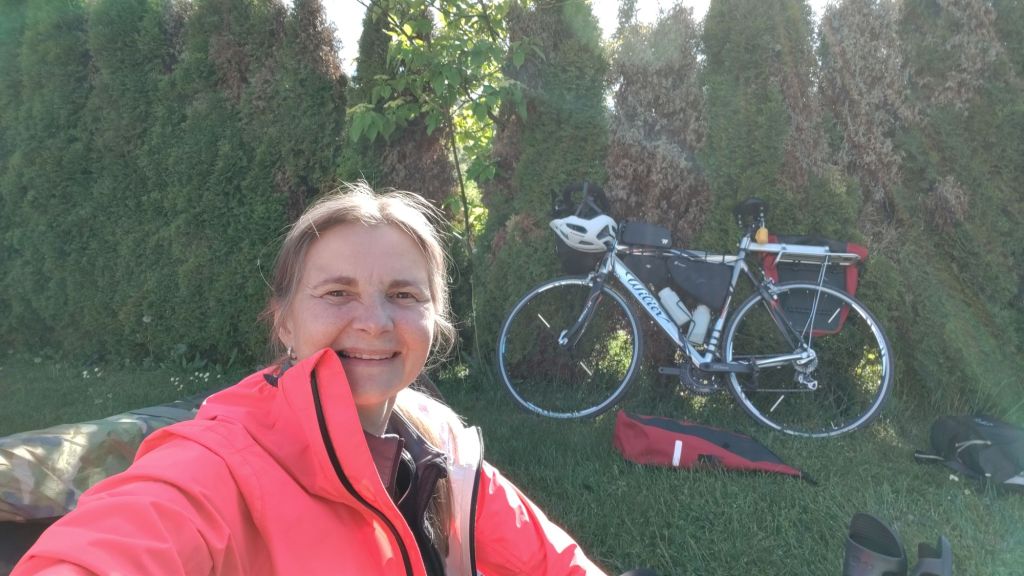


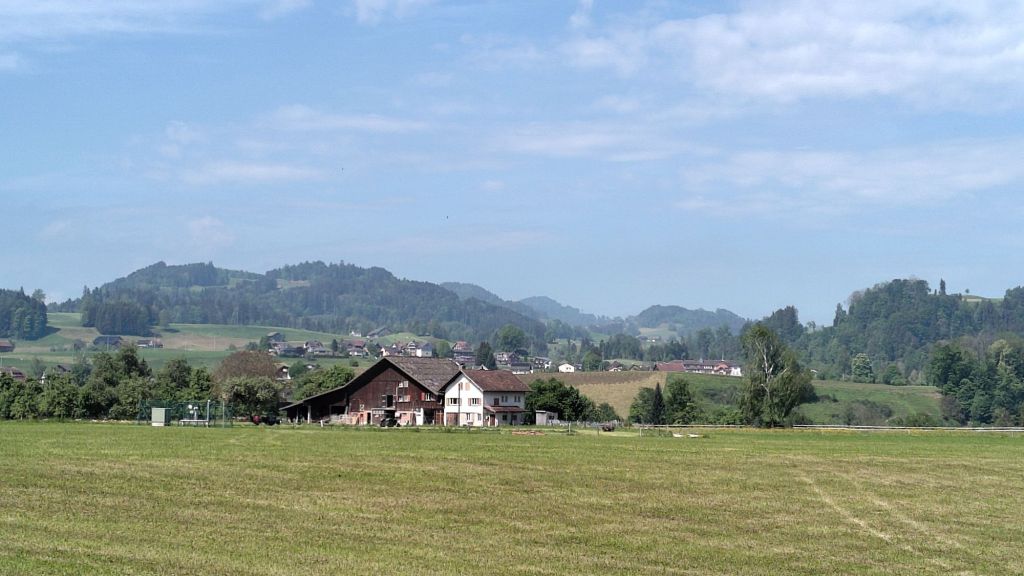

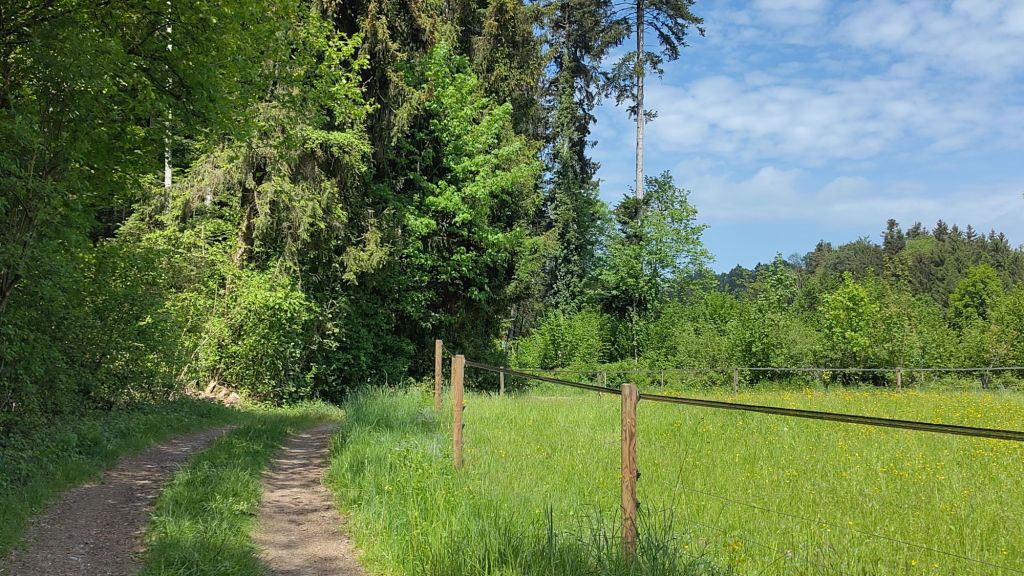


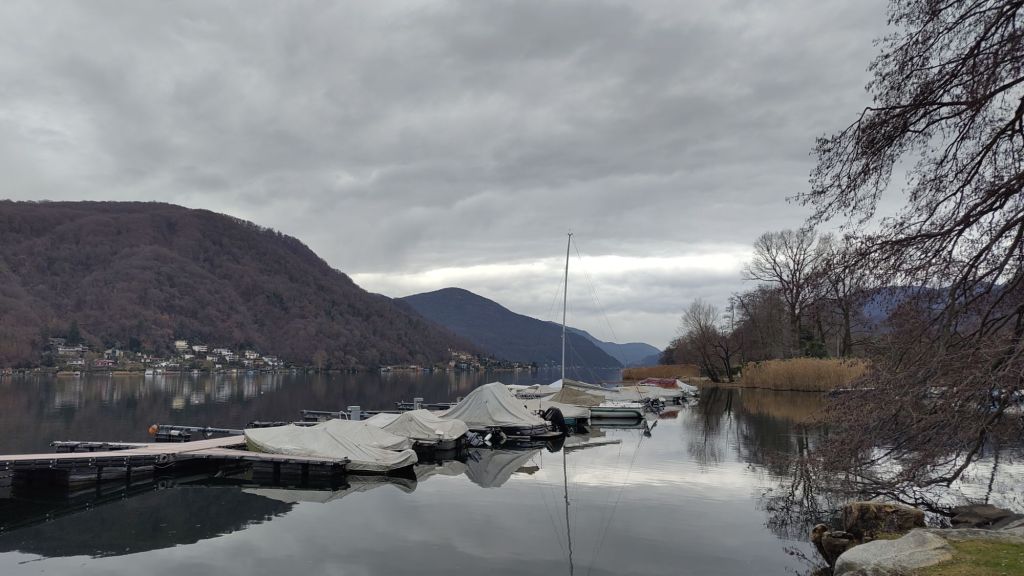
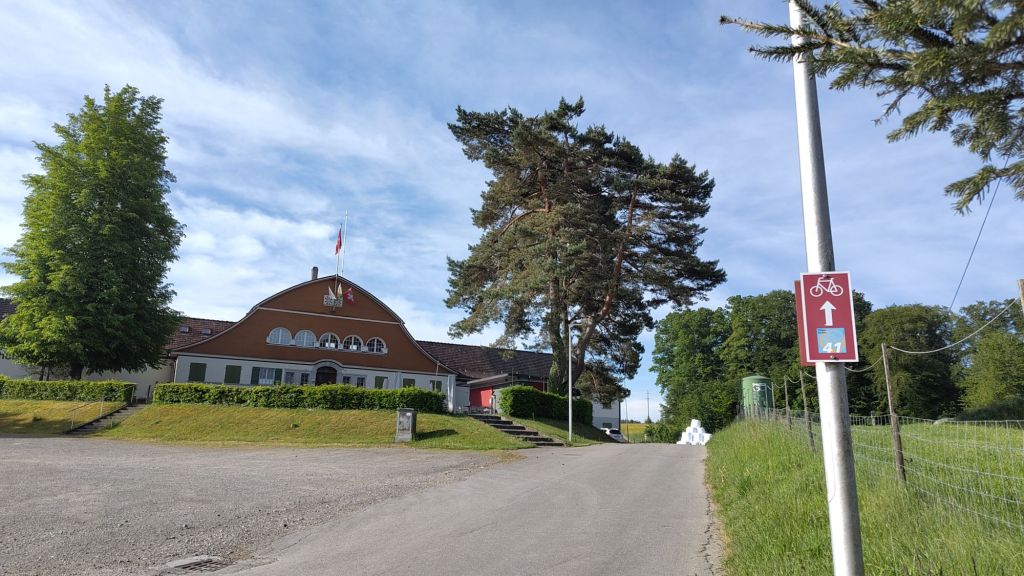
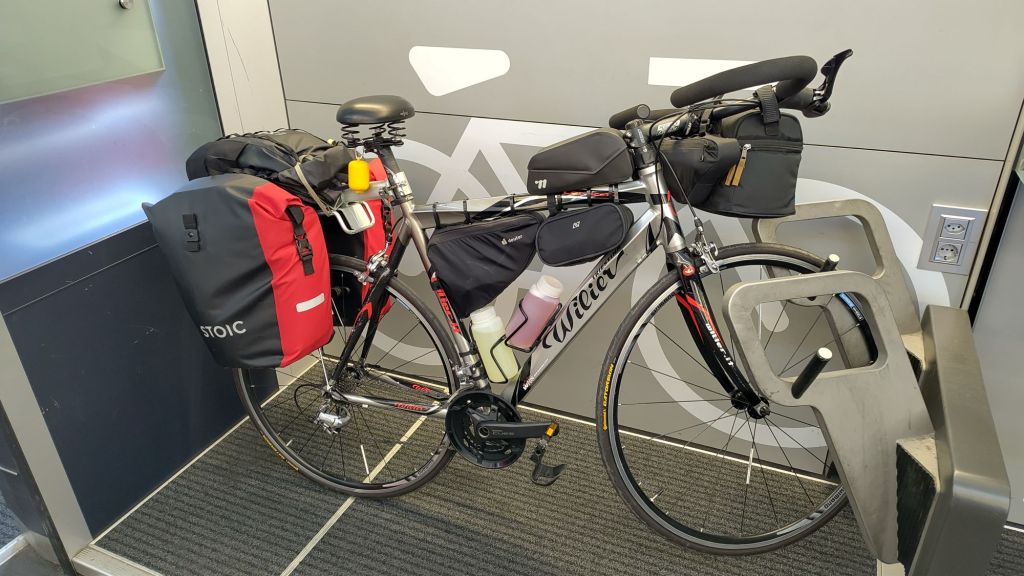
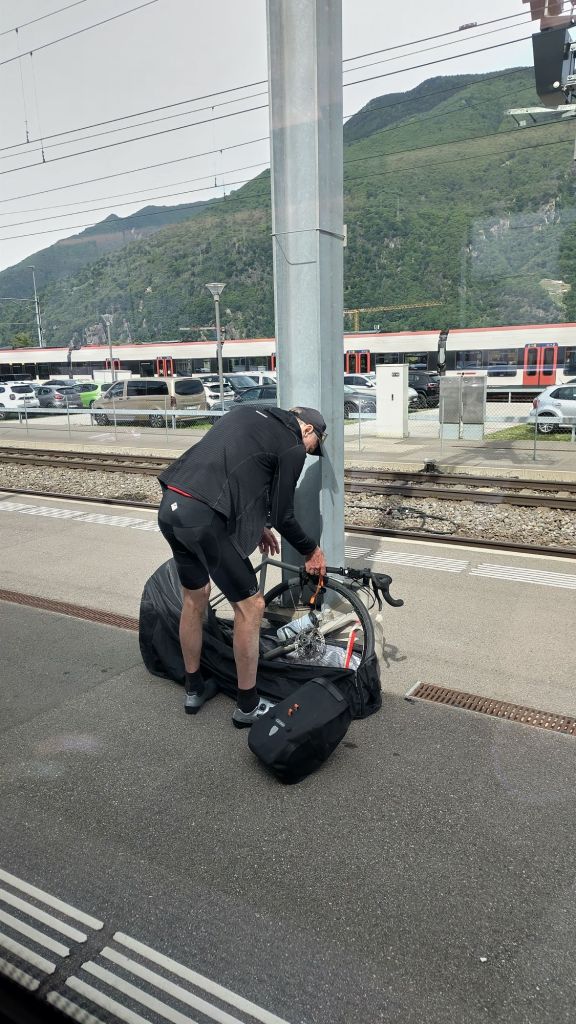
At the beginning of May I did a small bike trip and, not even 5 minutes after the start, I encountered a “no bikes between 06:30 and 08:30 allowed on the train” sign. It was 07:30.
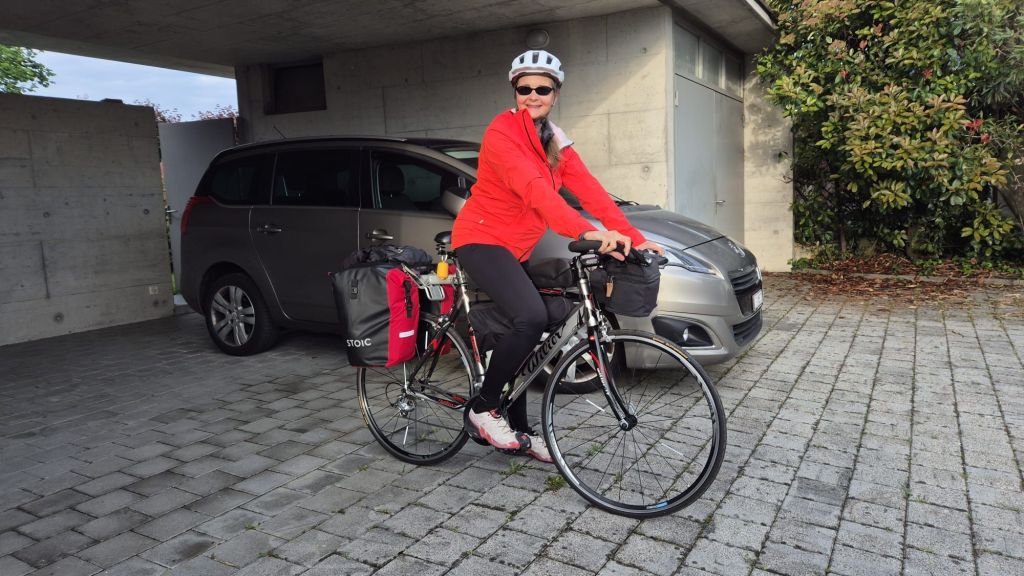
I was due to tranfer to an intercity train on which I had reserved a spot for my bike. So I didn’t want to get kicked off the local train. Good thing no one official came along but I did feel a bit squeamish. Not the best way to start the trip.

Alternative solutions follow below. The link to the next part of this saga is on the bottom of the page.
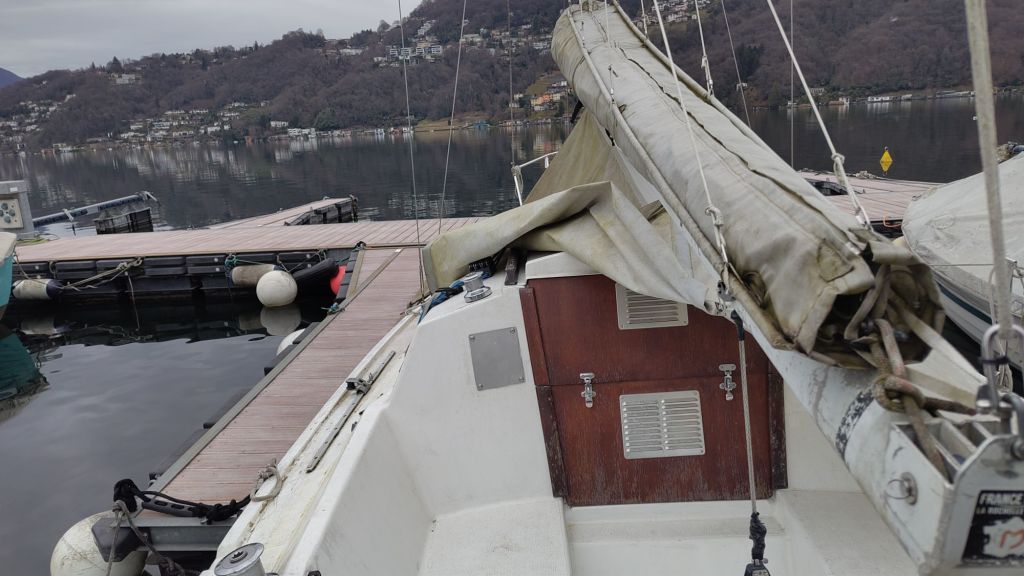
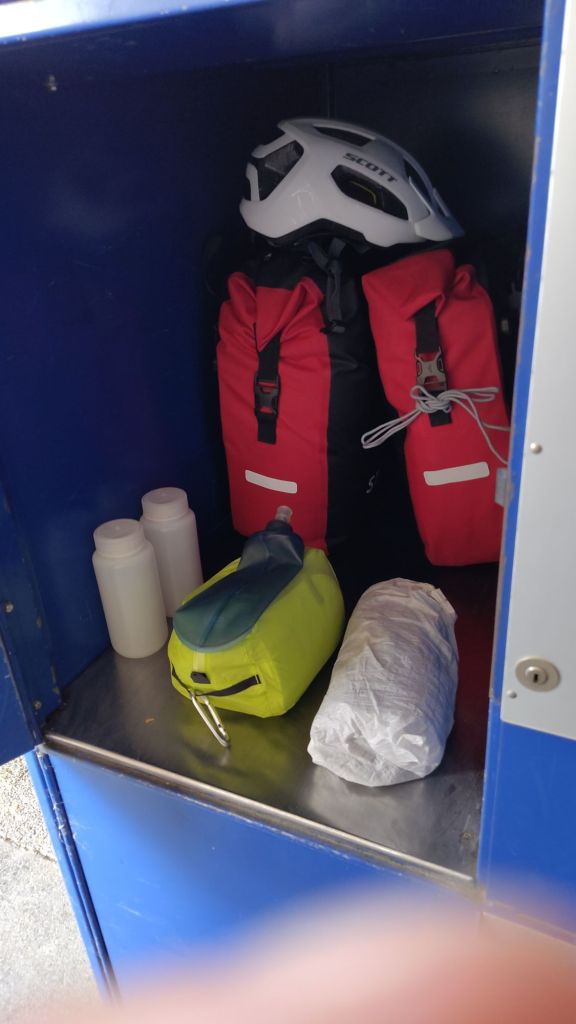
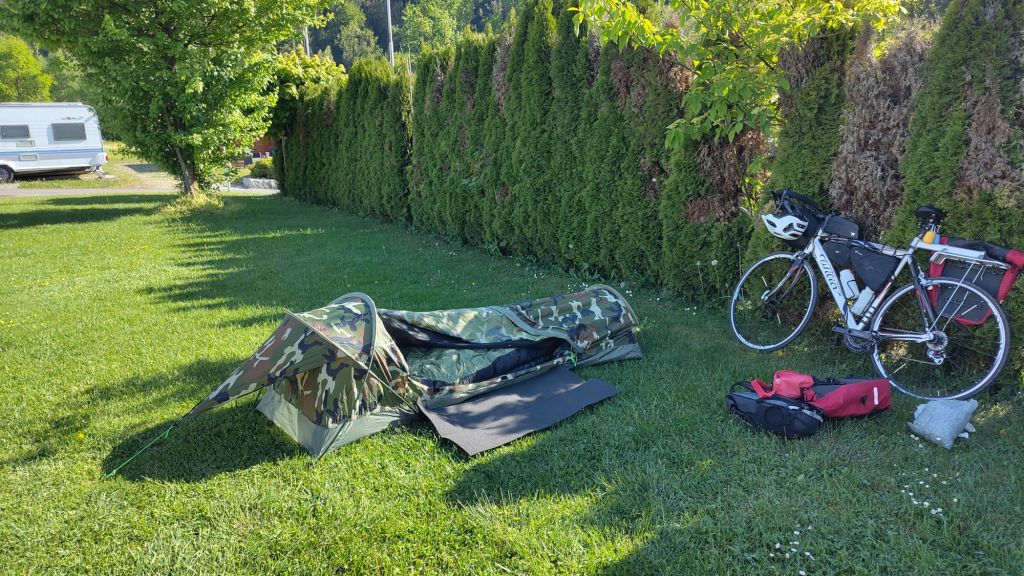
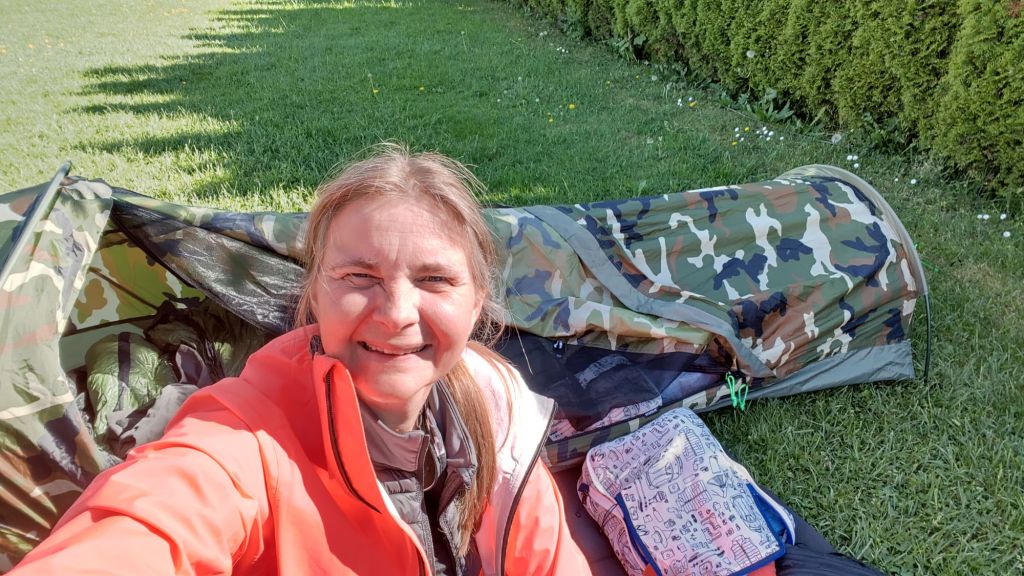
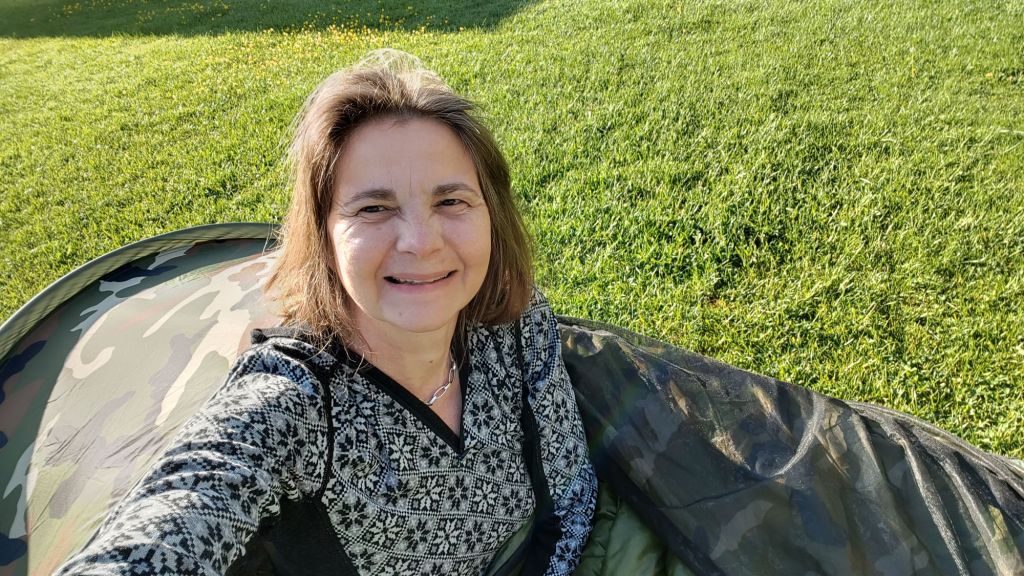
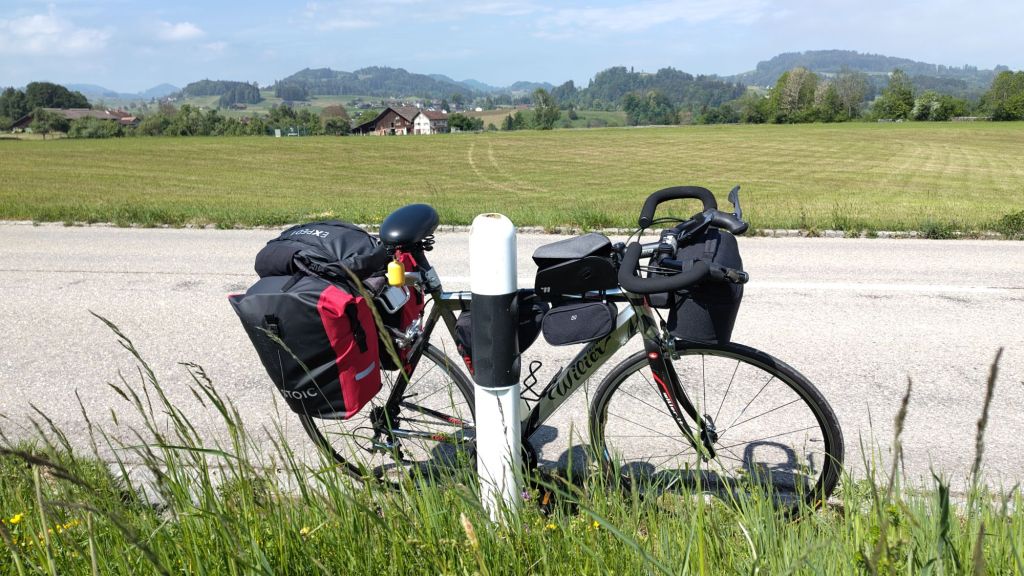
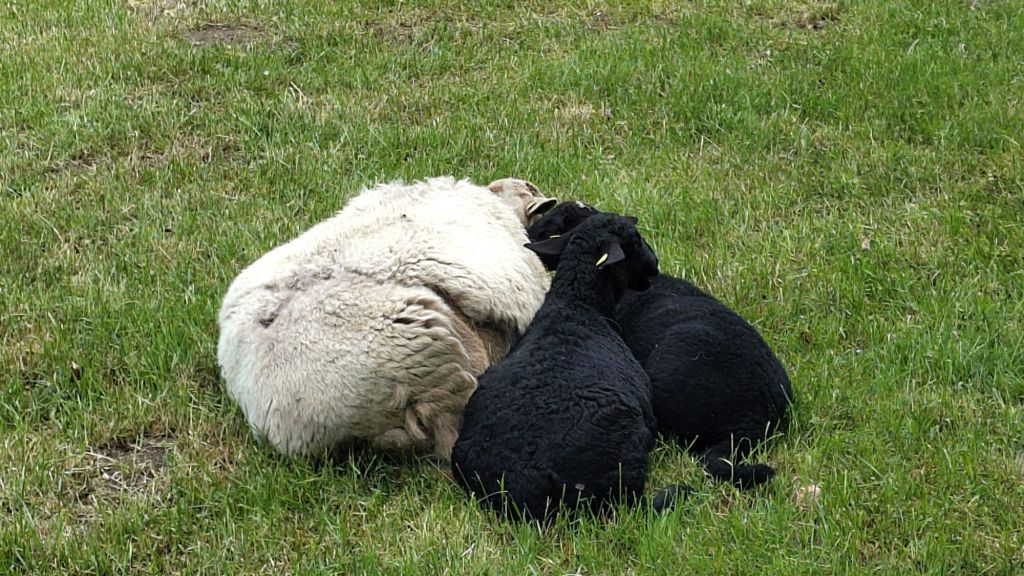
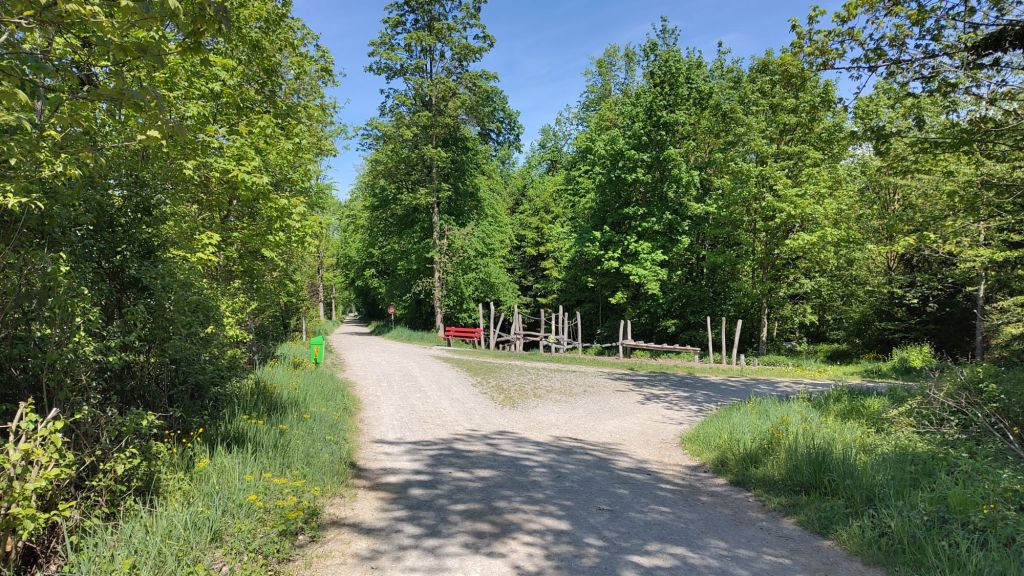
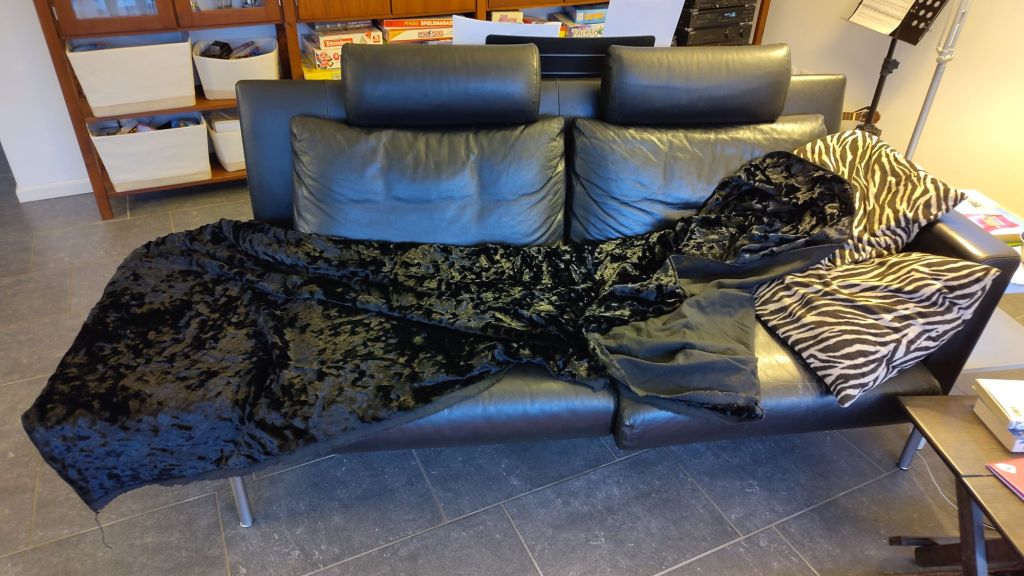
On the way home I caught sight of this guy:
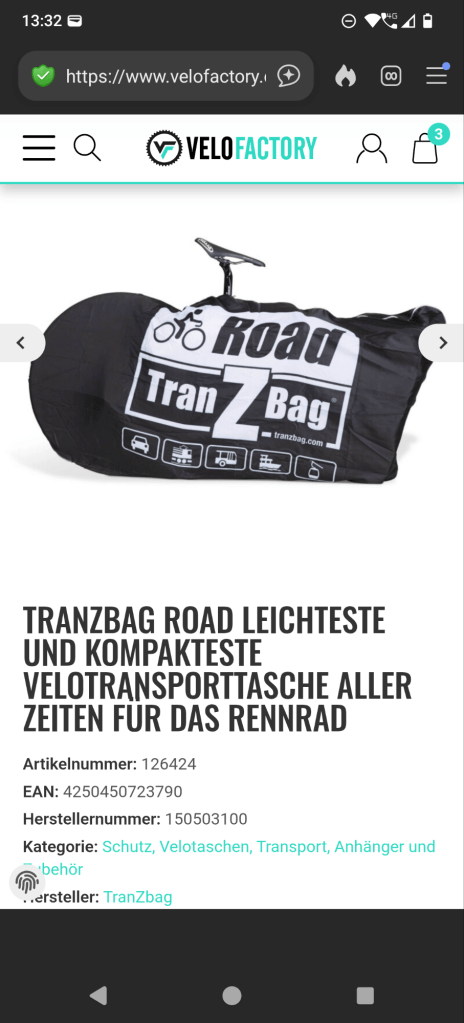
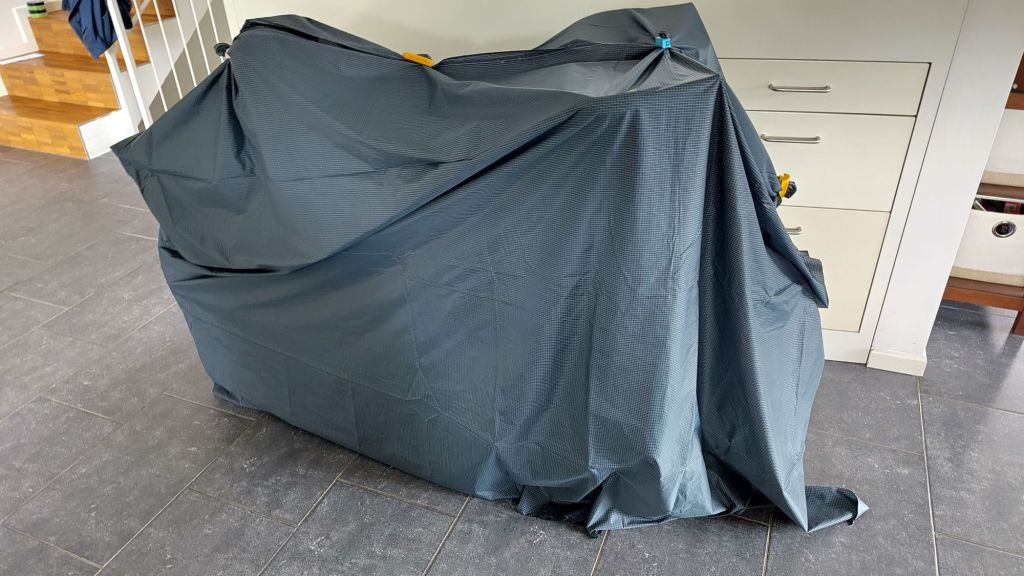
It could double as a picnic blanket or emergency shelter. Two-way zips on either end? Loops for anchoring to the ground? Or to attach to a tree and keep the material off my face? What about the mosquitoes? And the slugs? Stop stop stop…
It’s just a bag … it doesn’t have to do everything!
But with cords closing the ends off it could also work as a hammock! No zipper that gets stuck or breaks! And they’re a bitch to sew. No, no, no, this is getting too complicated. Letting my imagination run away with me again.
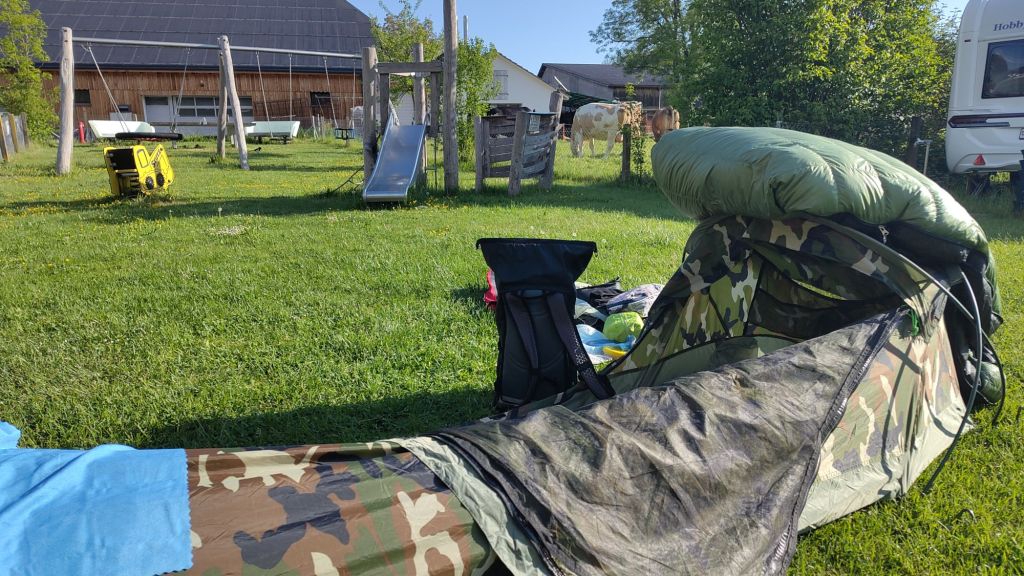
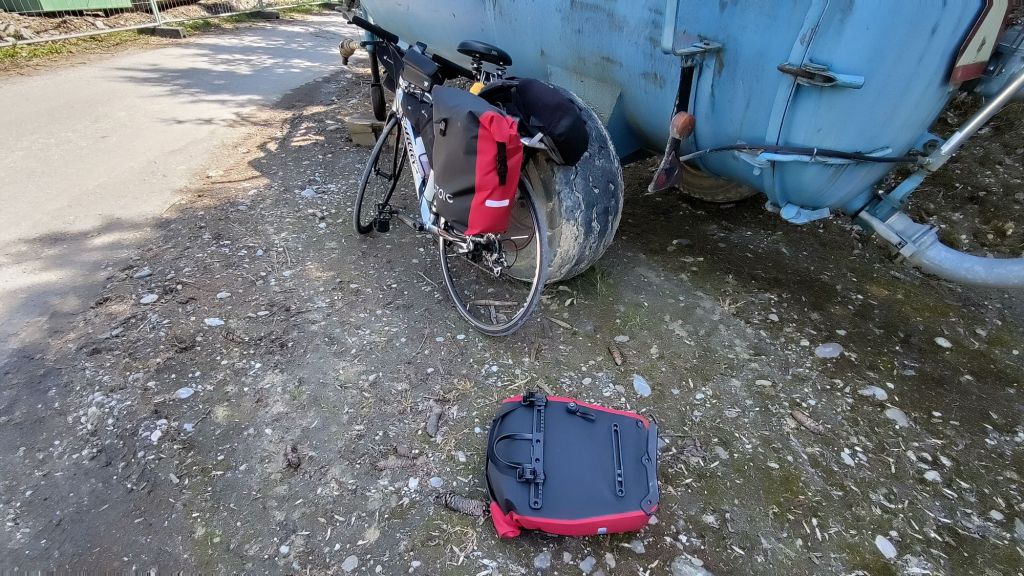
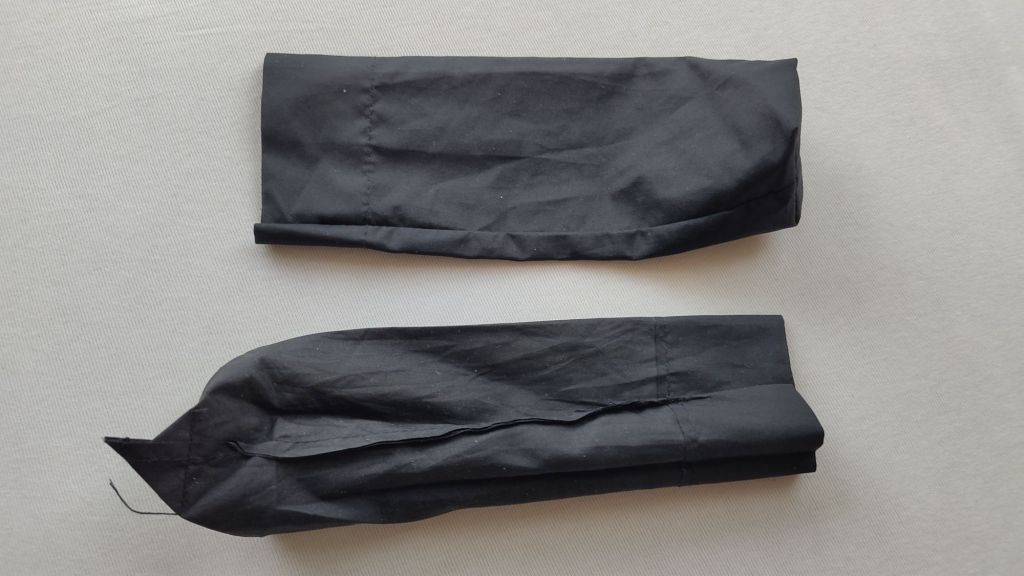
The bike just needs to be able to go into the bag quickly, protect the front wheel, look as much like a “suitcase” as possible, and fold up really small.
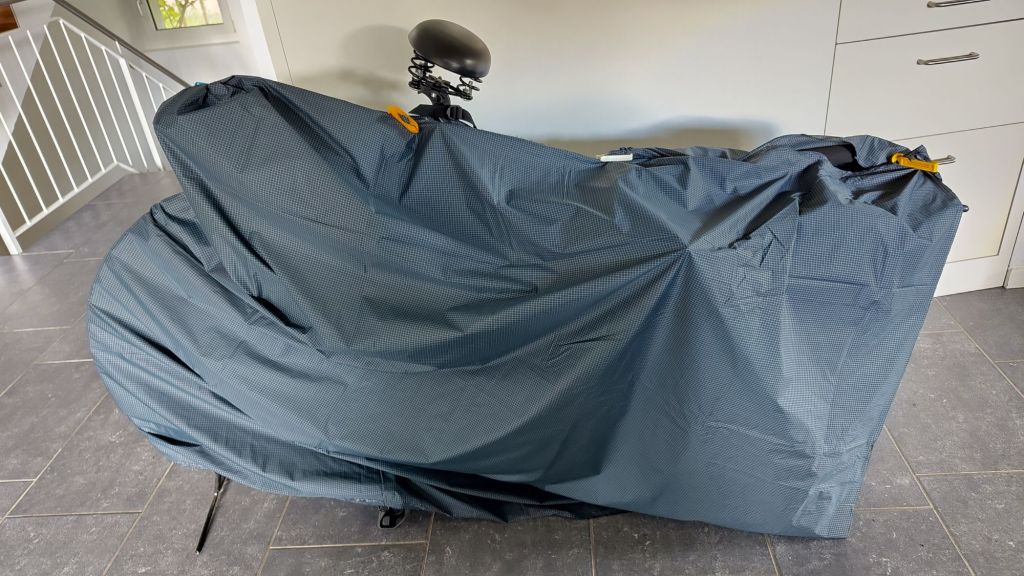
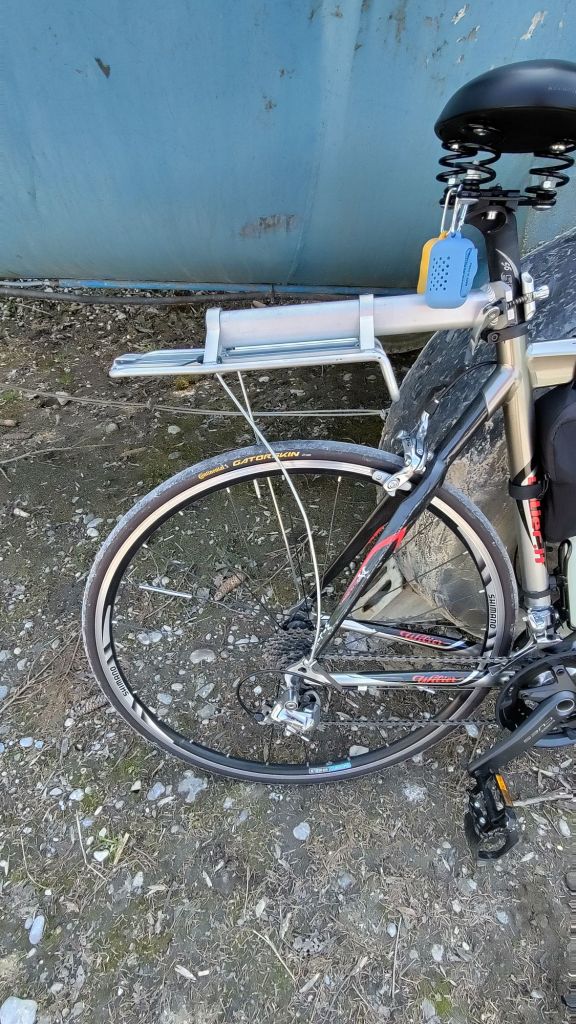
A strap attached to the saddle and the handlebars would allow you to lift the bike directly, so the bag doesn’t have to carry the weight and probably split apart. It would also make it easier to I carry my 10kg bike up and down stairs with luggage.
The loose front wheel should be attached to the frame, with some protective material in between. This could serve as an overhang for the bivvy sack … Really? Am I going to wait out a massive thunderstorm covered by this thin material? Now if I had a comfy seat to sit on …
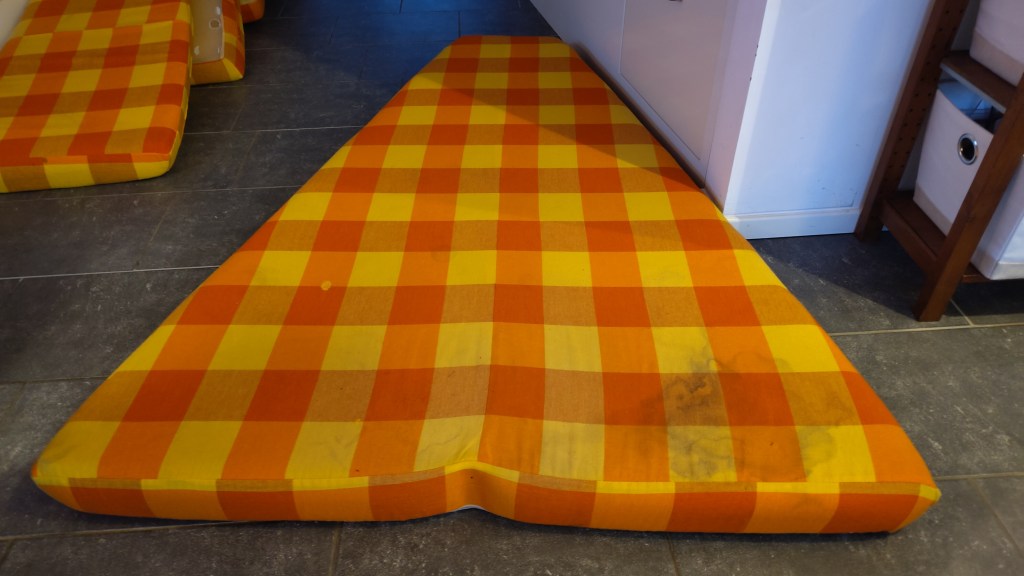

I was “almost done” with the black leopard fur chair covers. The only points twitching at me were the ears sticking out. And I had to take a decision on how to finish up the bottom part.
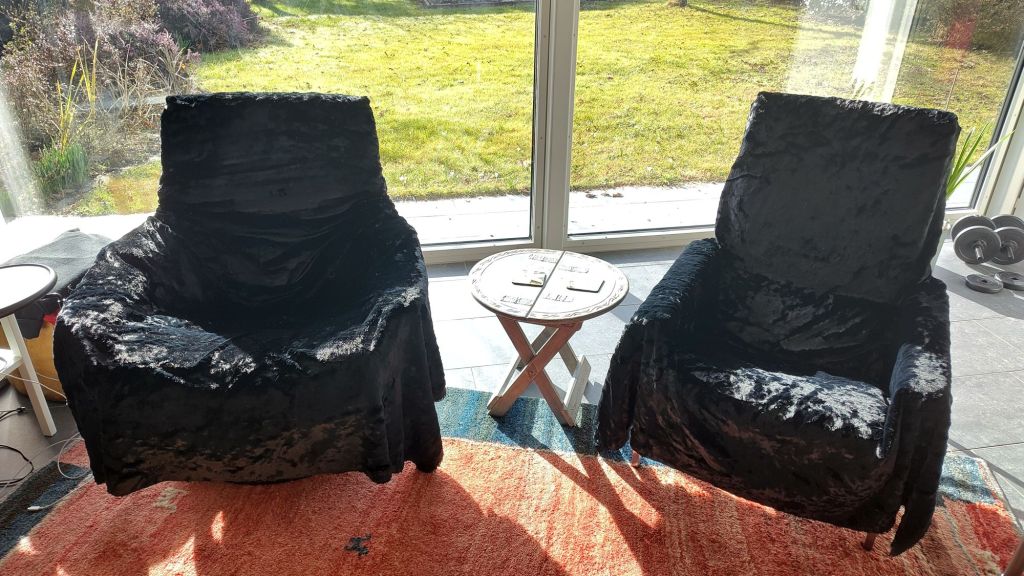
It took me less than half an hour to sew off the four ears, decide to let the bottom just hang the way it is, and hide the dangling ends of thread. Now they make the chairs cozy to sit in while protecting them from the sun.
Having my sister coming over next week is a great motivator! Imagining seeing the house through her eyes… and reducing the noise in my head by finishing off projects that are busy procrastinating so I can enjoy the visit with less “urgent and important to-do list” pressure.
What’s next?
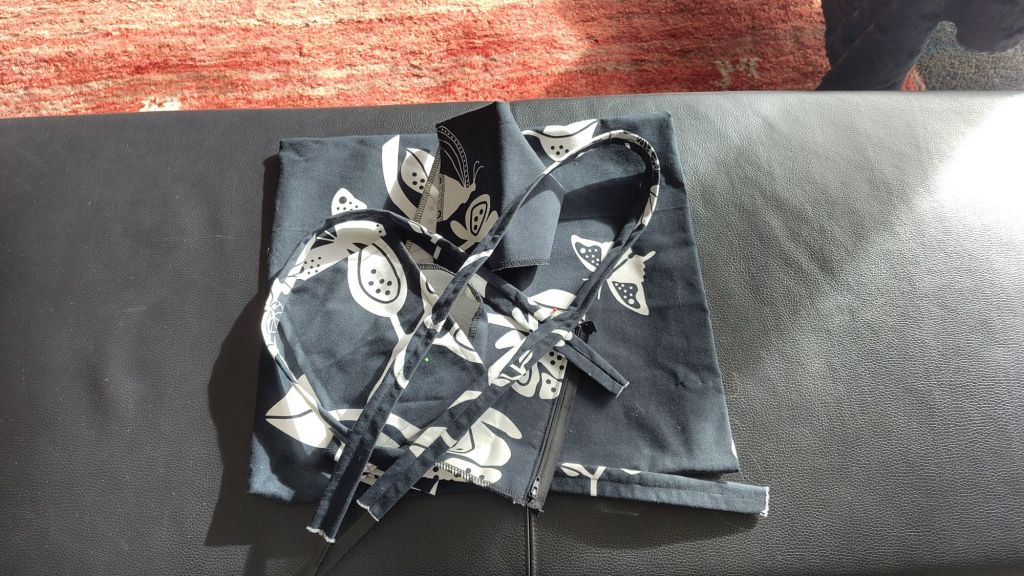


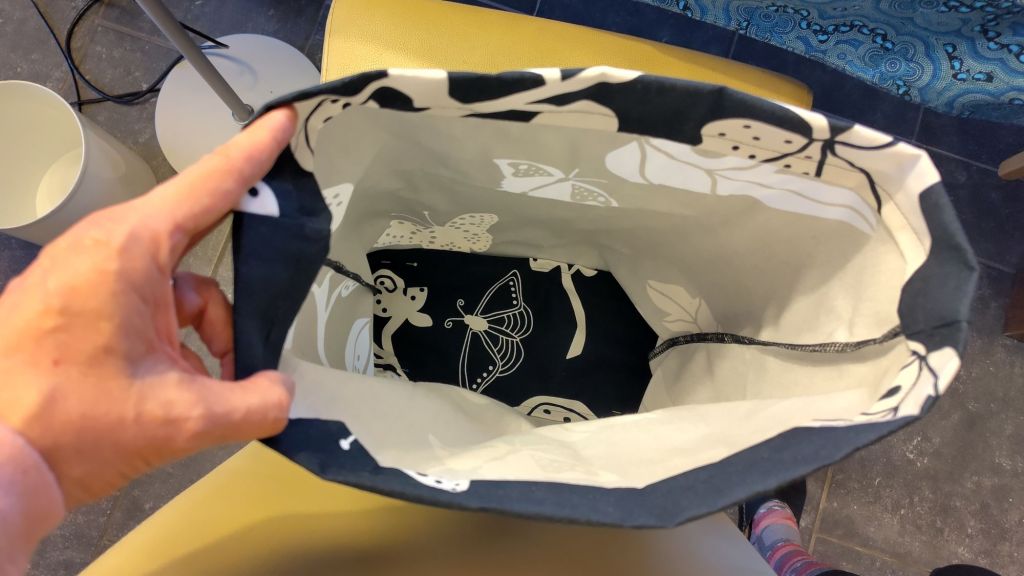
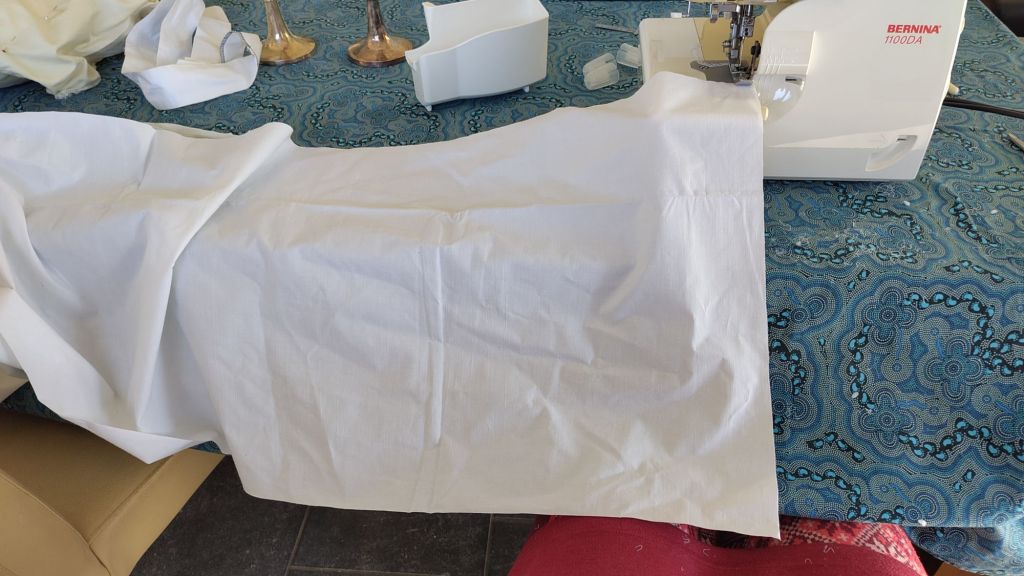
When the kids were still sitting in their black Tripp Trapps at the table, 17 years ago, I had made some pillows for them to sit on with a very nice butterfly pattern. There was some material left over that I had started making a tote bag out of. Now is the moment to finish it!
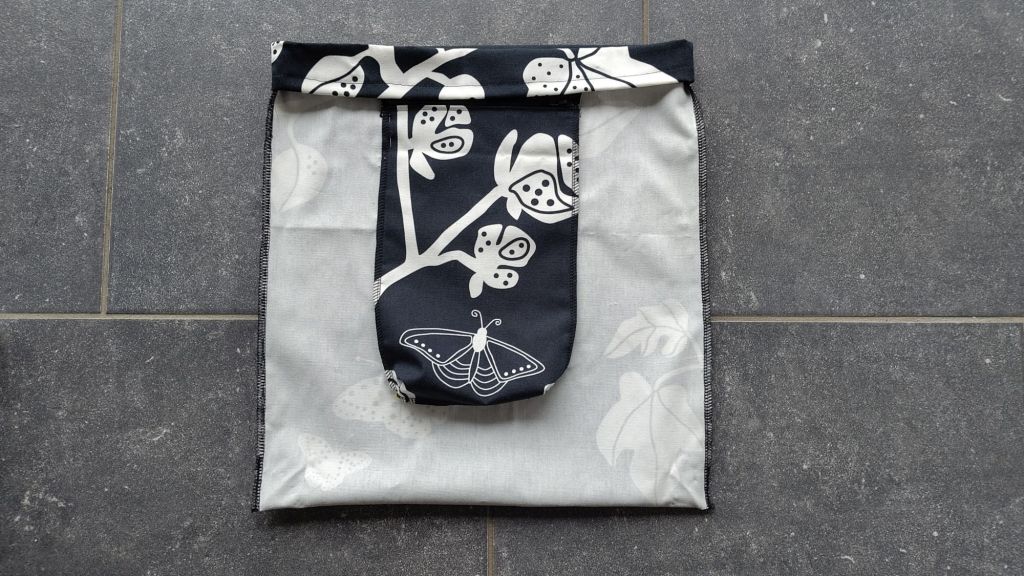
The inner pocket has a zipper at the top and is three-dimensional at the bottom so the outside material doesn’t bulge out and get stressed.
Shall I reinforce the bottom of the bag too? Yes, she sometimes carries heavy things in it. This is not meant to be a super light bag so it might as well have extra features.
A waterproof umbrella baggy inside, lined with dyneema? That would be something … How to attach it? Just at the top? I have some umbrella covers somewhere …
Straps to hold a bottle upright? Too much?
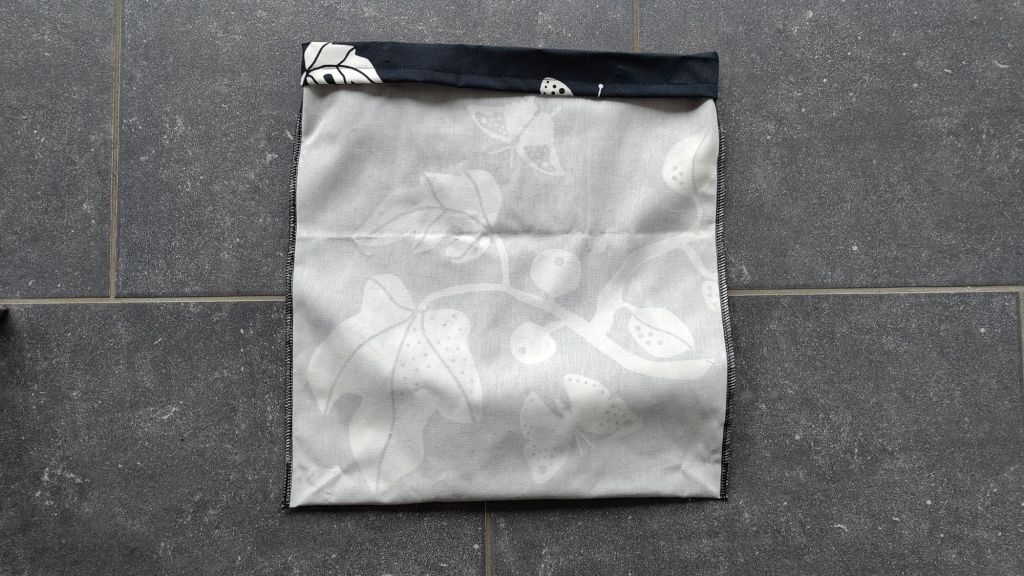
A hidden pocket at the bottom? I love them but they’re not really used. One on each side of the bottom reinforcement? Make the whole reinforcement double, meeting in the middle without sewing it together…
As soon as you turn things inside out, the inside is smaller than the outside, because the thickness of the material is not zero. So sewing is mathematical in 2.5 dimensions. This version of the bottom reinforcement just doesn’t sit well.
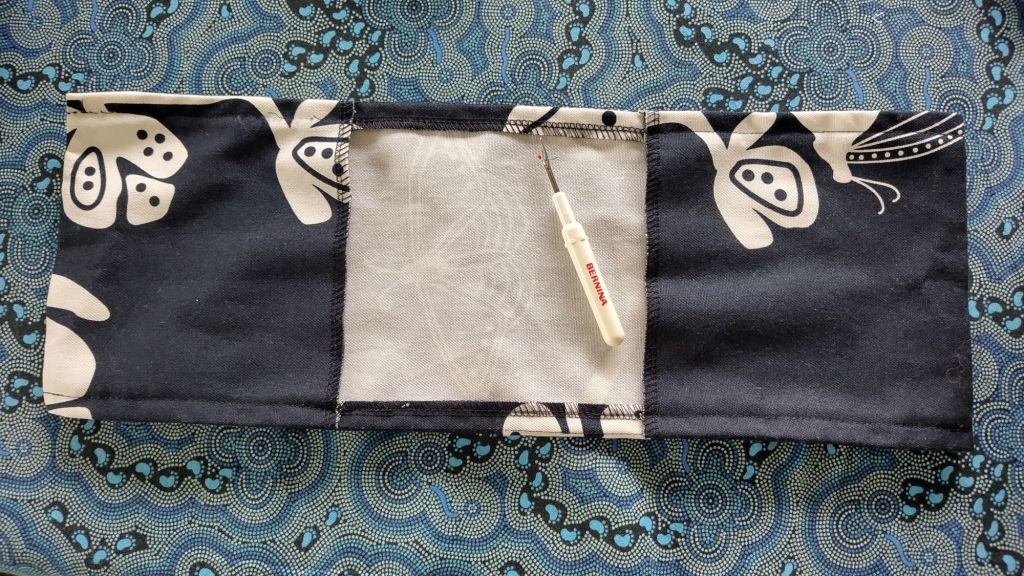
There is no need to “finish” the seams by folding them over. It just adds bulk in the third dimension.


To do:
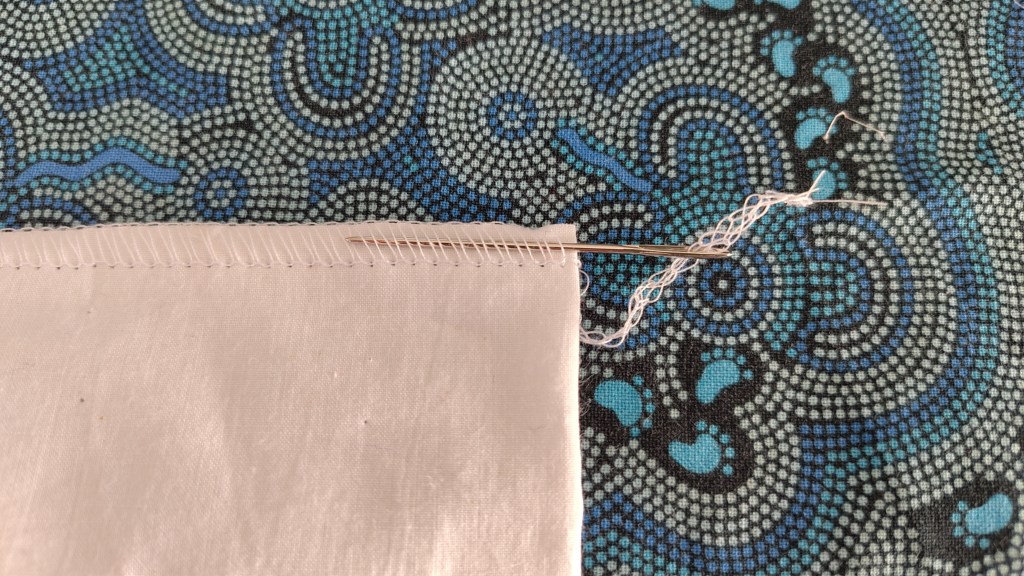
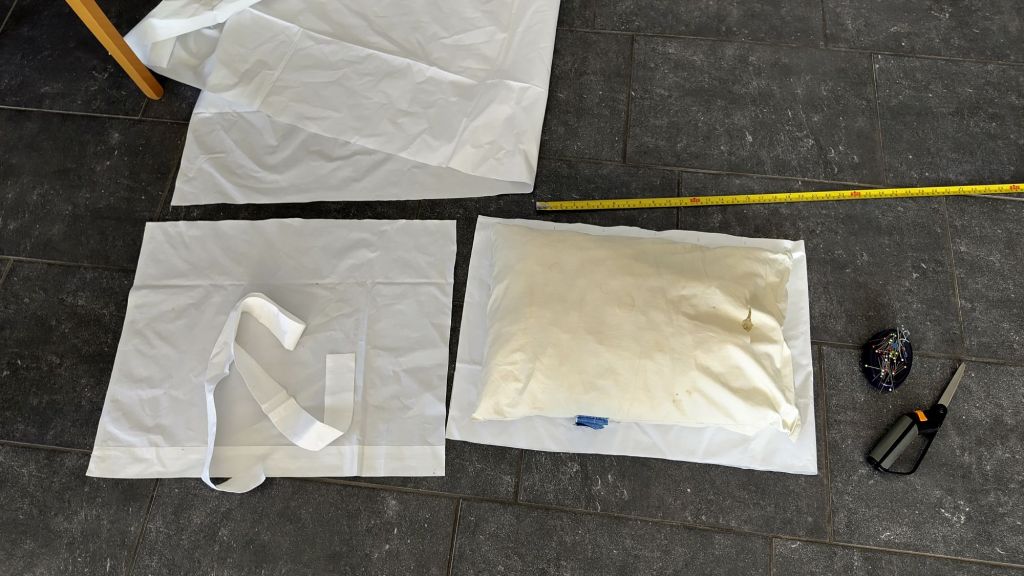
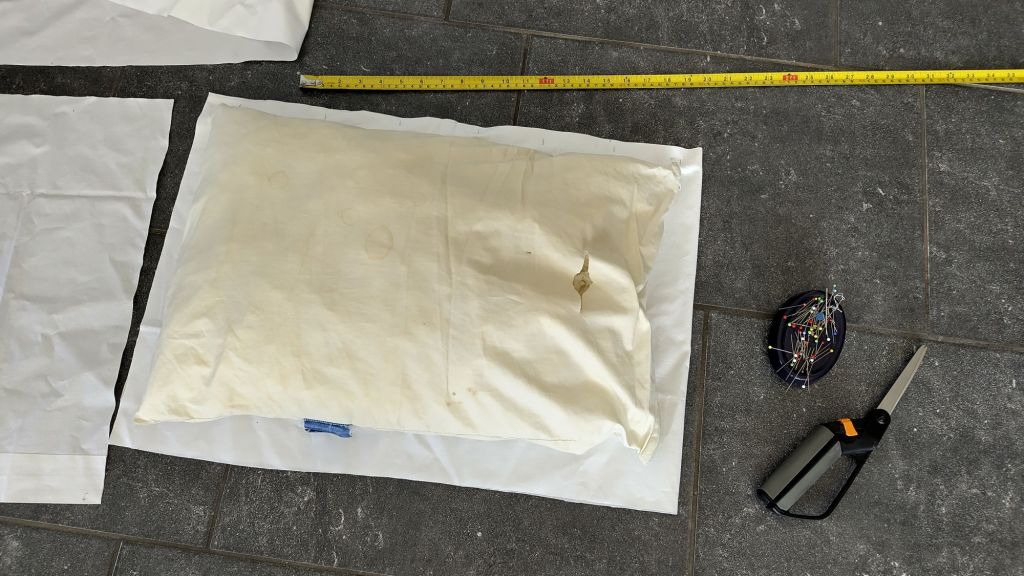
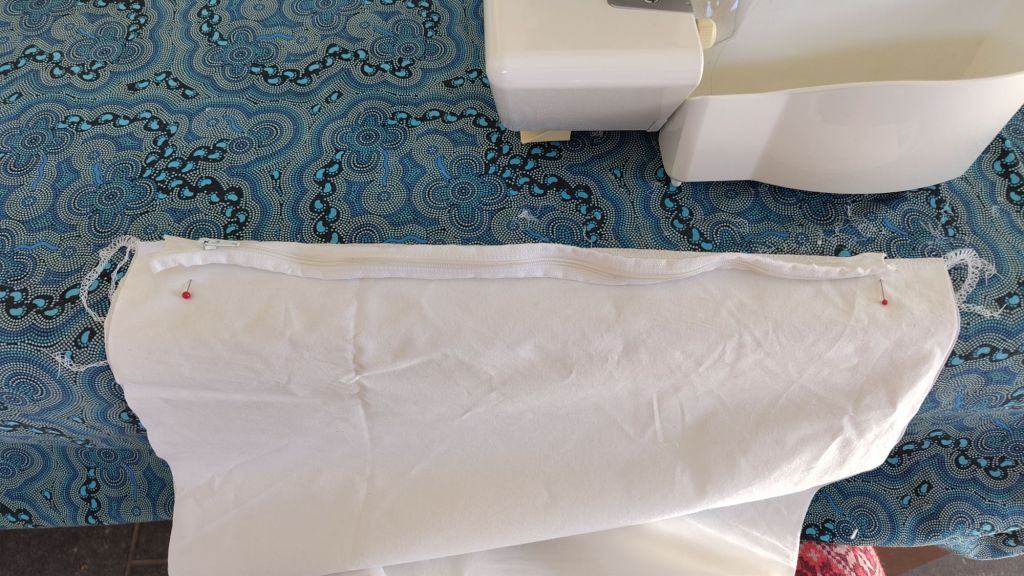
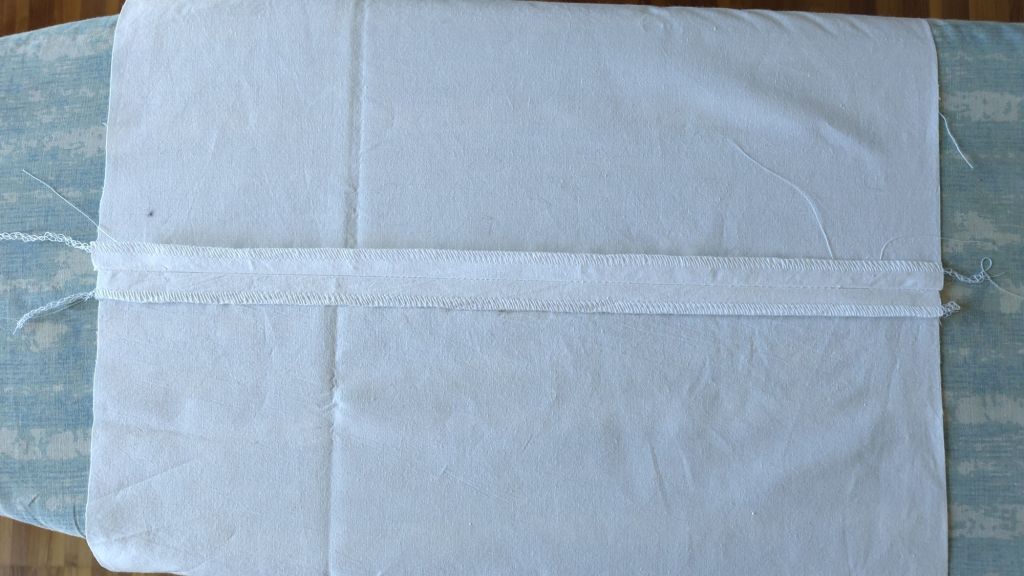
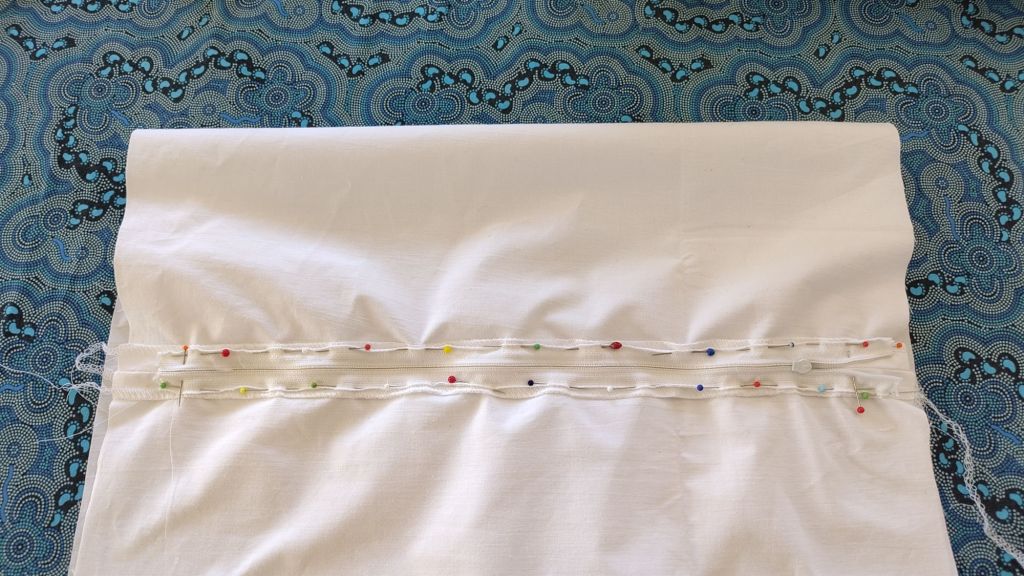
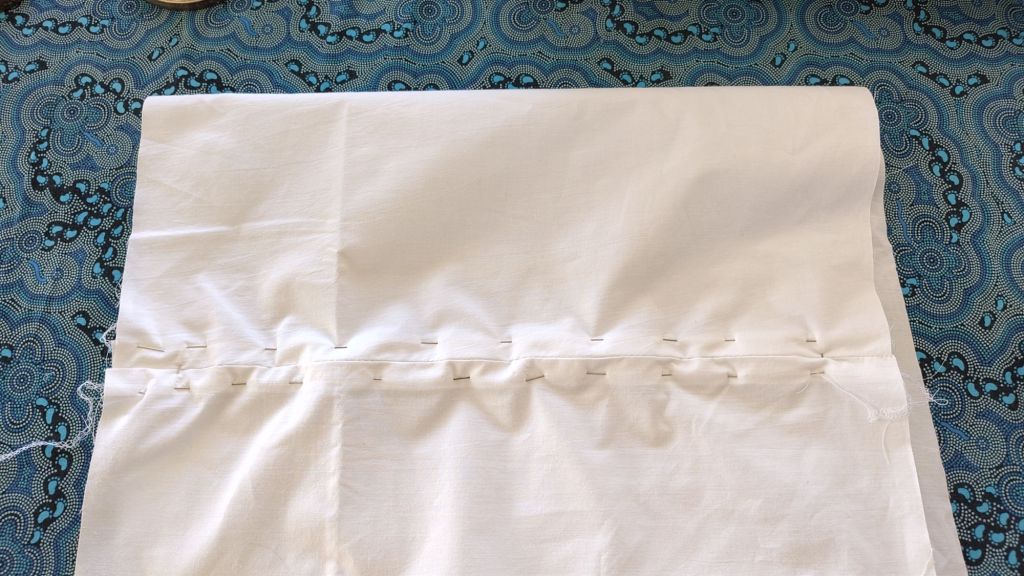
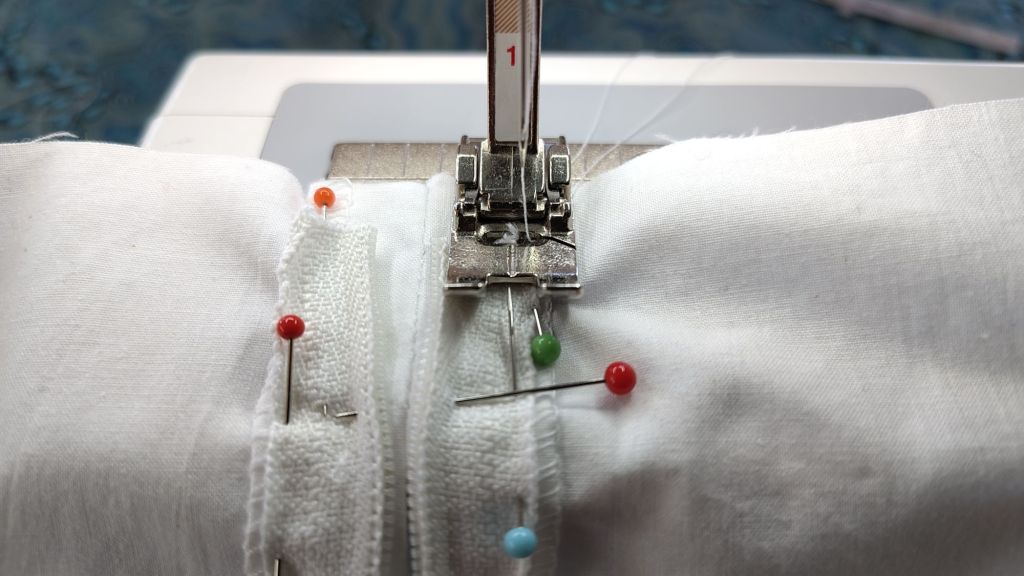
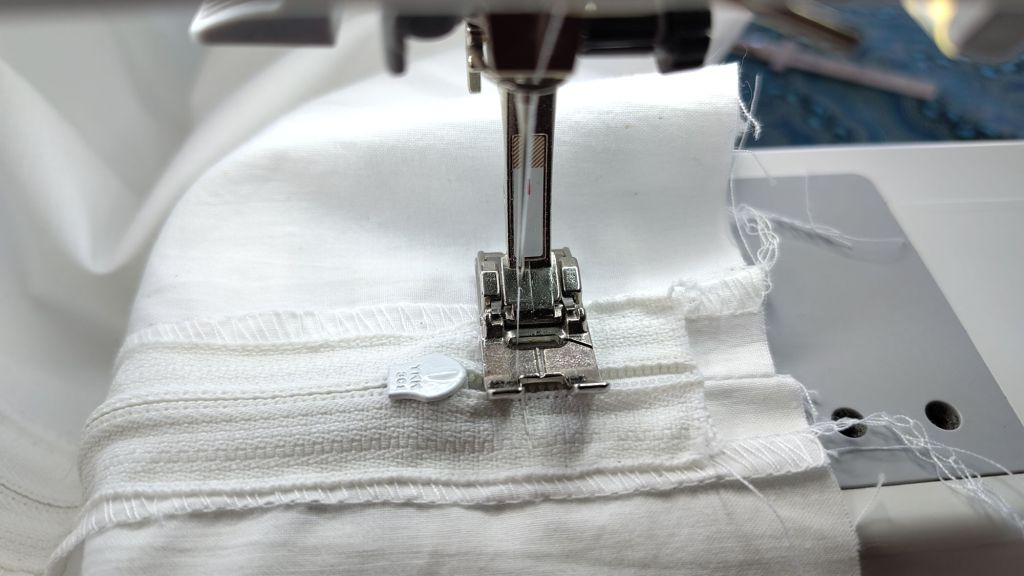
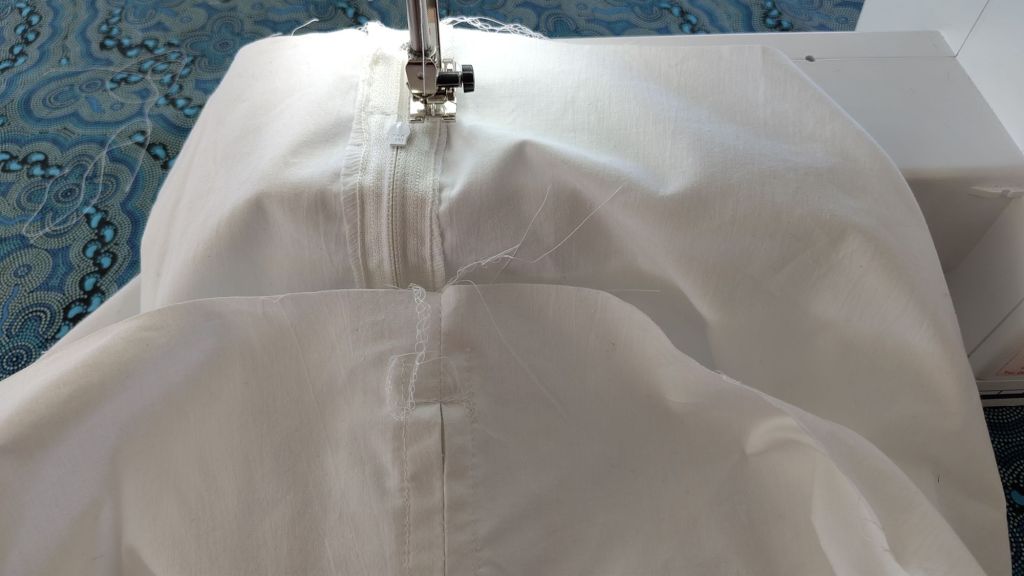
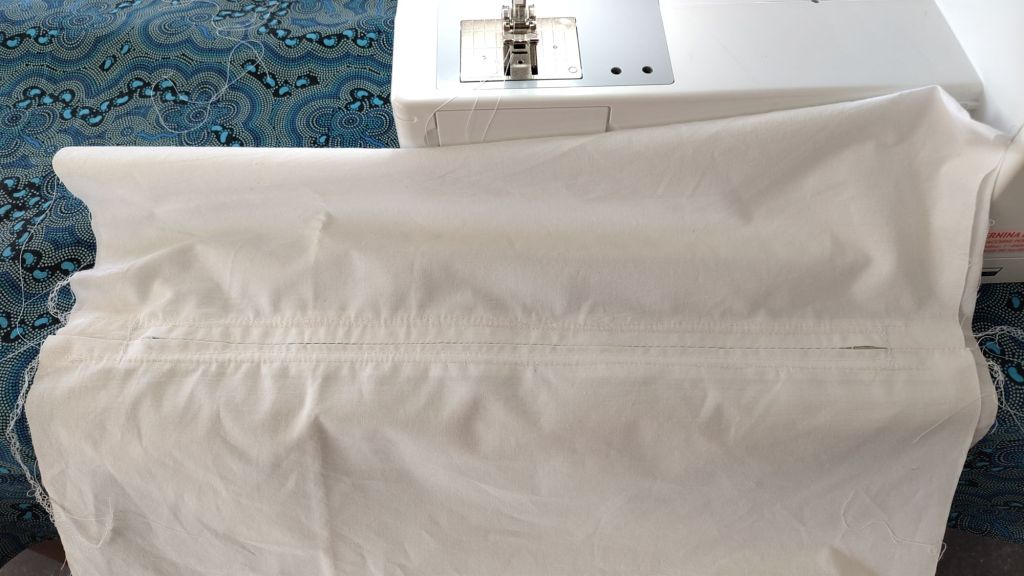
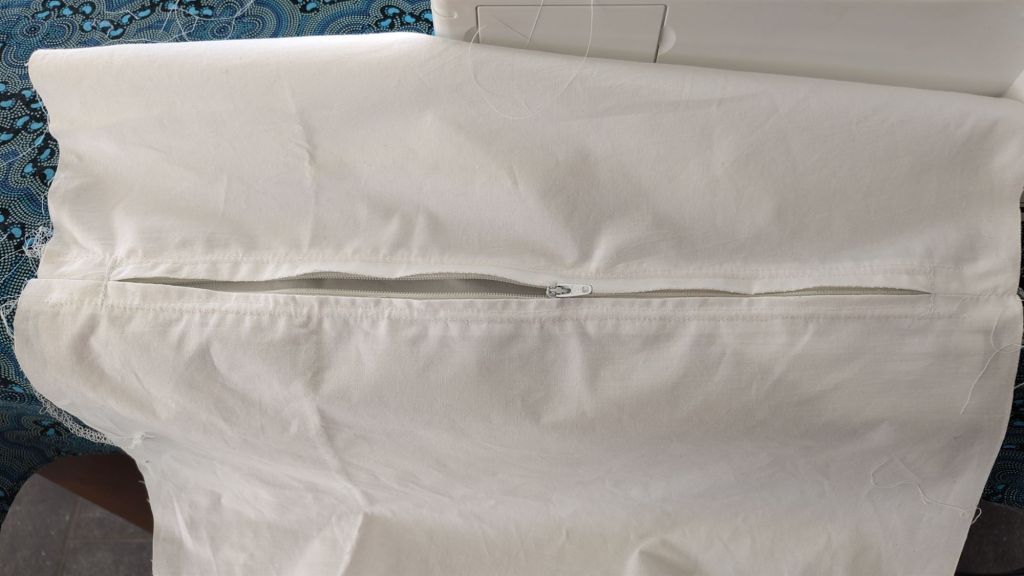
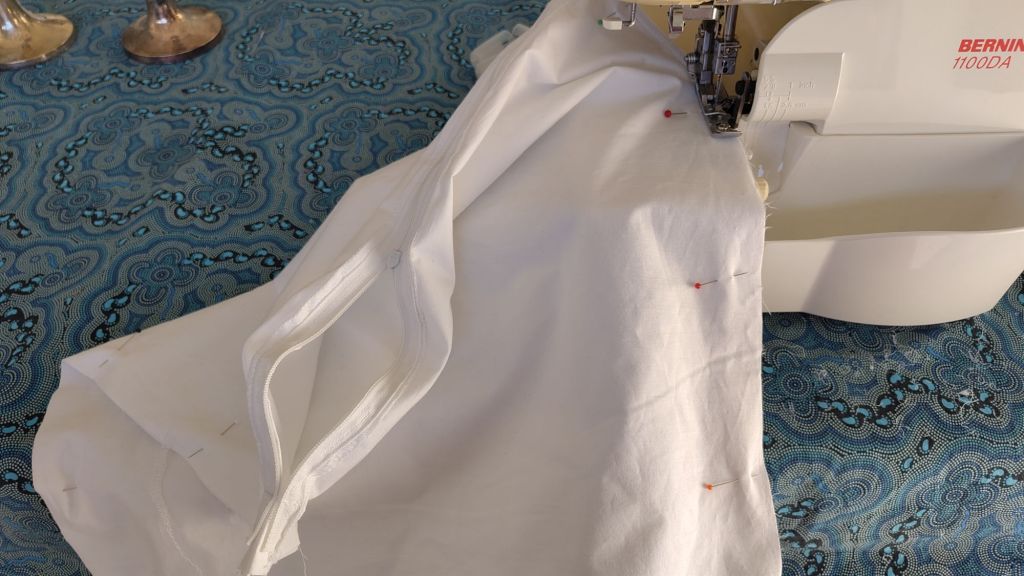
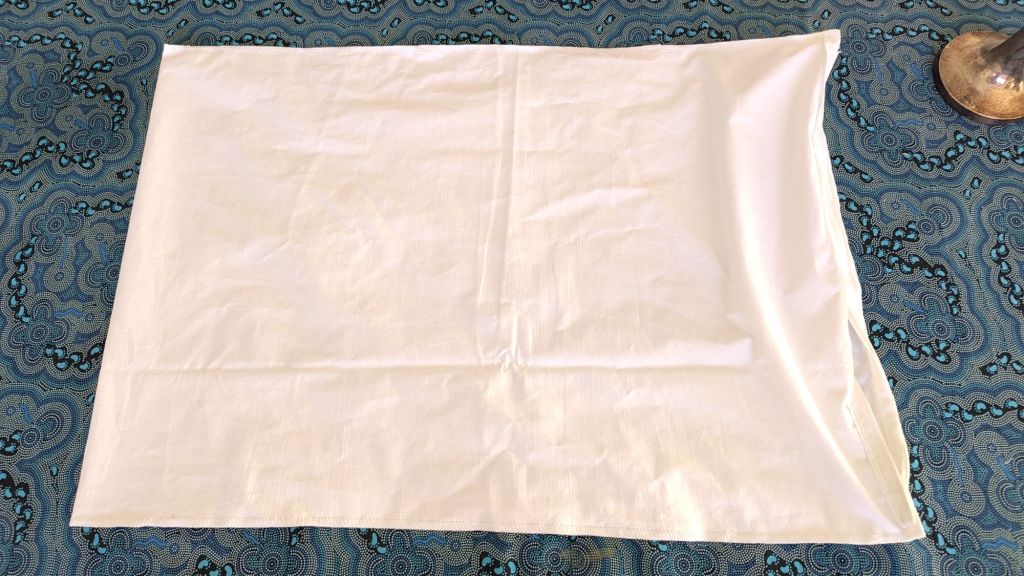
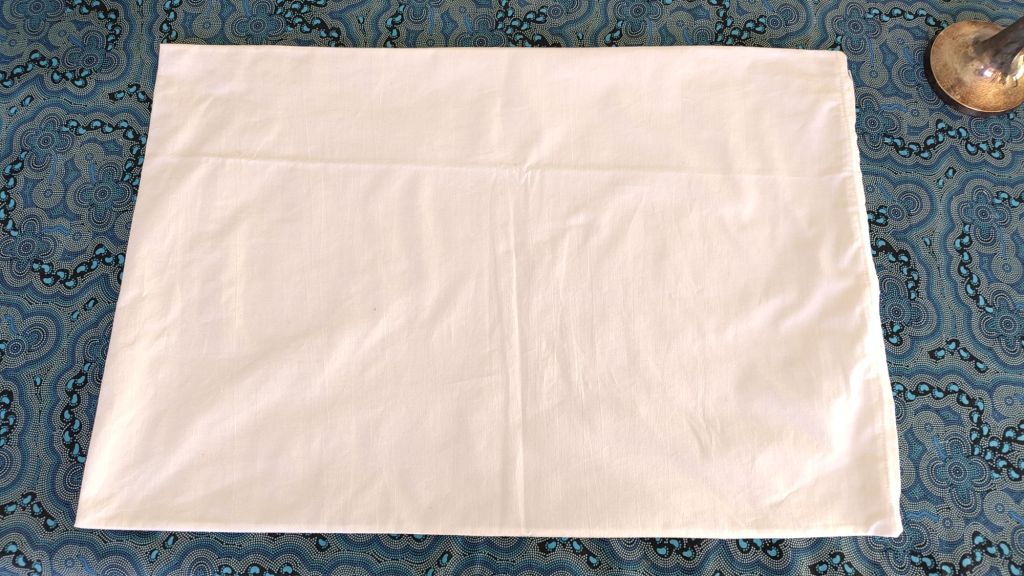
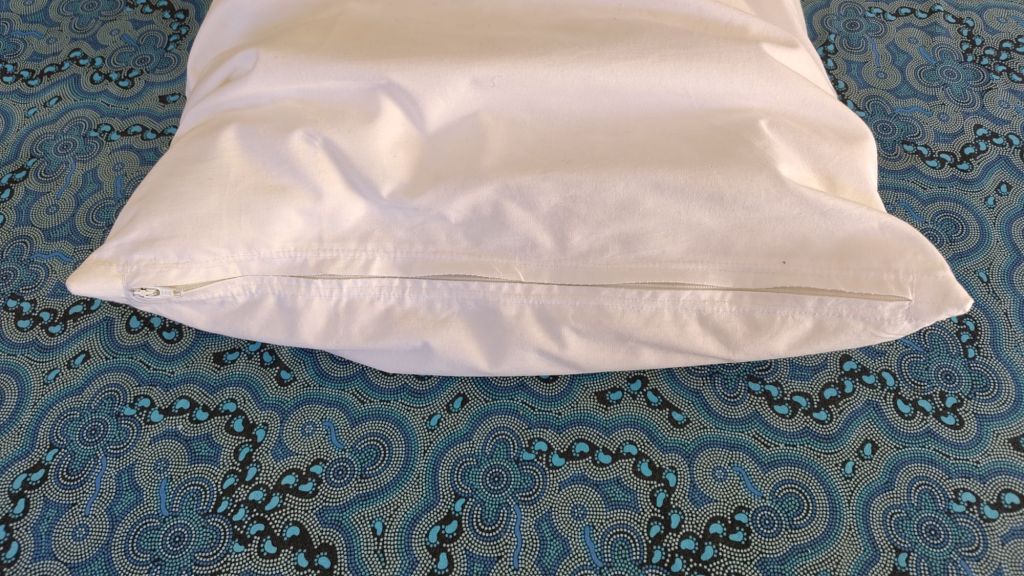
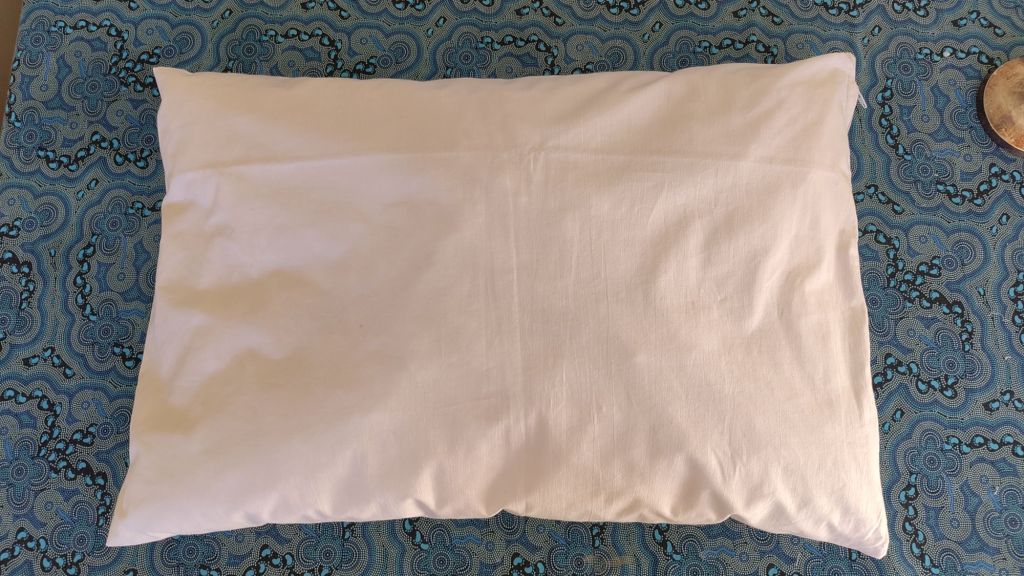
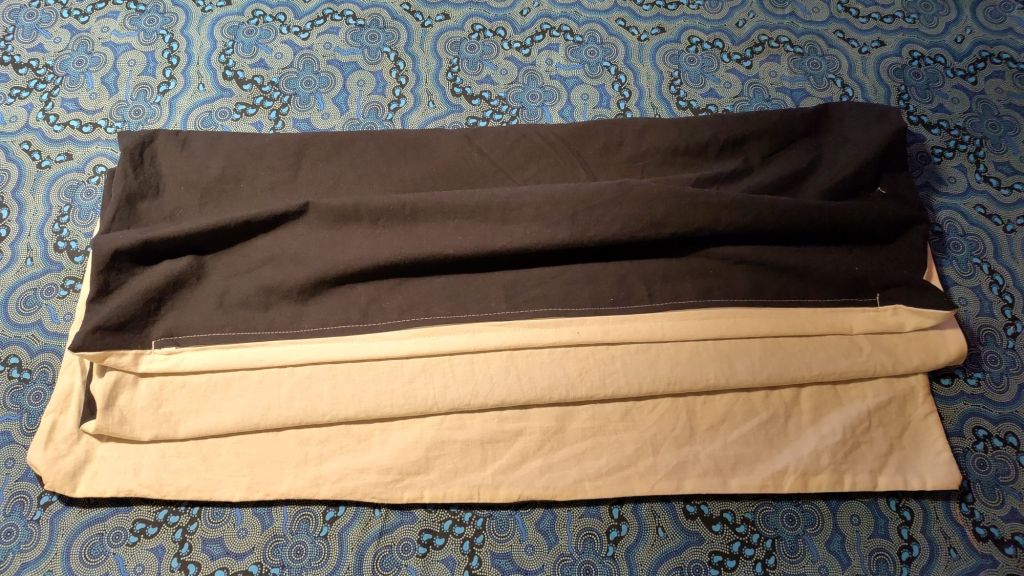
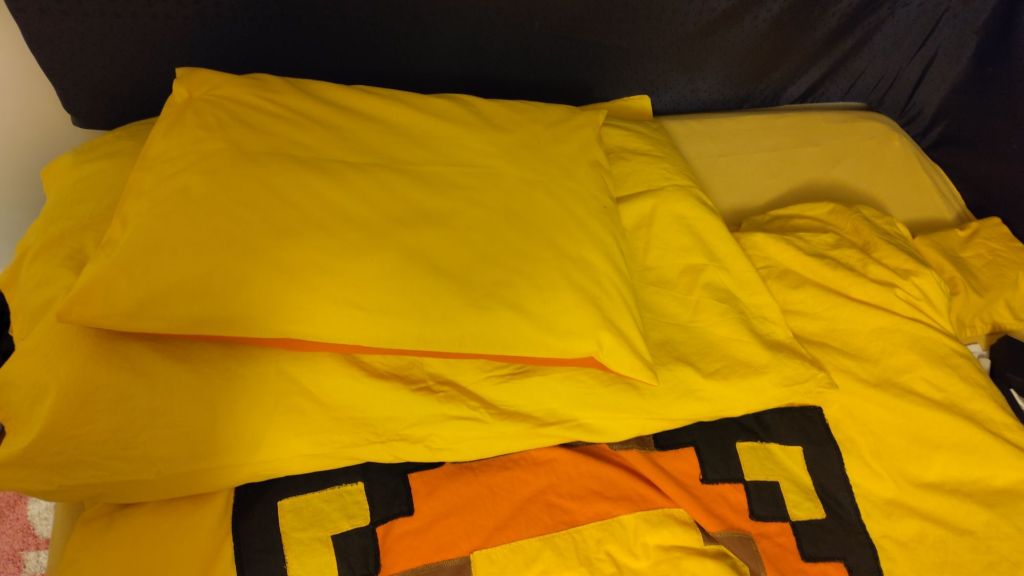
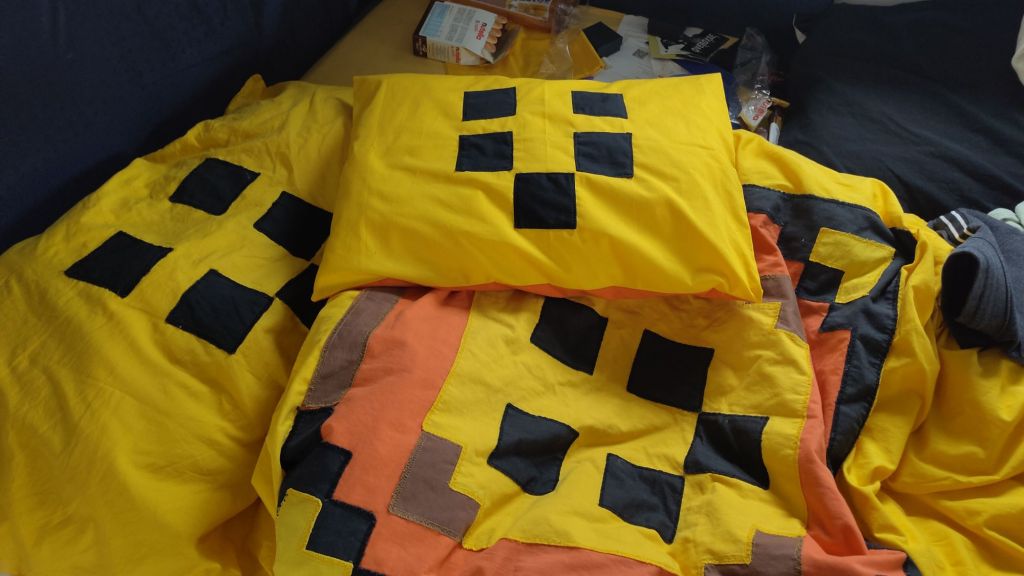
Update: I found a pillowcase that needed a zipper. Since the sides had already been sewn shut, I had to sew the zipper in while it was open.

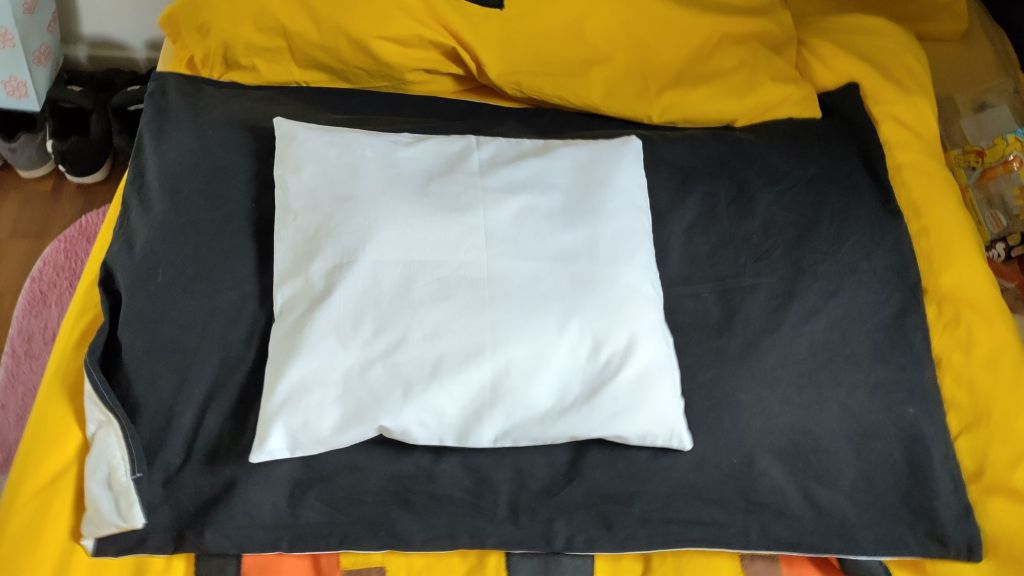


My earphones get tangled up all the time. My wireless earphones get lost. Is it worth it to reconstruct this baggy to protect my earphones?
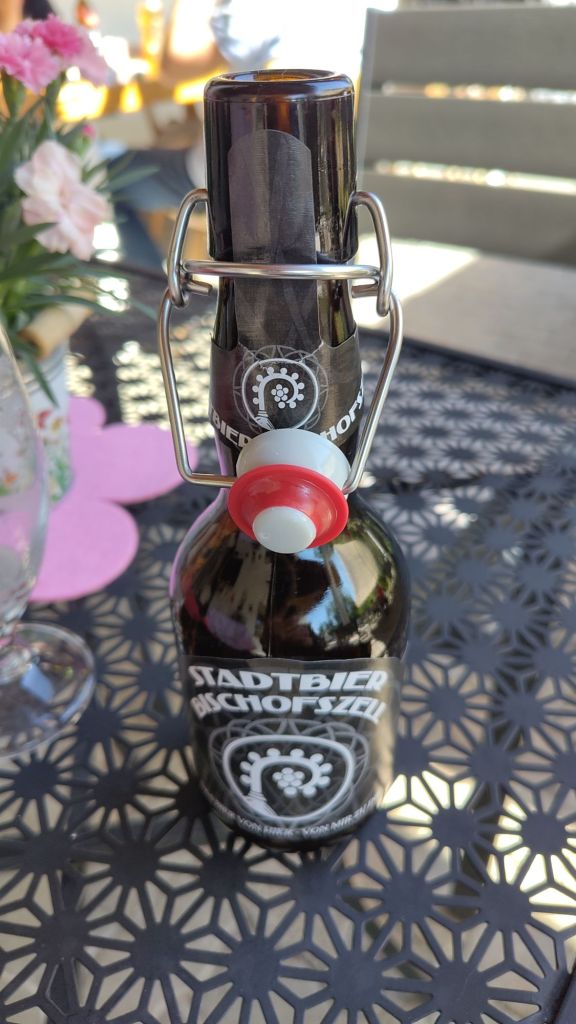
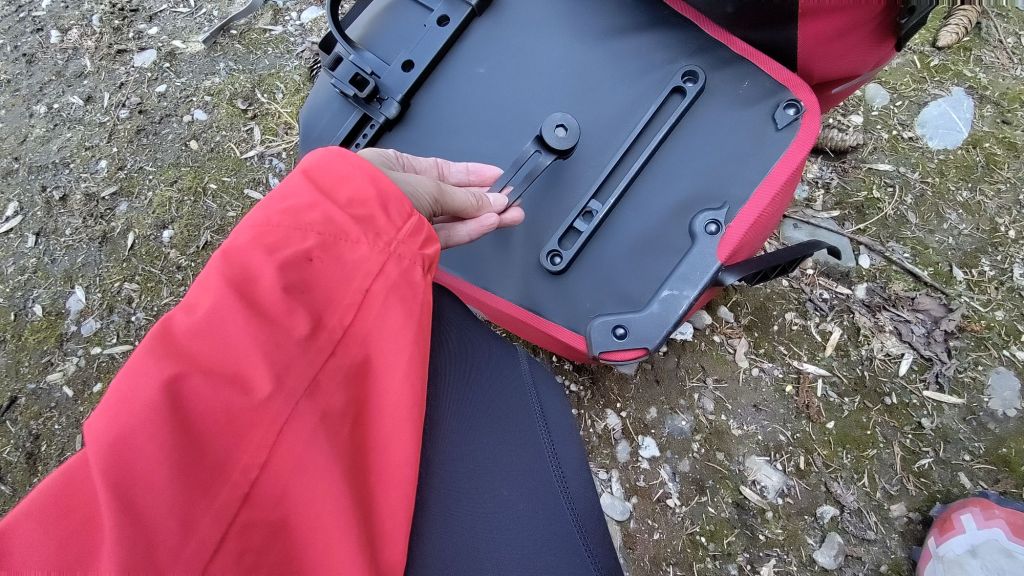
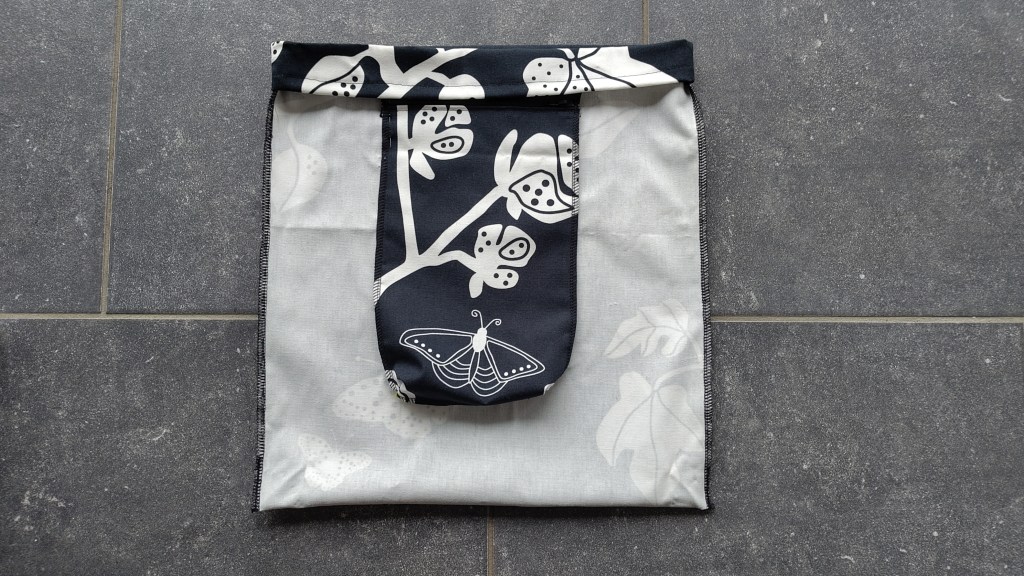
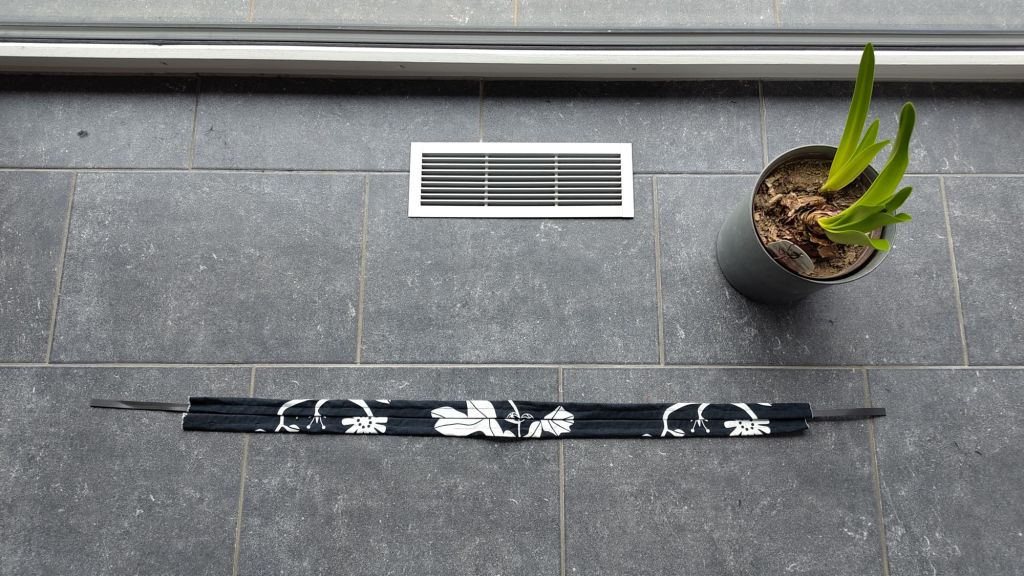
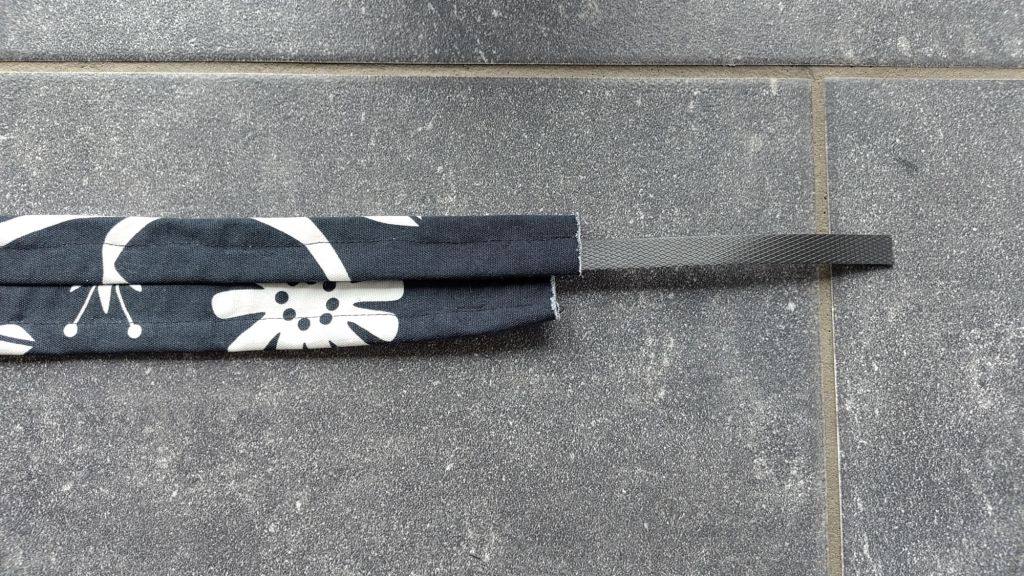
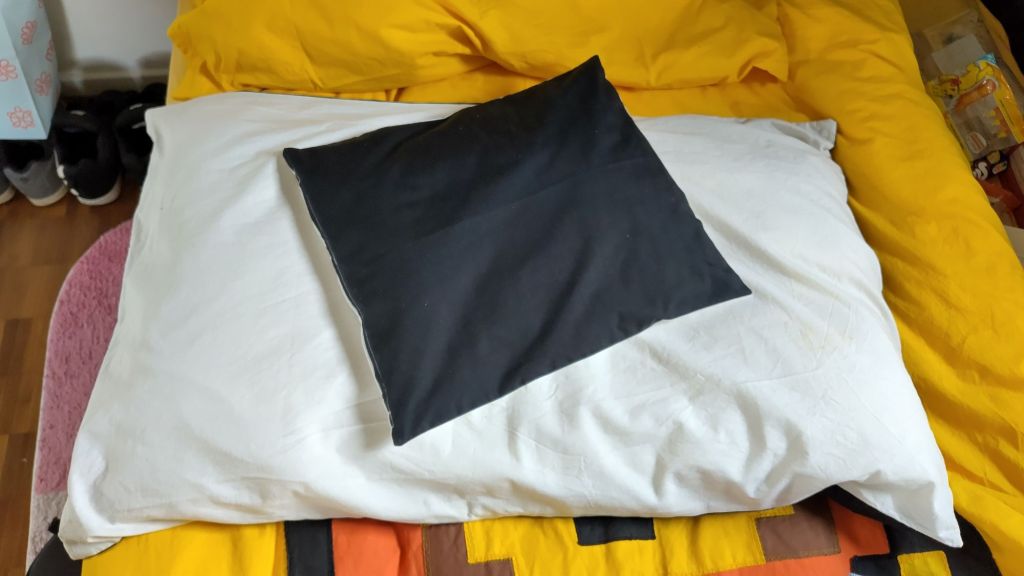
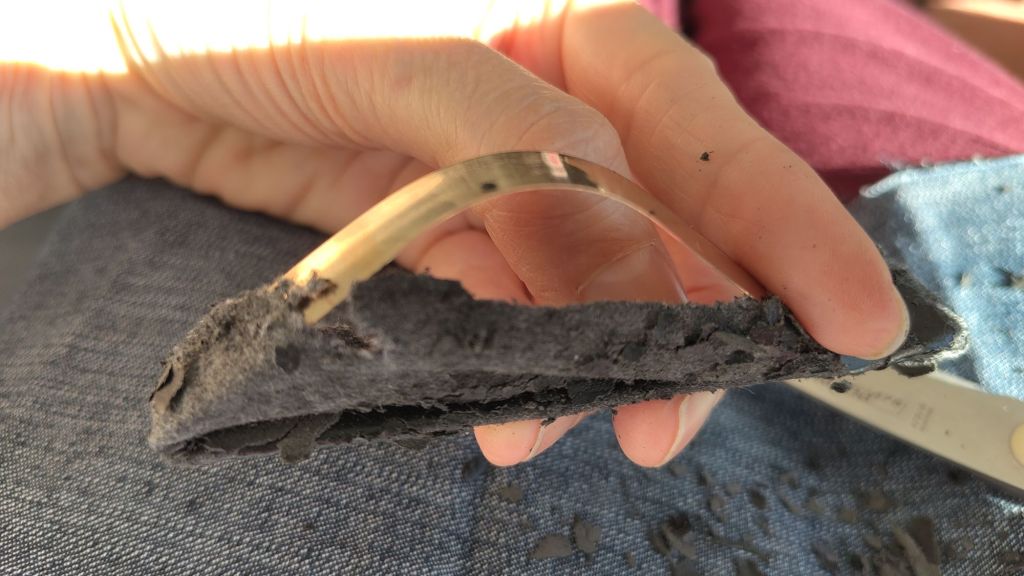
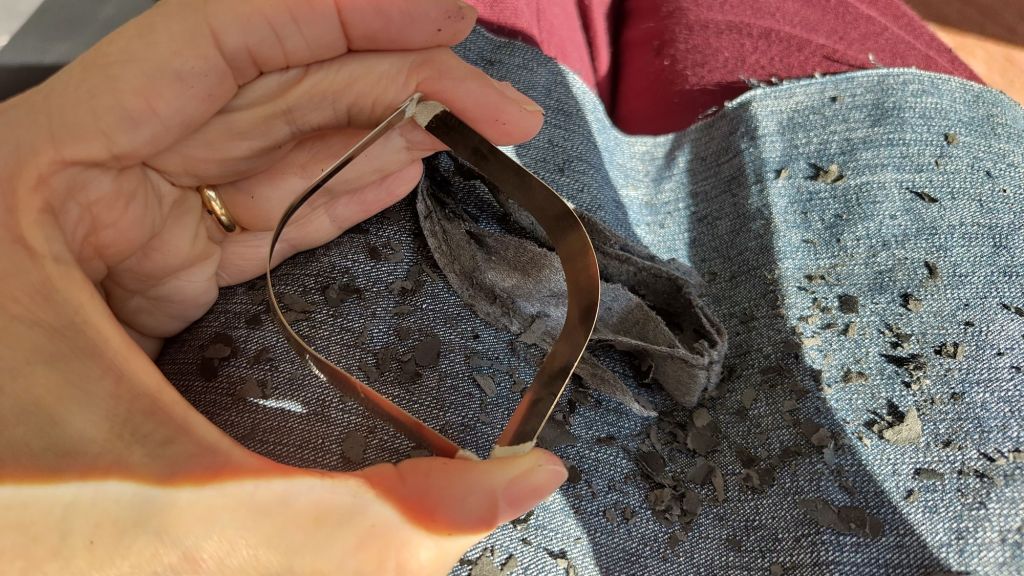
What is the magic behind this cool closure system?

How was the baggy constructed? Would it be possible to turn the baggy inside out? I think that would be difficult and put a lot of stress on the seams.
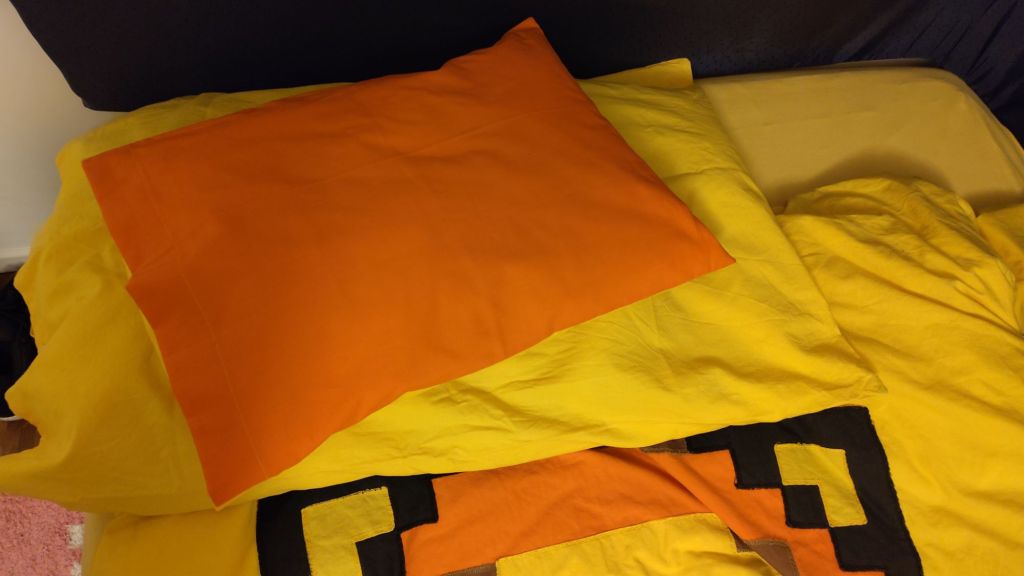
What if I use dyneema instead of jeans material?
Let me think about what to construct with it while going for a bike ride.