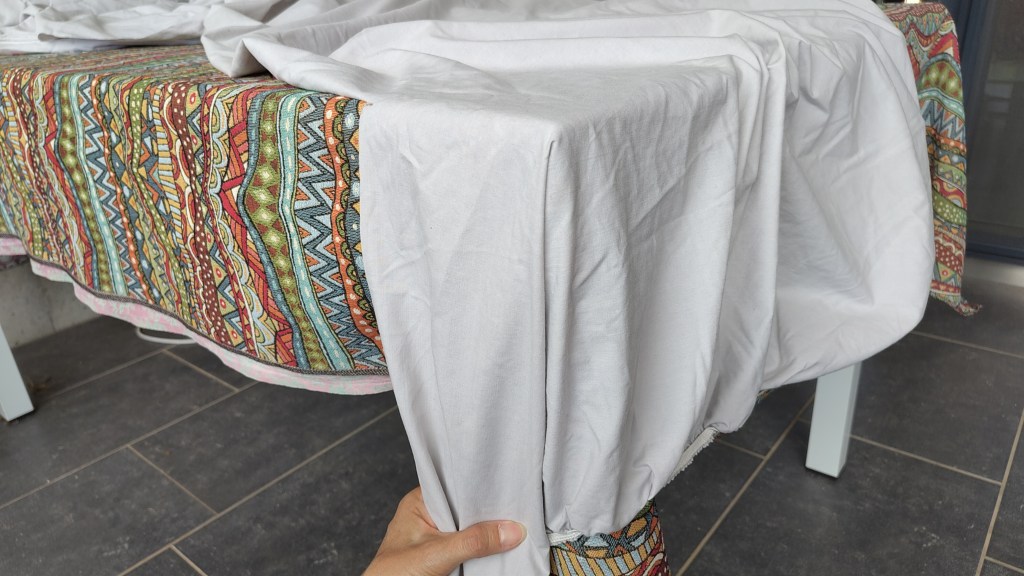
Next week we’re doing a multi-day hut-to-hut hike with the whole family and we each need to bring a hut sleeping bag: “Huttenschlafsack”. We have one blue silk/cotton (250g) and two white cotton ones (450g) and need a fourth but time is short, so I’ll just make one out of an old fitted sheet.
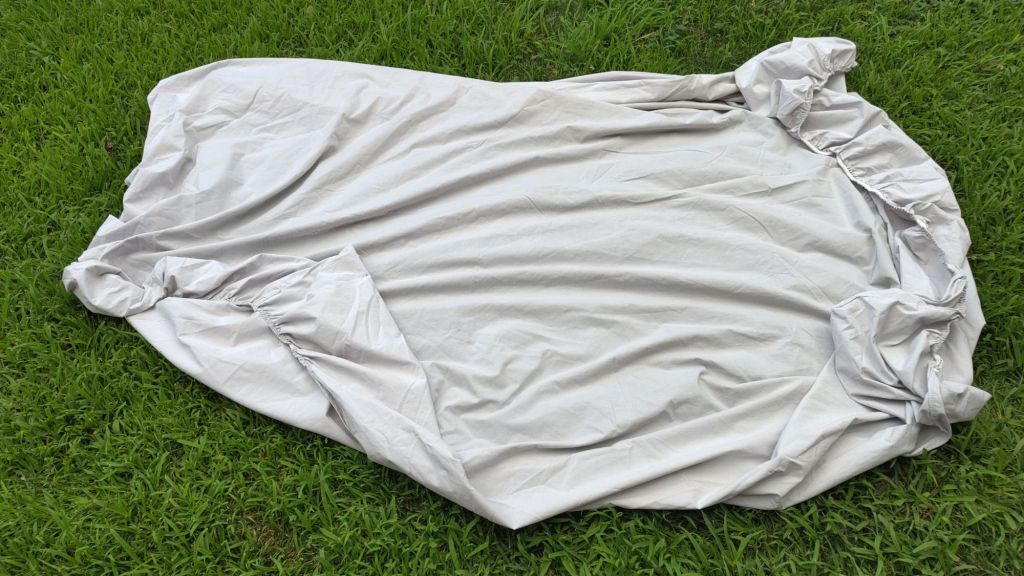
What’s important is that the top end of the mattress is firmly covered, so your head doesn’t touch the intensely used mattress. I can re-use one of the corners of the fitted sheet for the top part and I’ll have to invent a second one.
The feet and the body should have enough space inside the bag. The top sheet needs to be at least 100 cm wide to cover the body.
How to join the top sheet and the bag bottom …
We start with the bottom end:
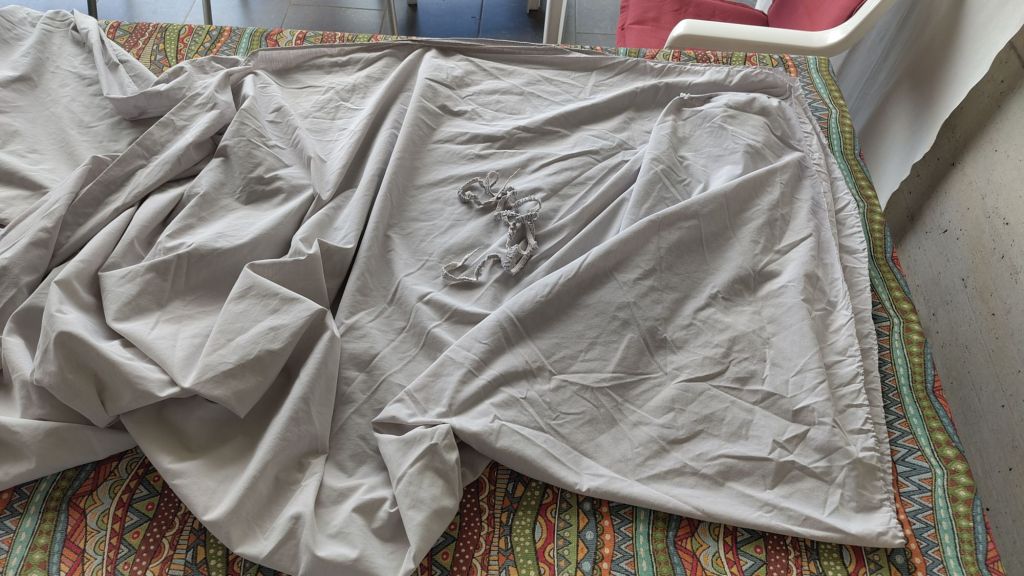
Cutting off the elastic to make the serging easier. It’s tempting to sew it closed right away along the bottom and halfway up the side, but my experience with pillow cases tells me it’s easier to sew the other parts while the bottom is still open.
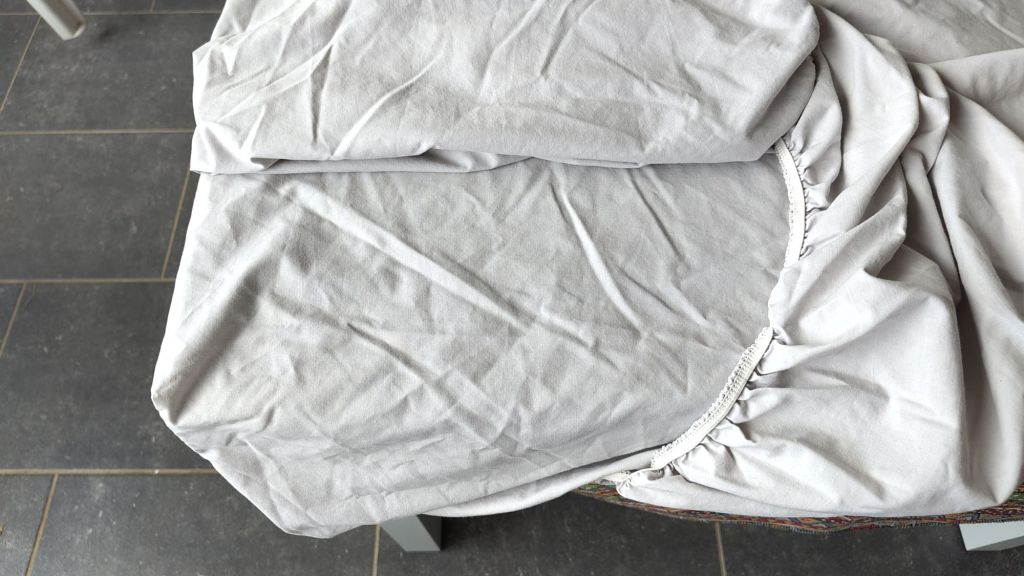
It was decided that the top sheet of this cotton sleeping bag should come to within 15 cm from the top end of the bed.
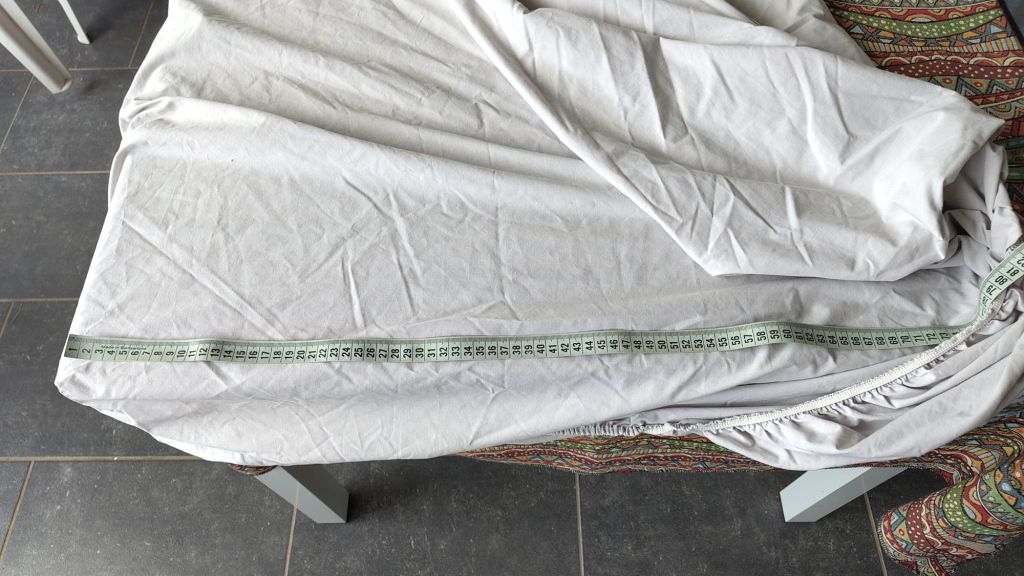
And it was decided to make the bottom part 70 cm wide so it would fit on mattresses from 60-80 cms.
With these two decisions the system is well-defined. The remaining degrees of freedom are very small.
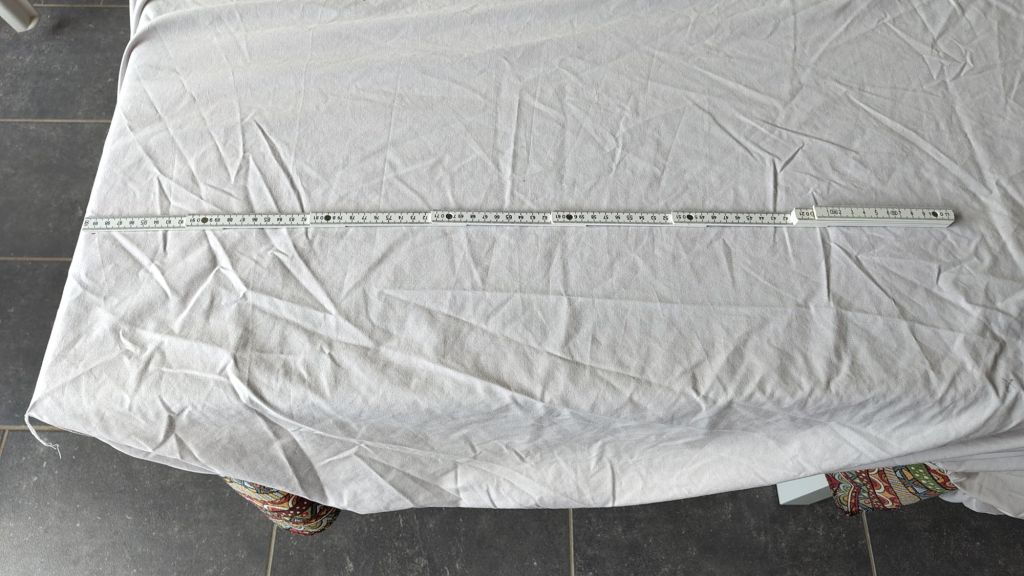
Cutting line for the top sheet, 15 cm from the top edge of the mattress.
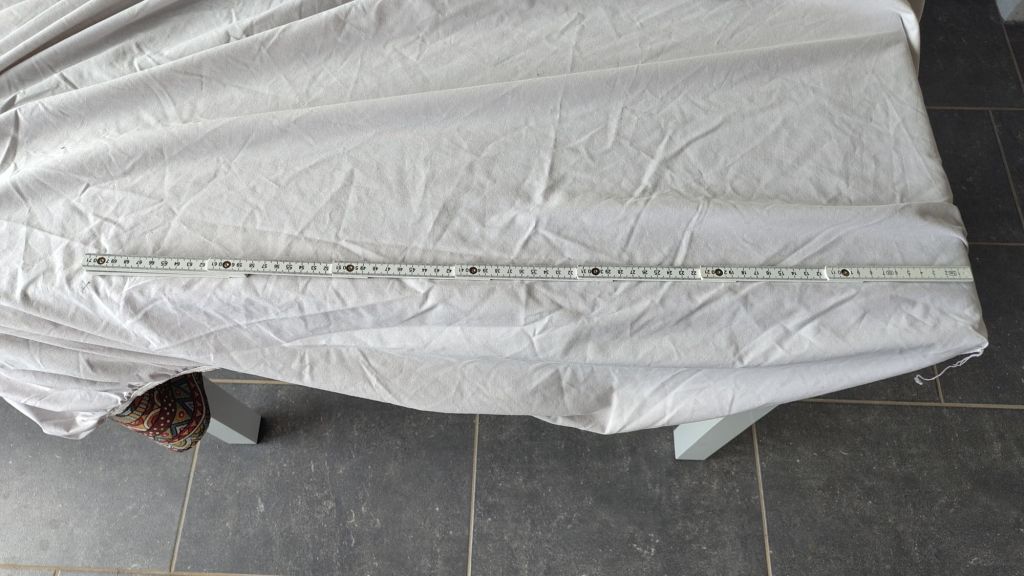
X marks the spot of the other corner of the bottom sheet, 70 cm from the other one.
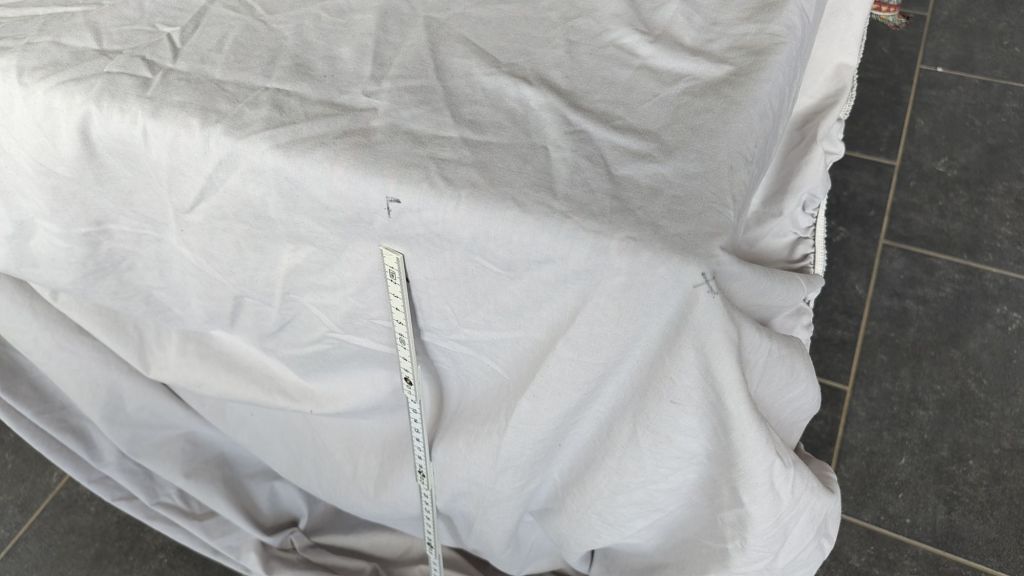
If I cut the top sheet to size until the corner of the bottom sheet, then I can use the cut off part to make a nice corner that fits around the mattress.
How to finish off the corner where the top and the bottom sheet meet? I guess I’ll just serge around it in an 180° turn. It’s “only for three nights”.
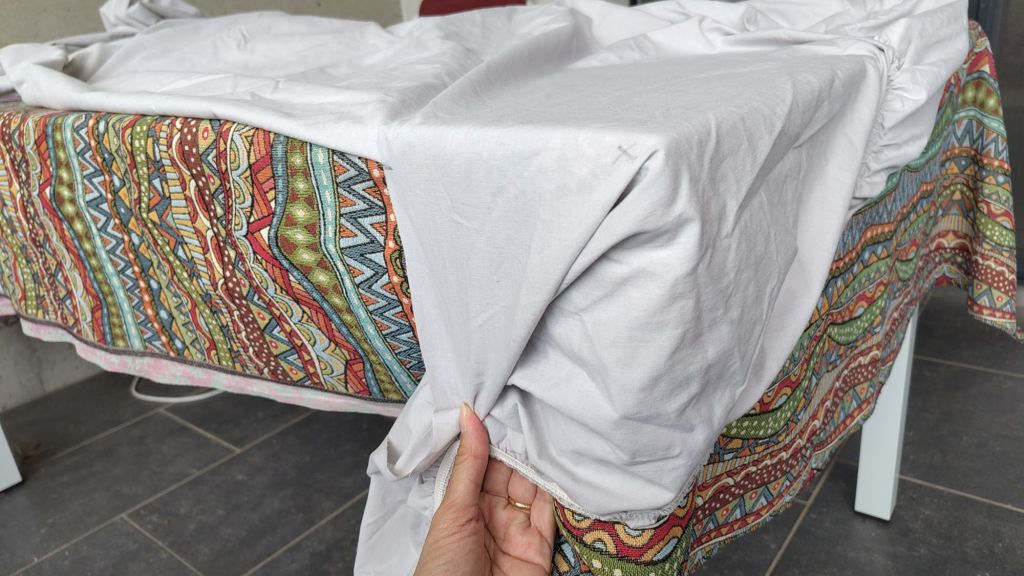
Ad hoc, trying to make the most of the elastic part. Not really good sewing technique.
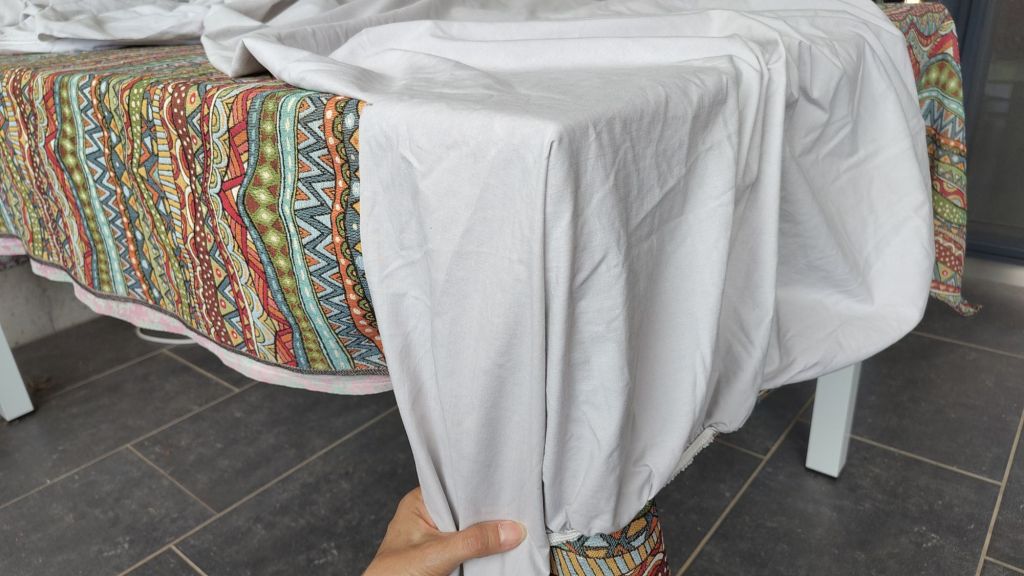
A proper corner. No elastic is needed for the 15 cm down the side.
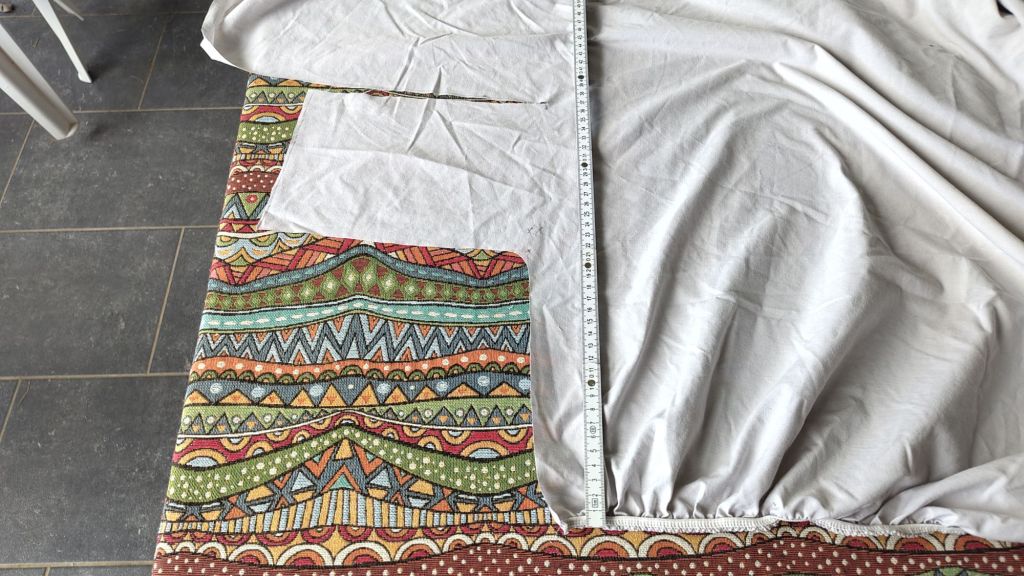
The corner has been cut out.
I’ll start with sewing the corner seam and then serge the edge of the bottom sheet, making that 180° turn and continuing across the top sheet and down the side. At some point I’ll insert the other edge of the bottom sheet so the bottom makes a nice foot bag.
Publishing this now. Stay tuned for the post-sewing part! Will it be what I want it to be?
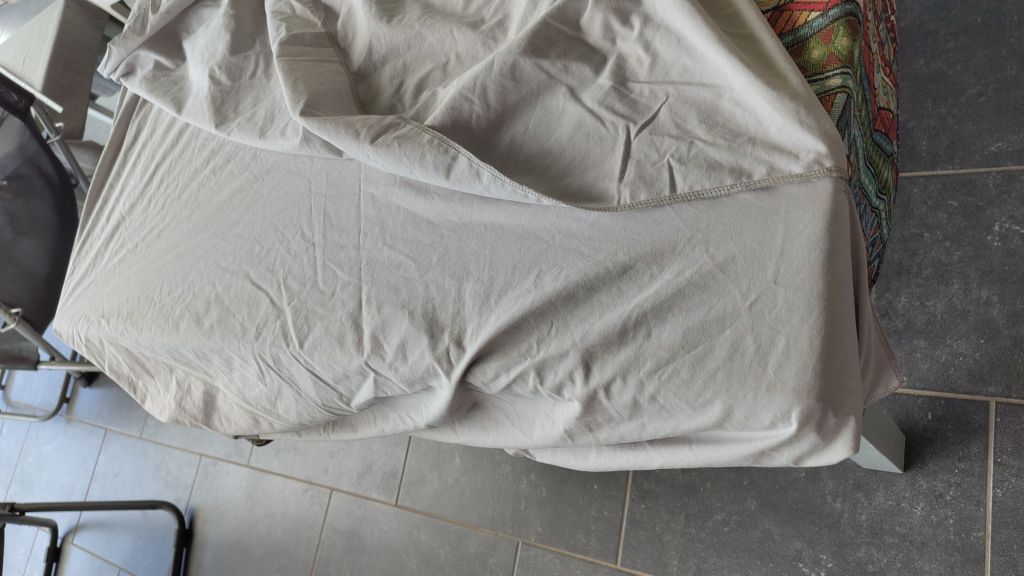
Intermediate check when the thread ran out. Looks good!
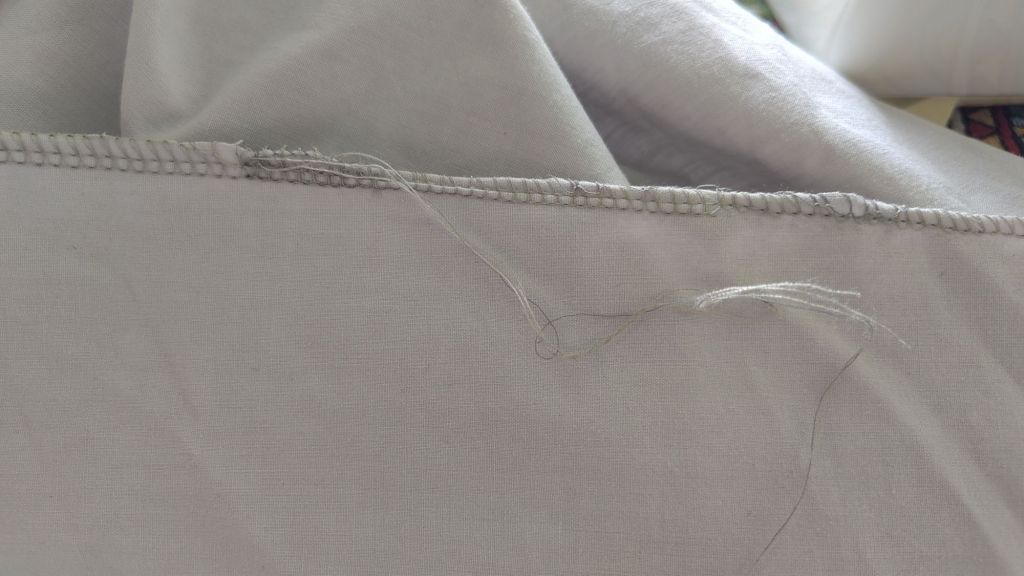
New spool of thread, creating the usual problems. Doesn’t look good.
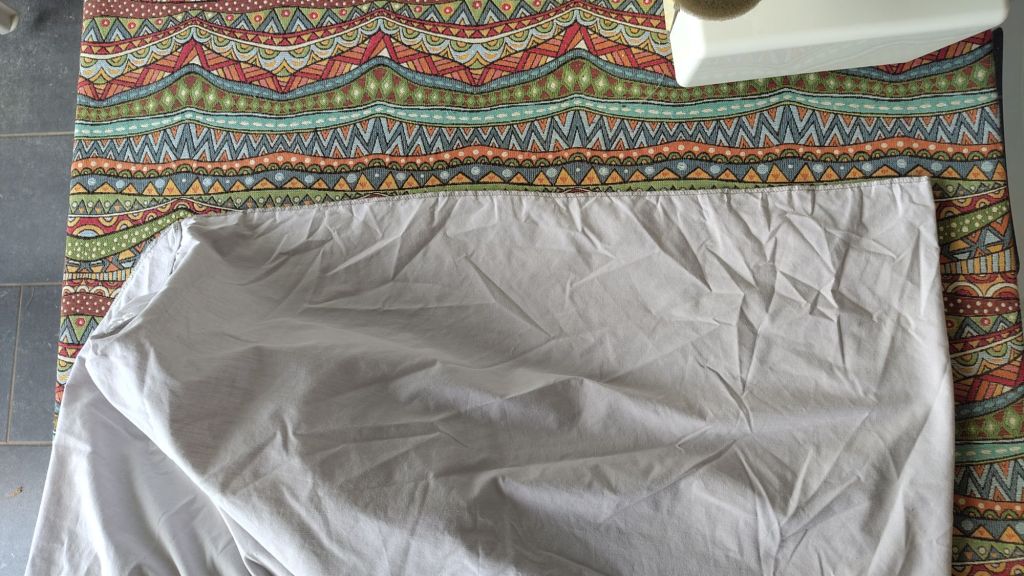
Managed to sew it all with odds and ends of grey thread. The foot part is not symmetric, as expected.
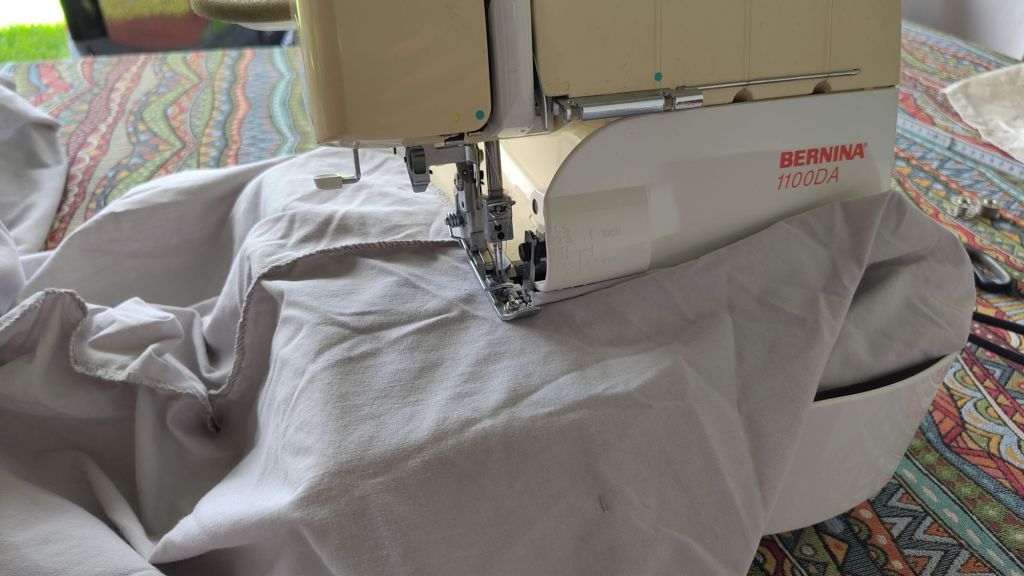
So I’m sewing off the corner to make a foot box.
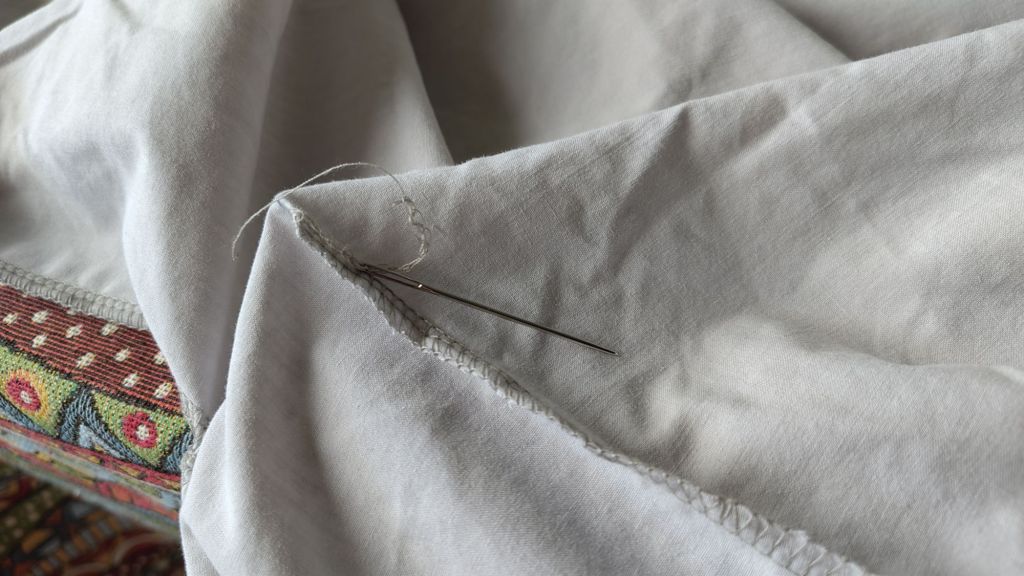
Tucking in the ends of the threads because this sheet can be used inside-out if you want to have the opening on the other side.
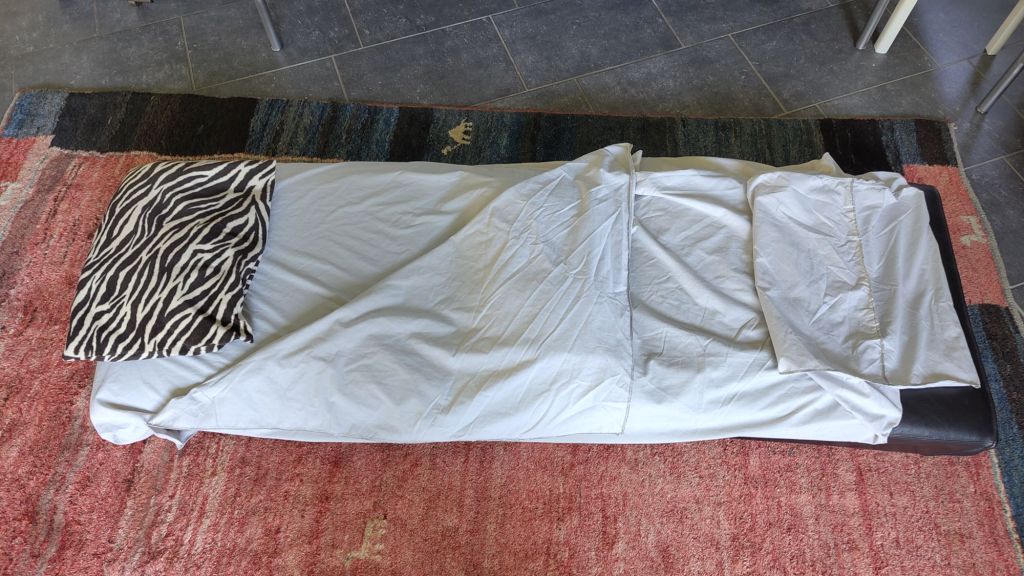
The finished hut sleeping bag!
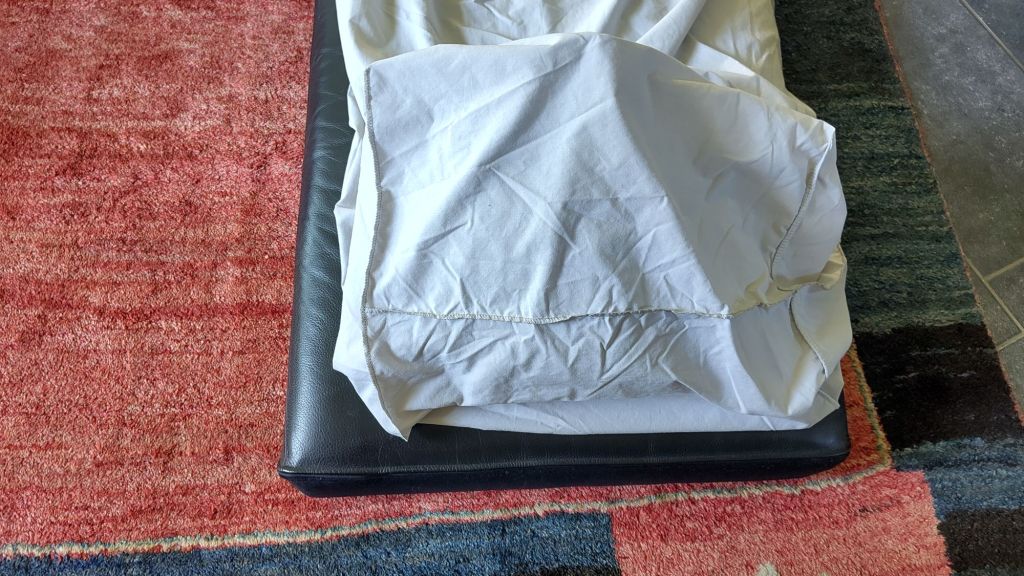
With a spacious foot box at the end. It’s 185 long, 90 wide. Made of 50% cotton, 50% polyester and weighing 500g. Not the lightest but certainly the cheapest, and the most comfortable one!
What about the other sleep sheets?
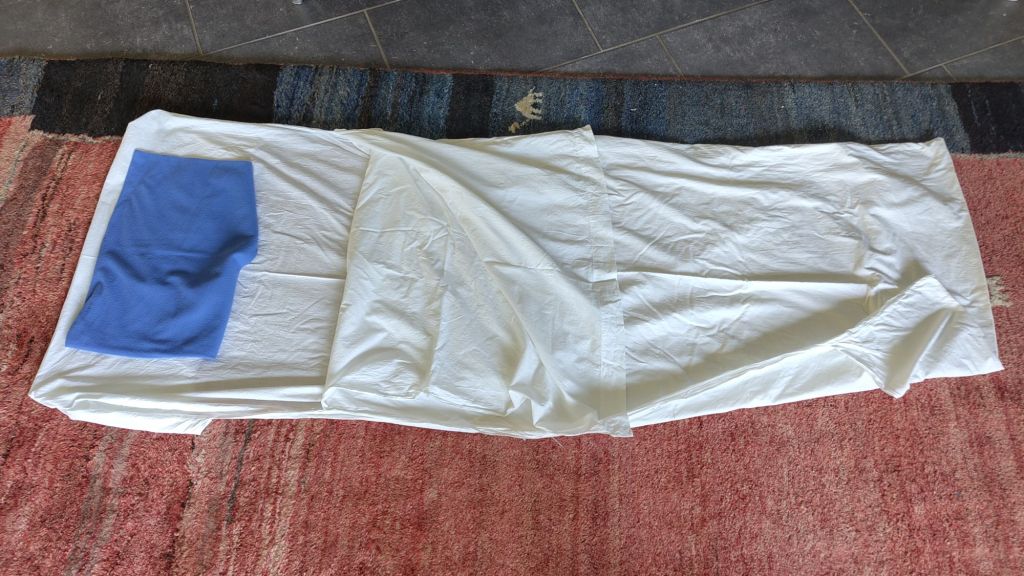
This one (185 long, 73 wide) has a pocket at the top and a pocket at the bottom. You need to bring a separate pillowcase. This works. The foot pocket could be removed as I doubt it would stay put. The material could make the top part a bit wider.
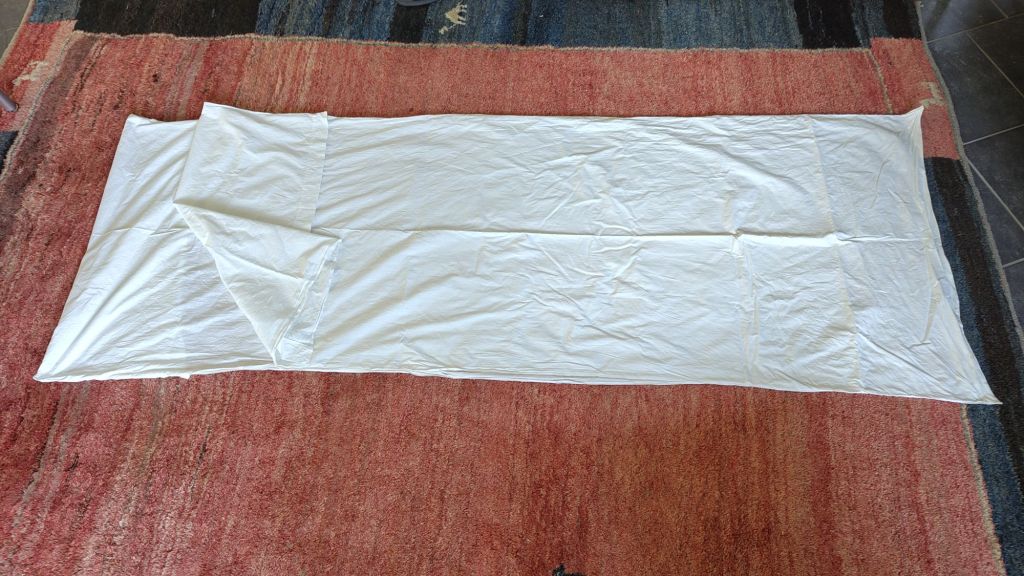
In the end I just ripped out the two little side seams and made it 15 cm longer!
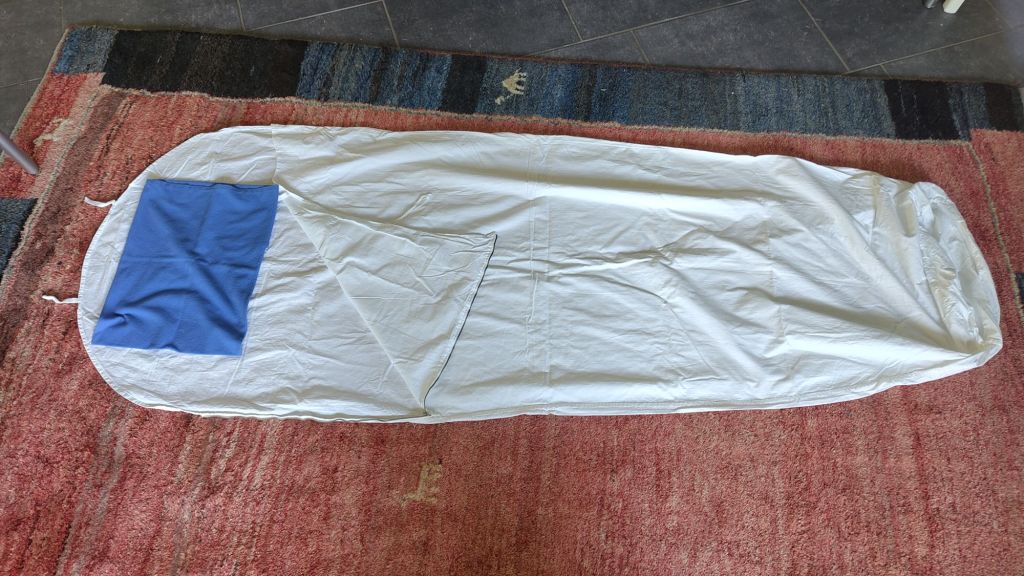
This one (175 long, 80 wide) has a zipper and a foot box but the top part is never going to stay in place. I have some leftover material that I cut off the fitted sheet. Maybe that can be used to create a pocket at the top which can go around the head of the matress.
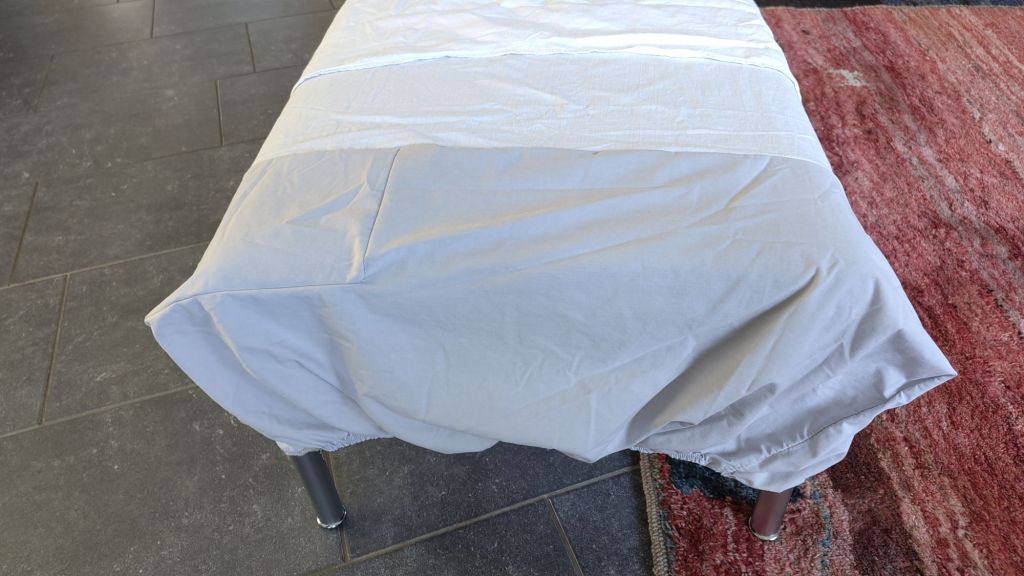
The top part has been extended and will now wrap properly around the head of the matress.
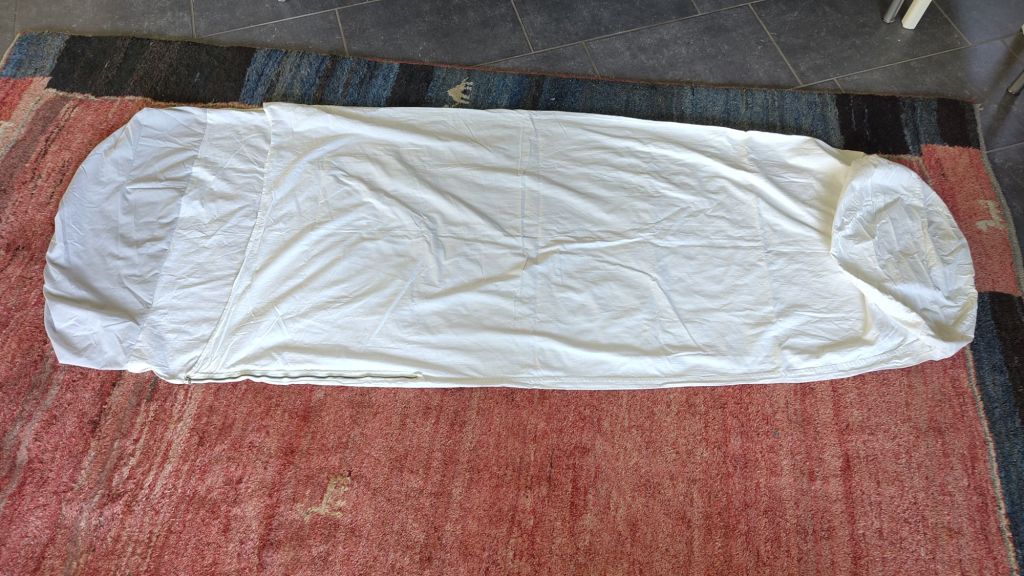
It’s now 185 long.
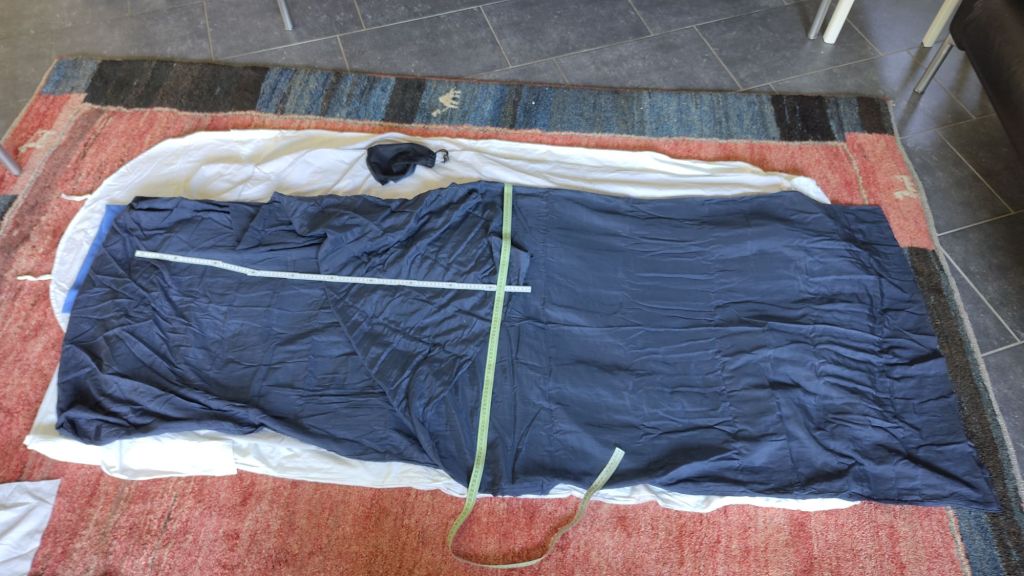
The blue one is 200 cm long and 90 wide. Just one pocket at the top, with extra material around the shoulder part. Being a silk/cotton mix, it is the lightest, and by far the most expensive, of the lot.
What a relief to finally have a whole set of proper sleeping sheet bags for hut-to-hut hiking!


Leave a Reply